Photo Blog
Broken Photos
My Magazine Cover
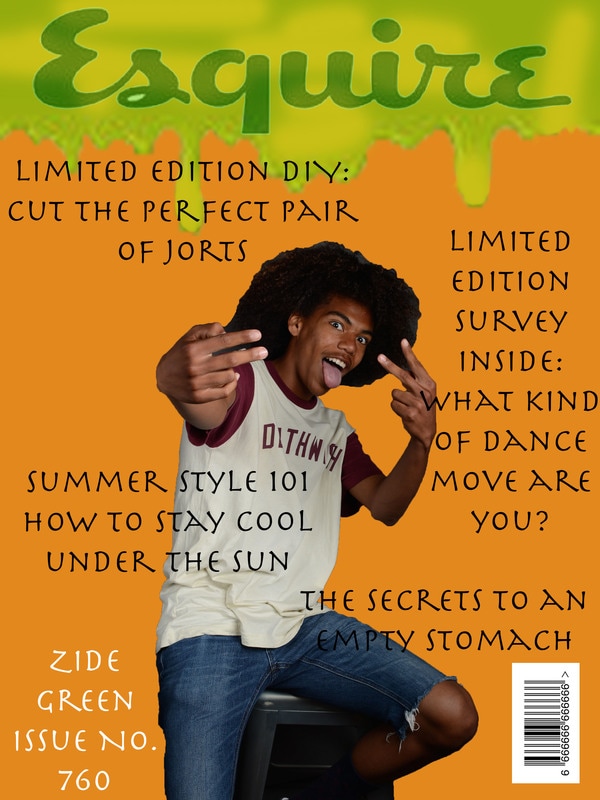
Originally I chose the GQ magazine cover to try and replicate but you have to be dressed to impress to look correct on that cover and frankly I wasn't. My alternate choice of magazine was Esquire, I chose this as my second choice because it is still a magazine for men but the covers aren't as fancy so I thought I cold pull it off, I thought wrong.
To emulate this magazine cover I chose to pose on a stool because a couple of the covers I saw had men sitting on stools posing the only thing that throws it off is my pose isn't as civil as you might see on an actual magazine.
To emulate this magazine cover I chose to pose on a stool because a couple of the covers I saw had men sitting on stools posing the only thing that throws it off is my pose isn't as civil as you might see on an actual magazine.
The Threatt Dynasty
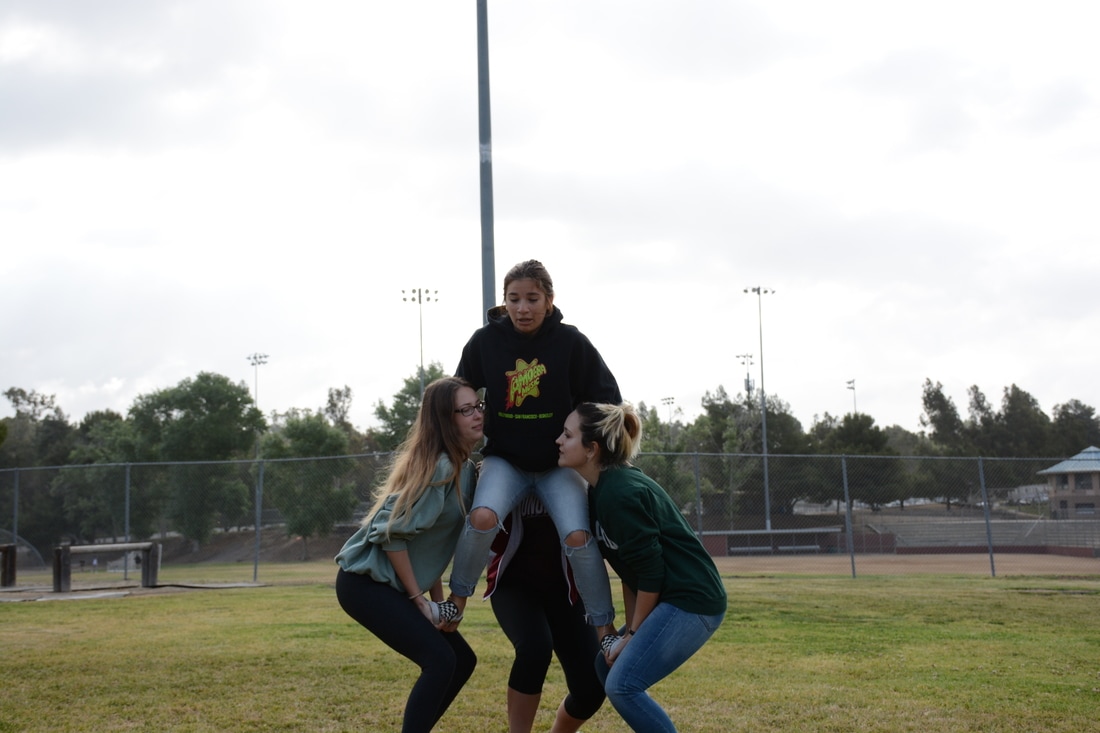
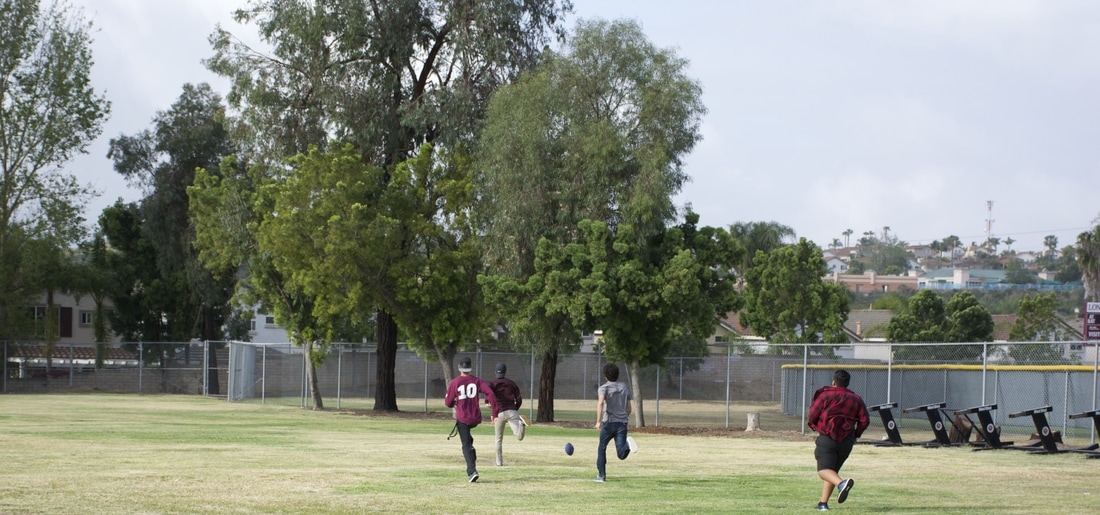
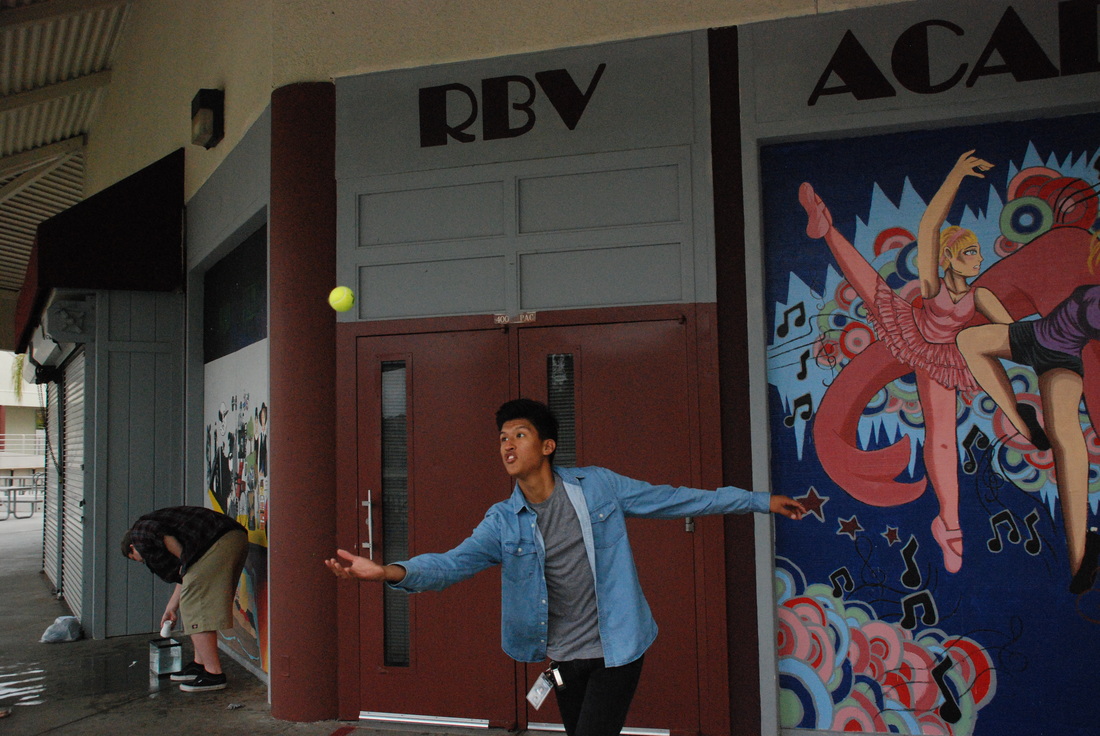
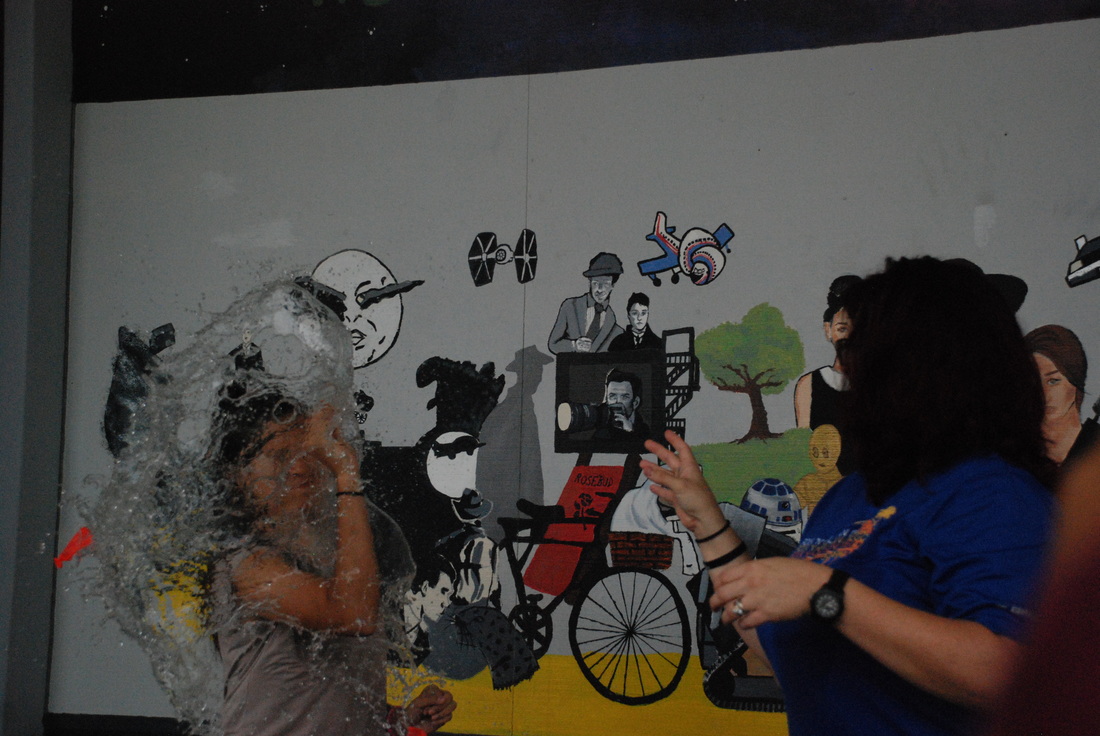
Active Sports Photos


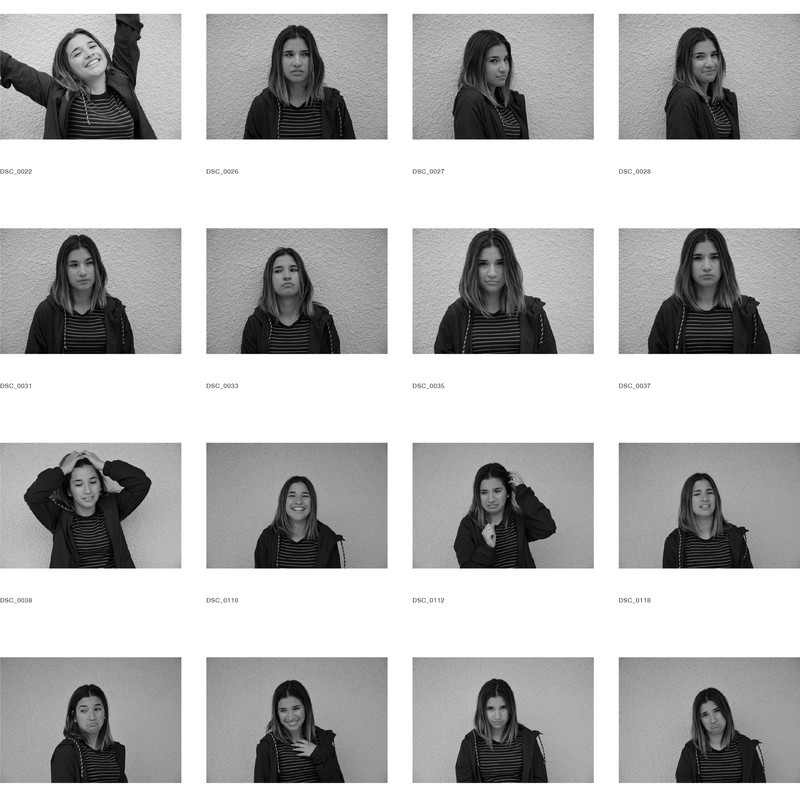
How ya feelin' ?
Composite Project
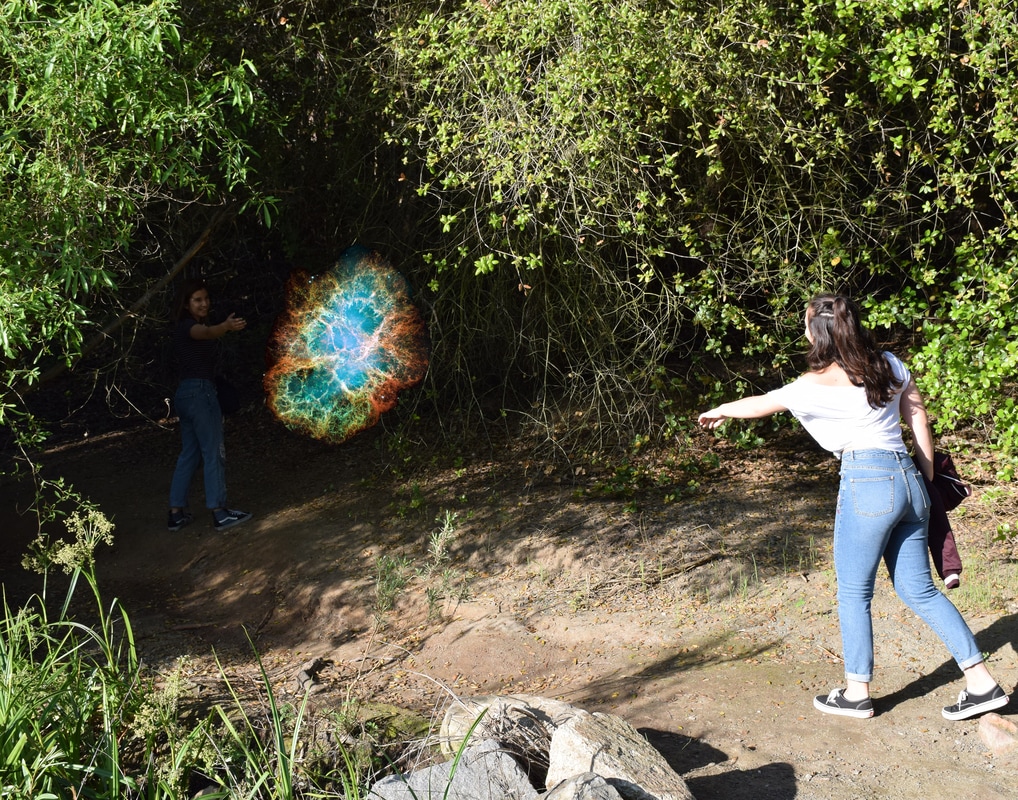
The Invisible Flying Man
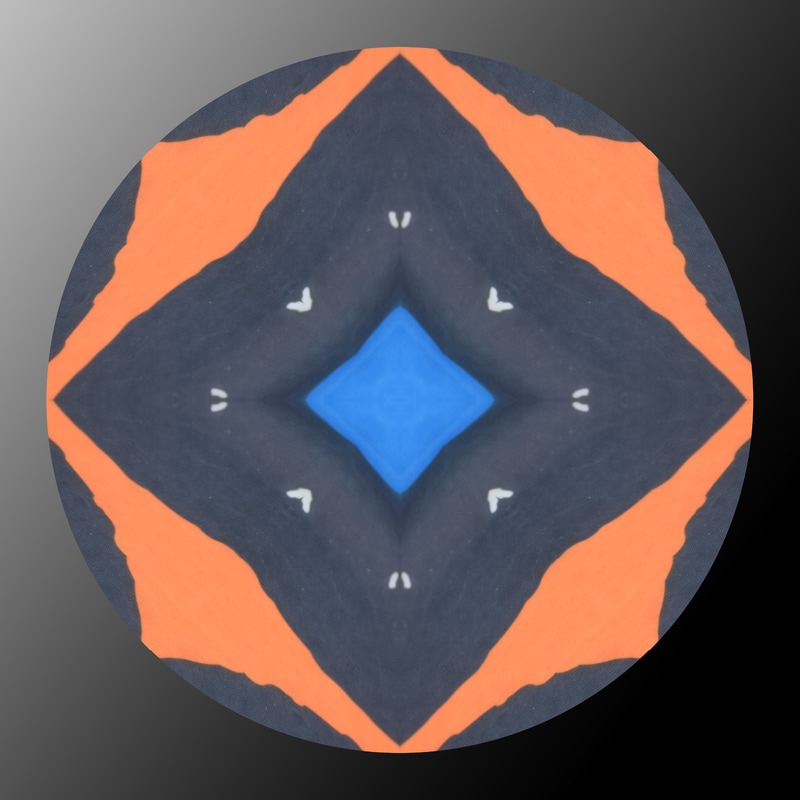
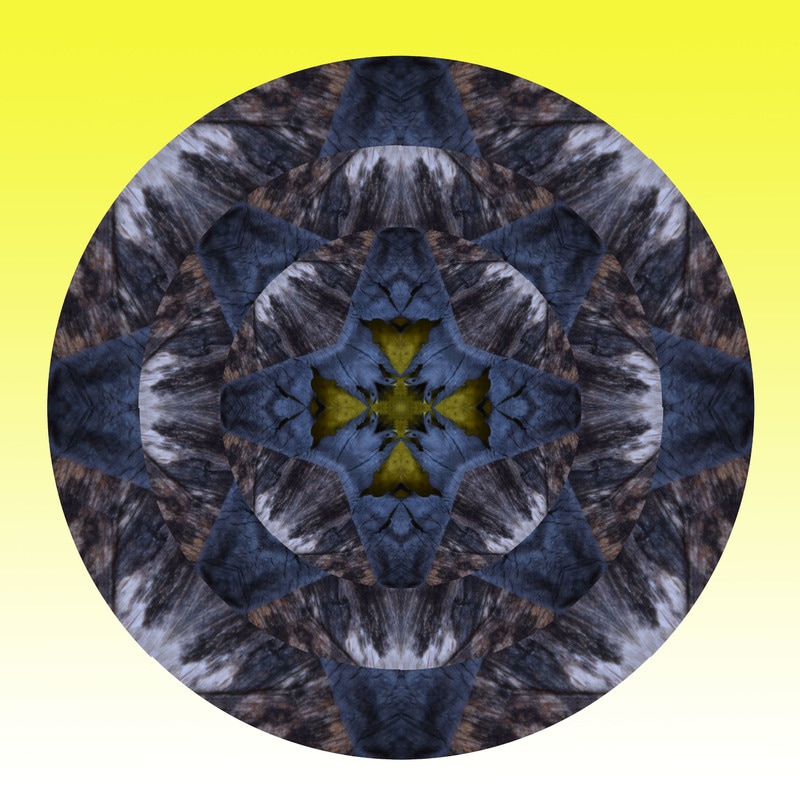
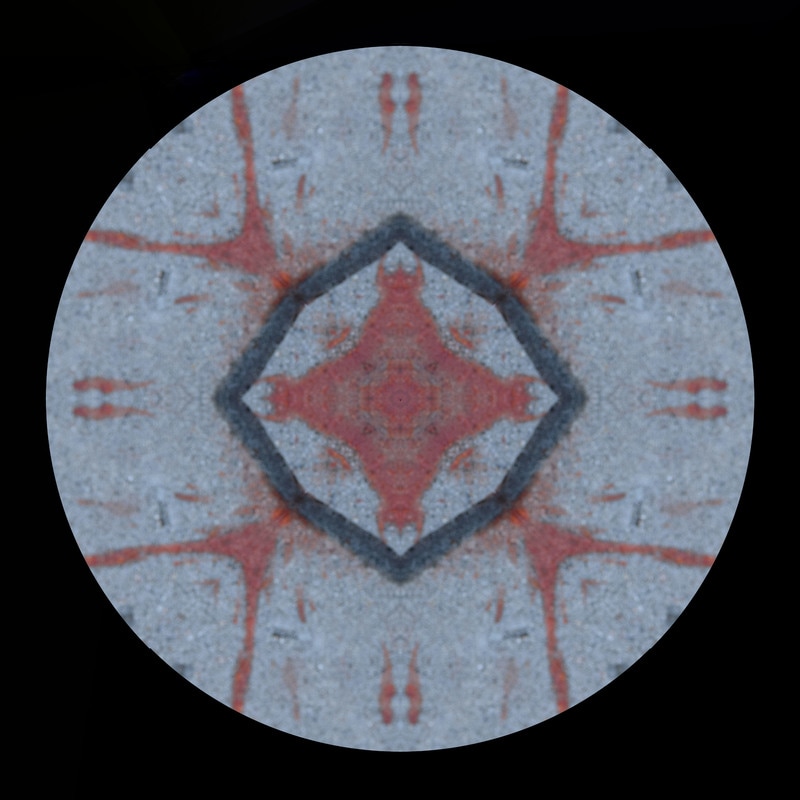
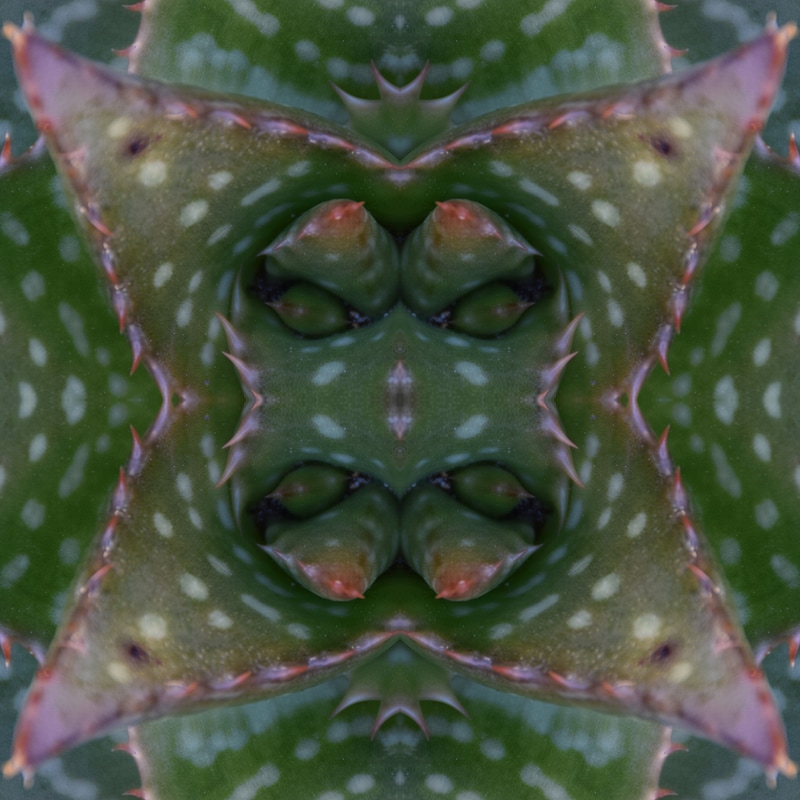
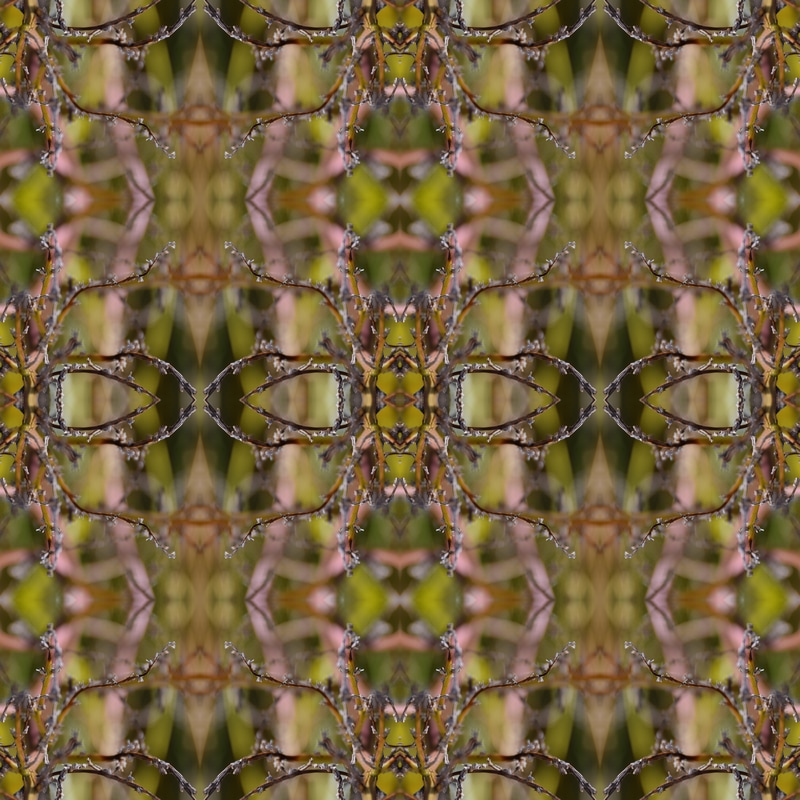
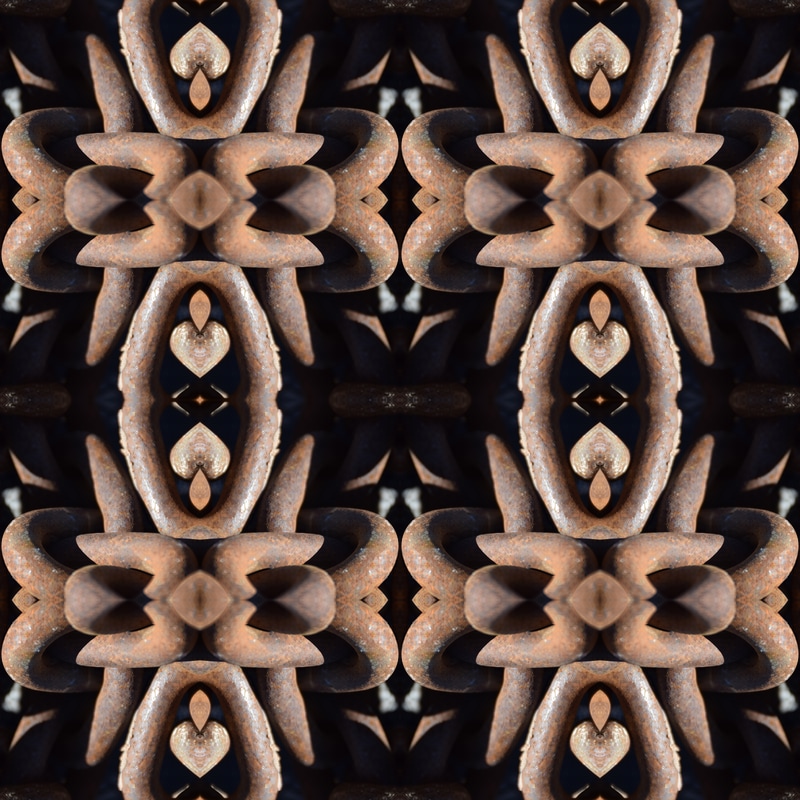
Mandala
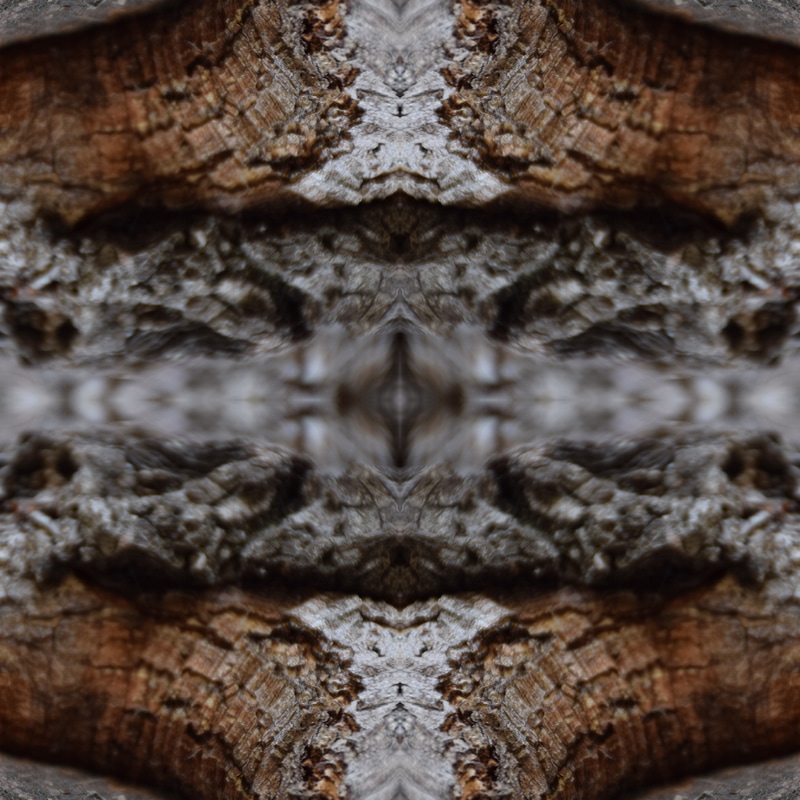
Tesselation
|
|
|
|
|
|
|
|
|
|
|
|
Portraits (re-touched)

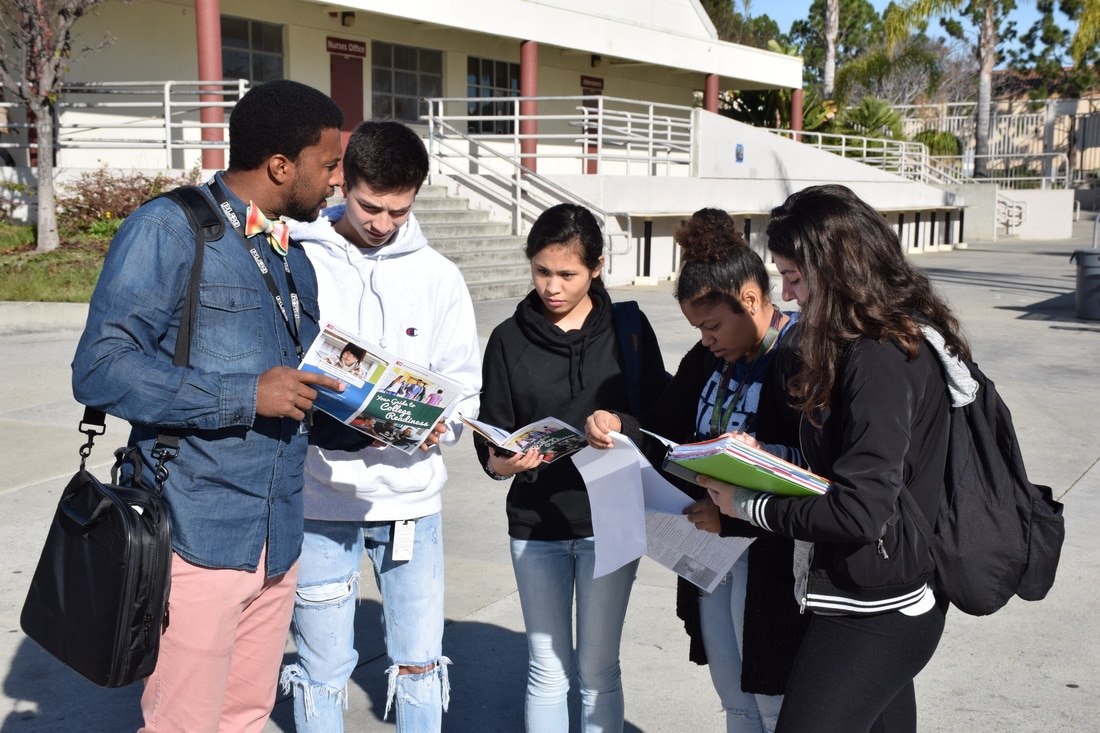
Education for All
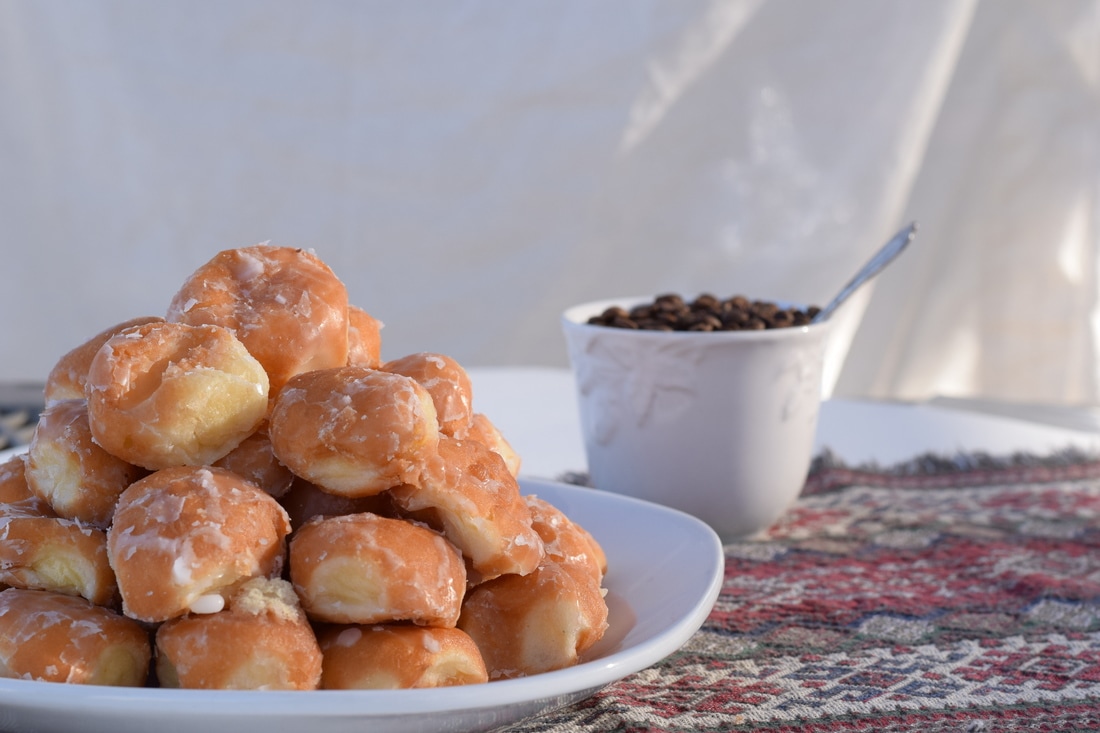
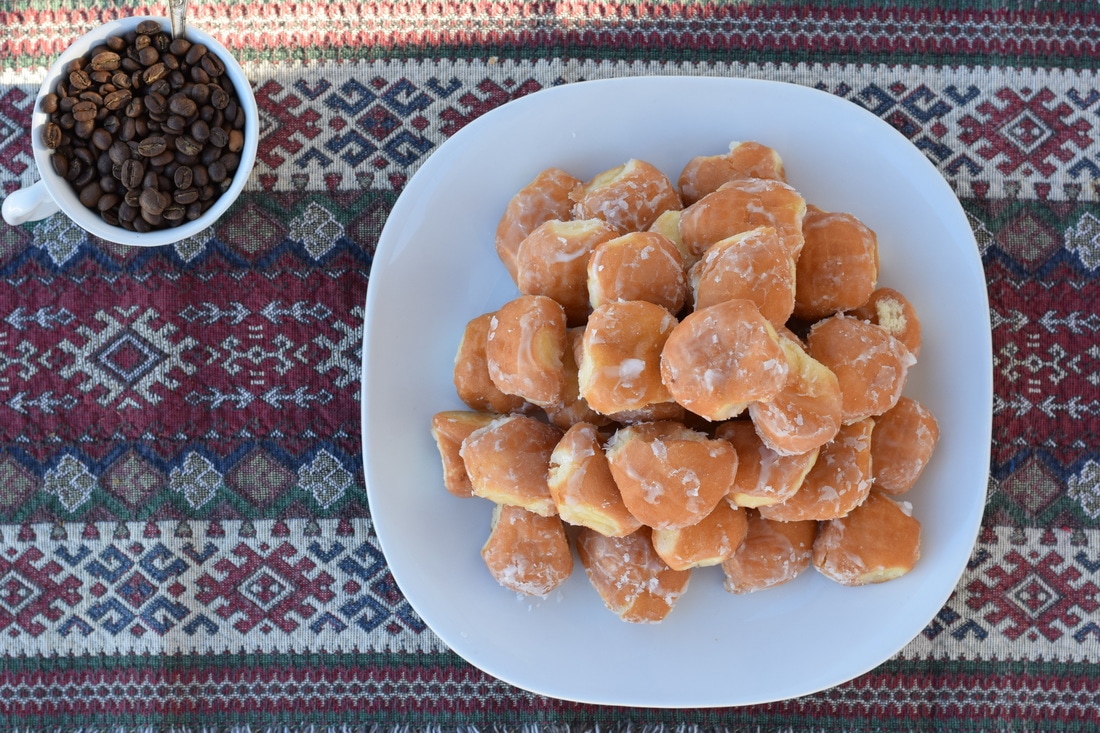
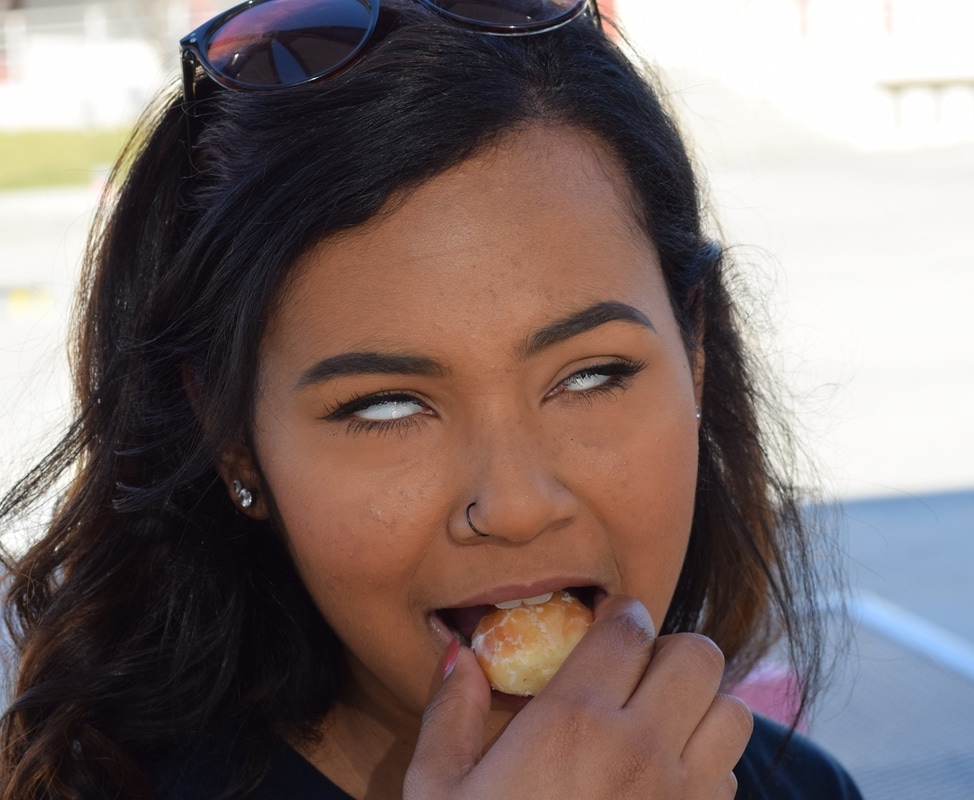
A Photogenic Breakfast
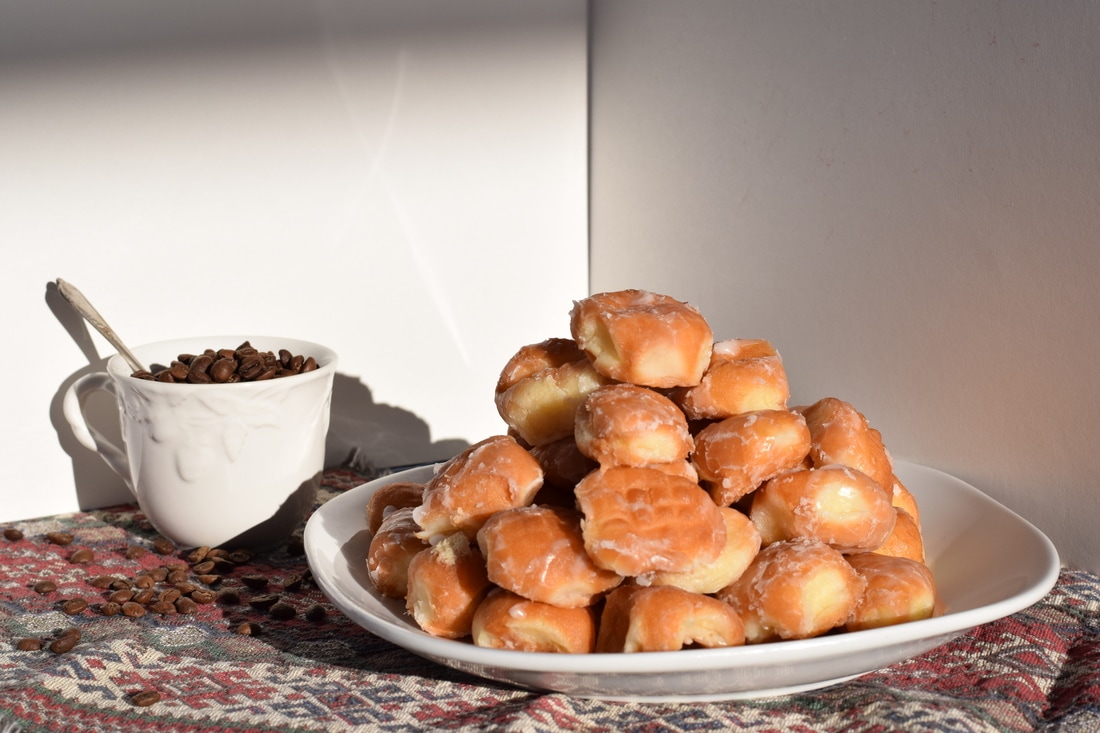
F/8 ISO 400 Shutter Speed 1/2,000
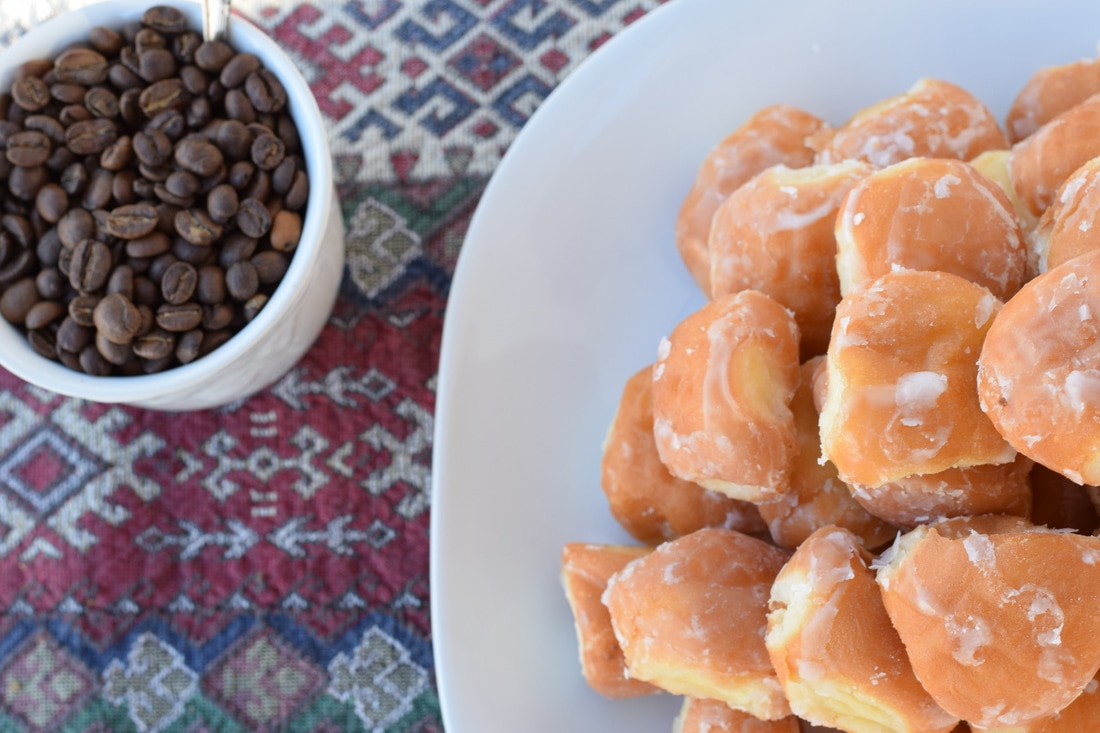
F/8 ISO 400 Shutter Speed 1/90
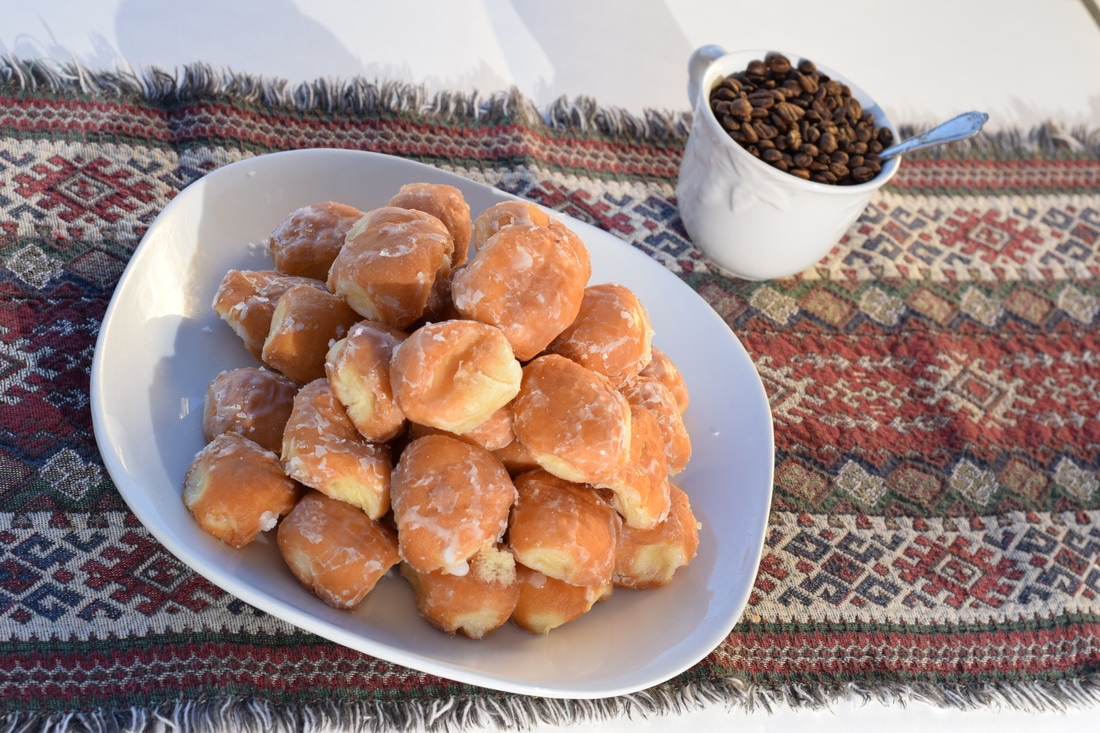
F/8 ISO 400 Shutter Speed 1/350
F/8 ISO 400 Shutter Speed 1/350
F/8 ISO 400 SHutter Speed 1/125
F/8 ISO 400 Shutter Speed 1/350
The Name Game
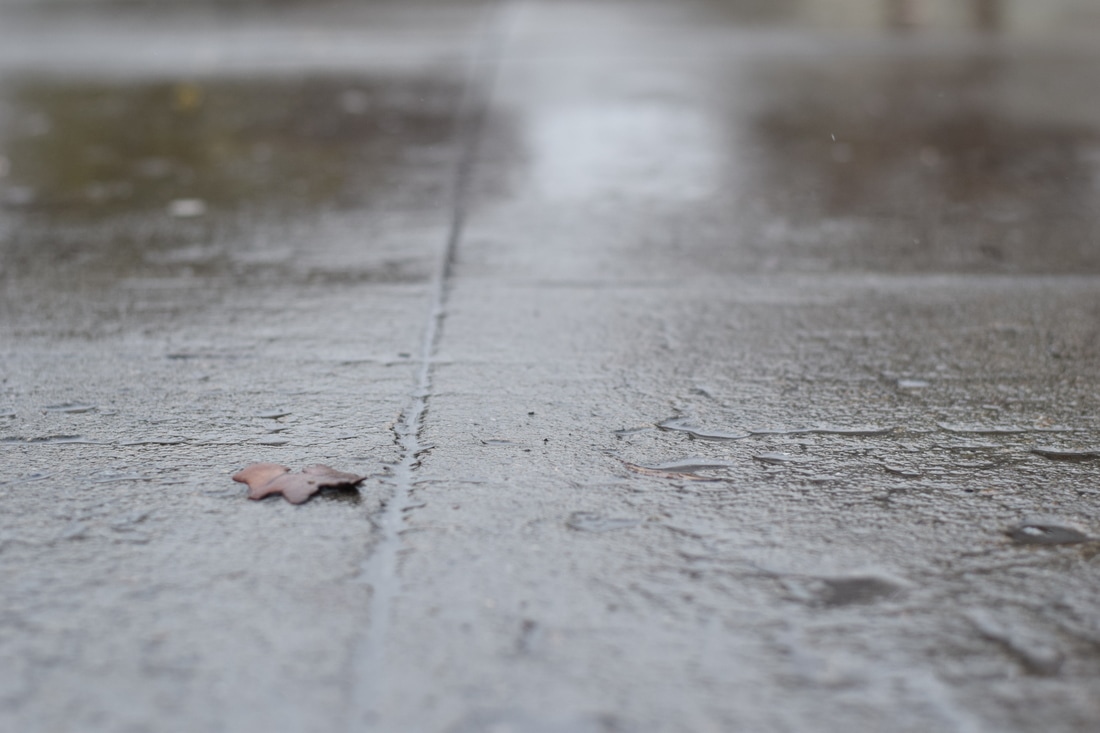
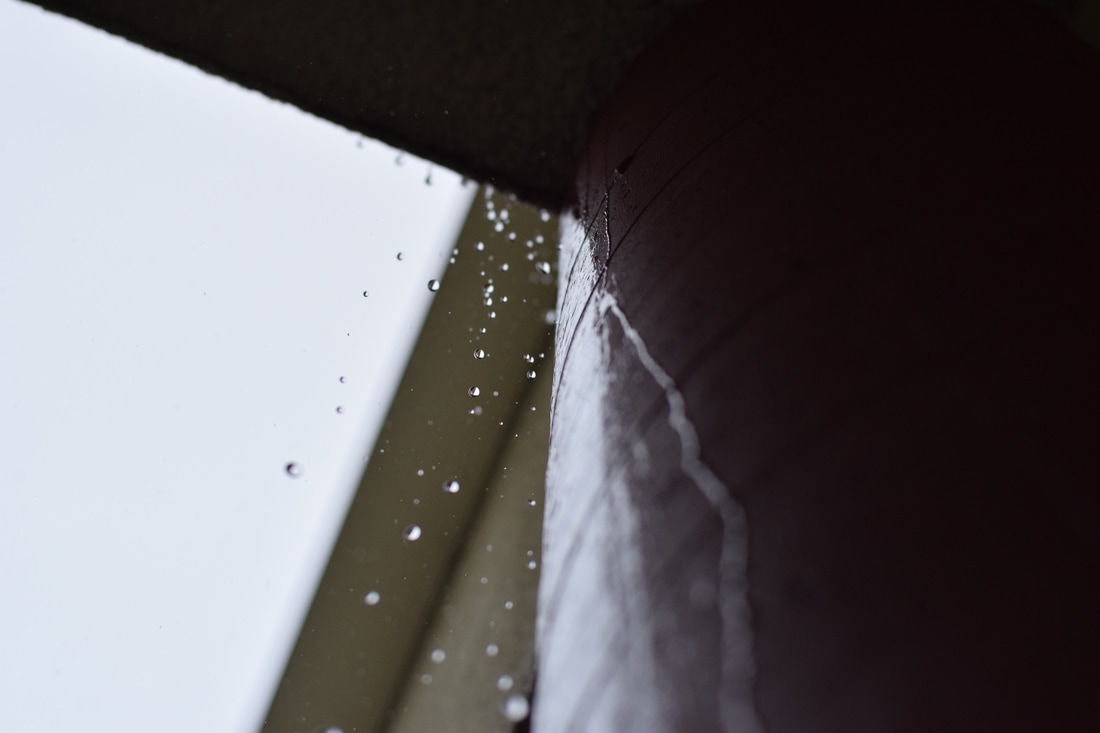
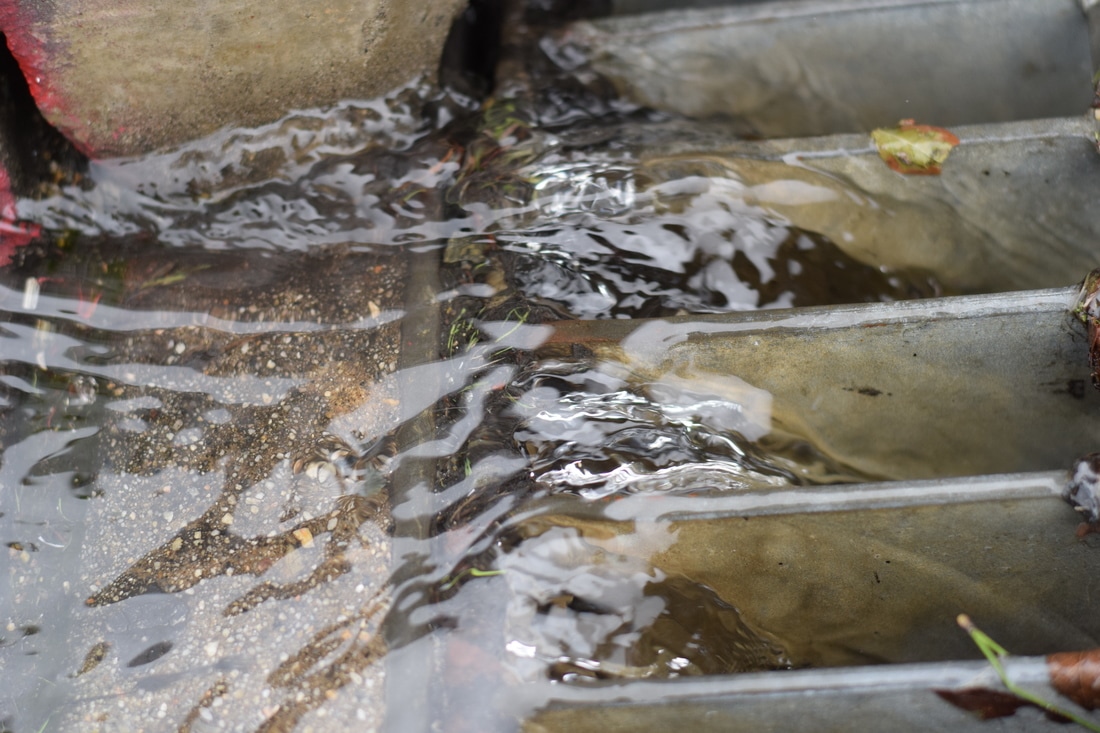
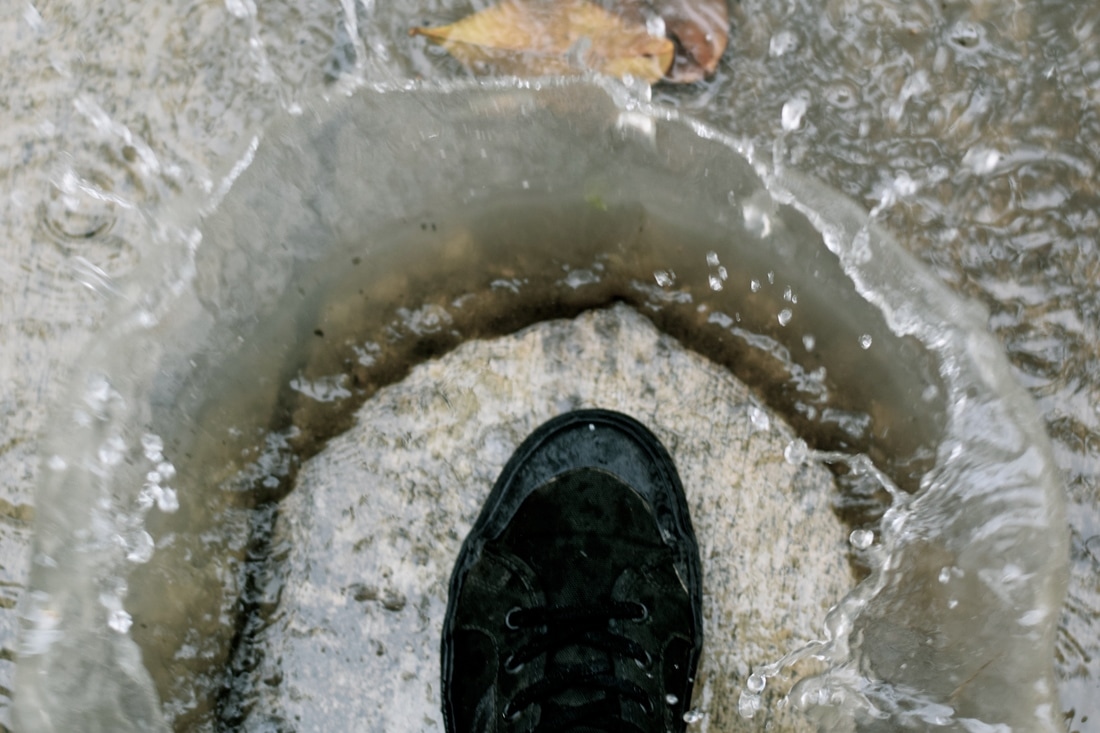
Rainy Daze
Layer Mask Me
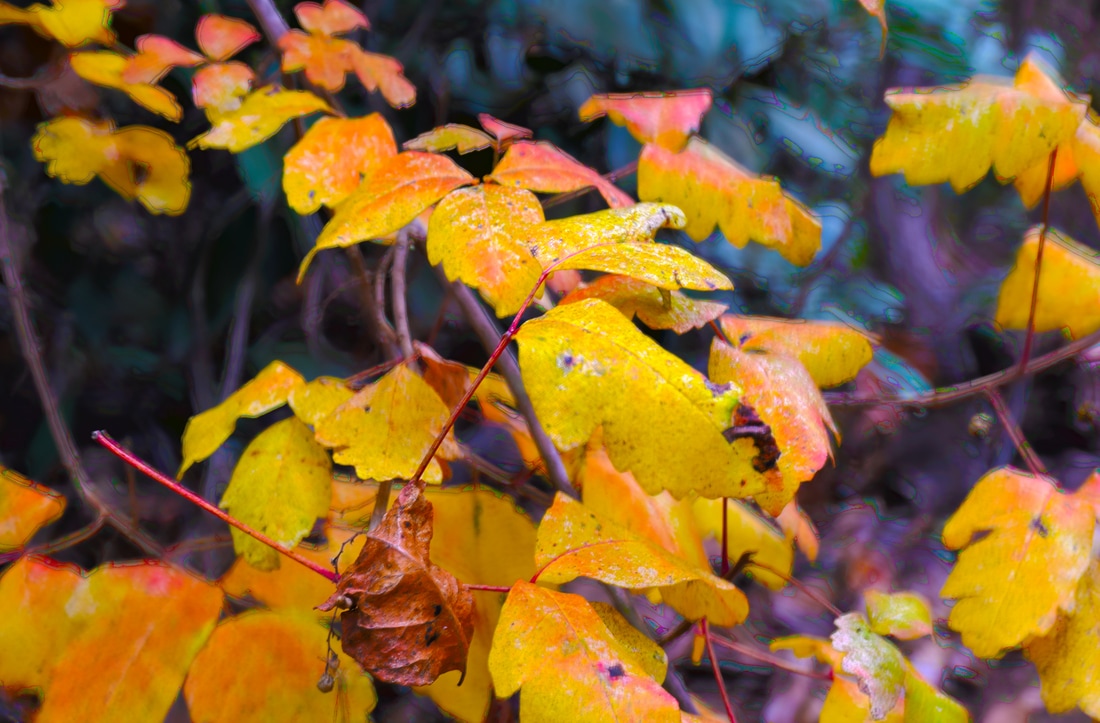
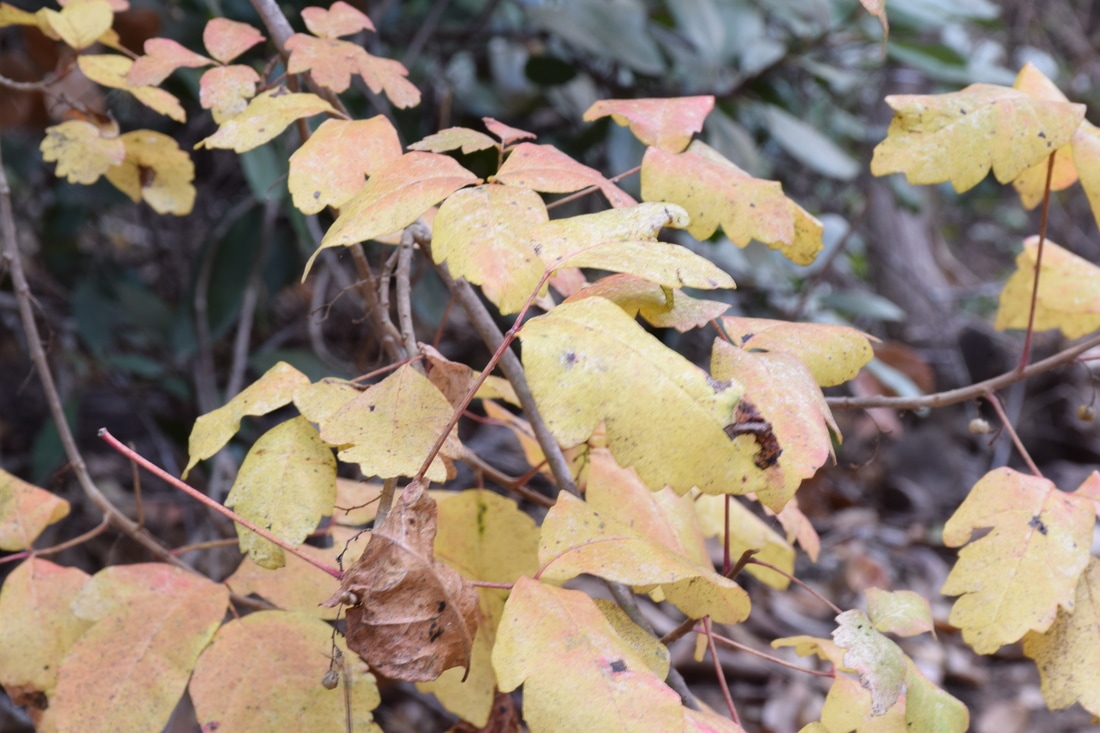
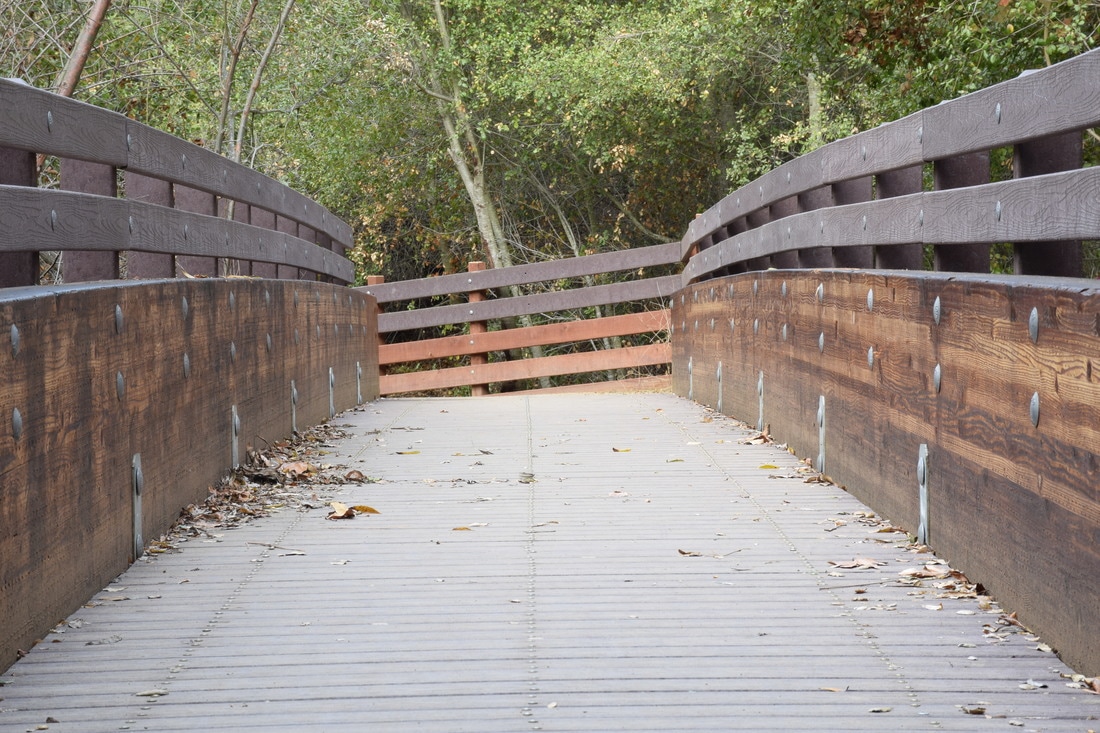
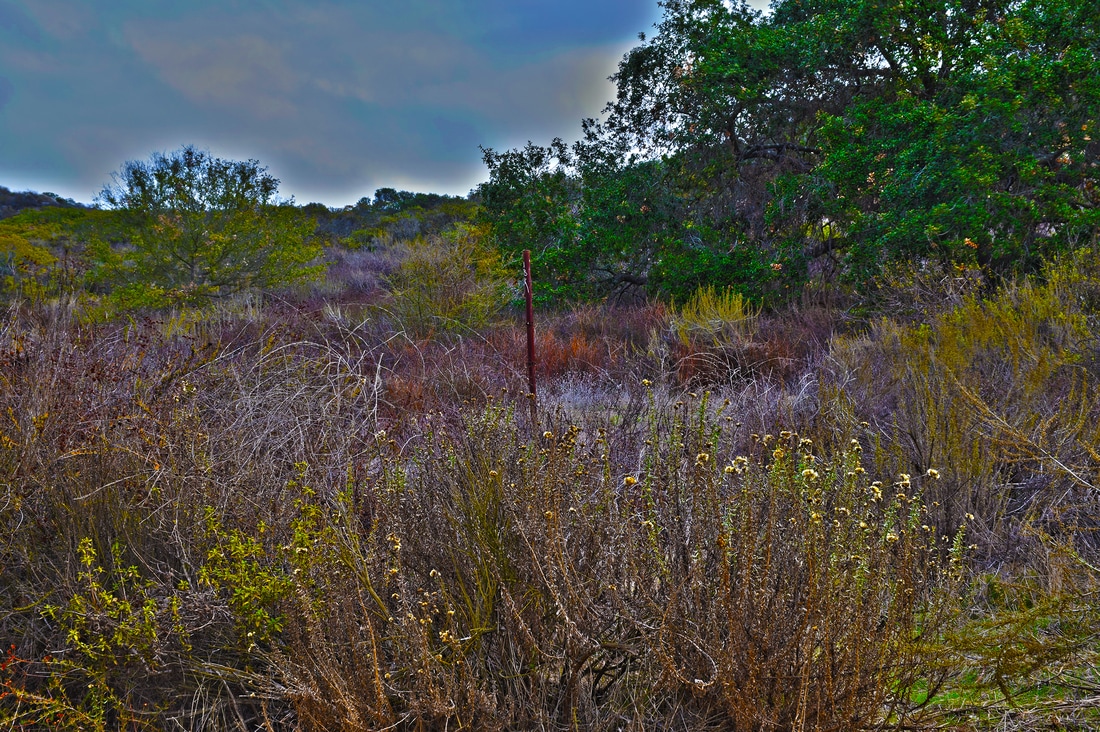
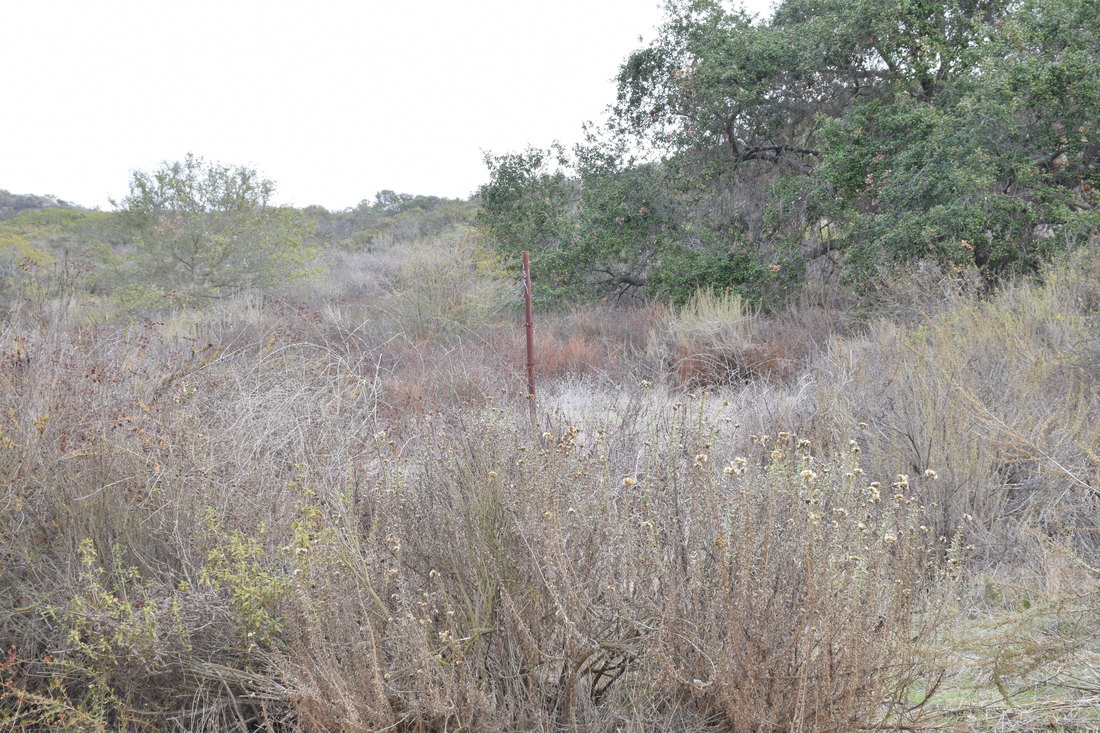
HDR Photos

F/16 ISO 200 Shutter Speed 1/180

F/16 ISO 200 Shutter Speed 1/15
F/16 ISO 200 Shutter Speed
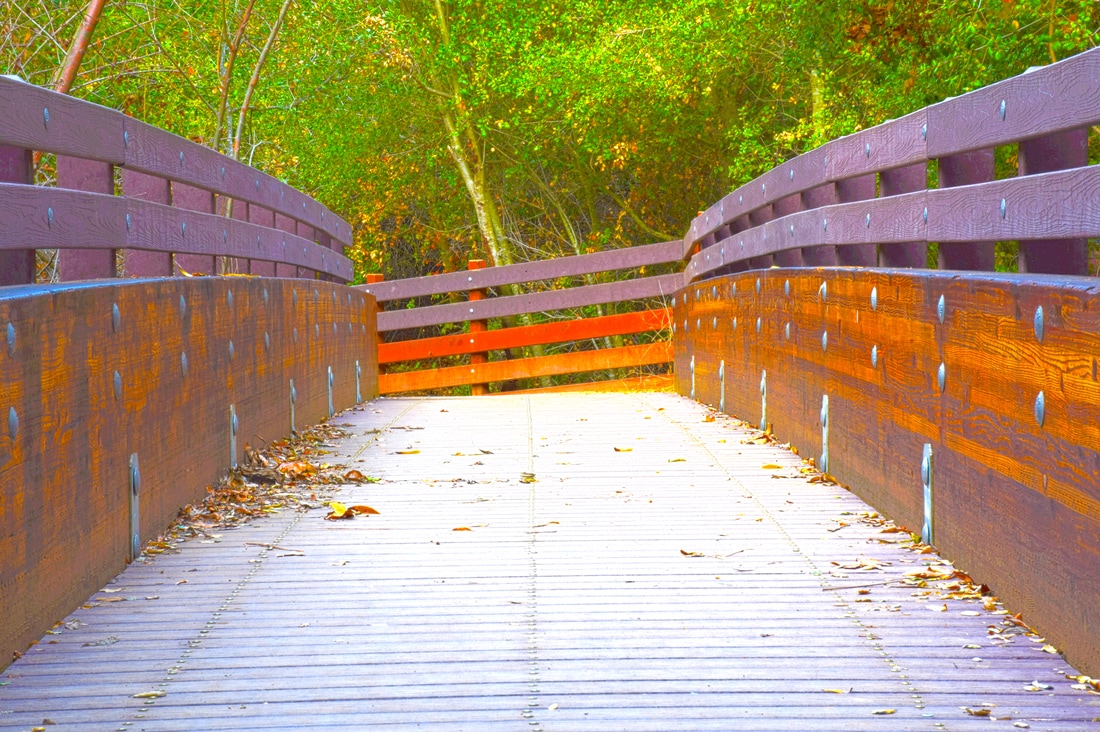
F/16 ISO 200 Shutter Speed 1/15
F/16 ISO 200 Shutter Speed 1/15
Artist as Mentor
SUPER MOON
To photograph the moon:
1. Use a tripod! A flat surface will only allow you to shoot straight, and shooting the moon means that you'll be shooting up and constantly re-adjusting the tripod as the moon moves throughout the night.
2. Use a shutter release cord, remote or the camera's self timer if you don't have one, so that you don't move the camera when pressing the shutter release during a long exposure.
3. Use a zoom lens and zoom in as much as you can to the moon. It's okay if it's not a super fancy lens, this was shot using a 15 year old $100 lens. Focus in on the craters and details on the moon.
4. ISO 1250- 1600, so that you can use as fast a shutter speed as you can without losing detail-the longer the shutter speed, the more chances you have the camera will shake even slightly in the wind, resulting in an out of focus photograph.
5. Aperture priority of f/5.6 since you are not worried about capturing any details other then the moon.
6. Bracket your exposure, meaning over expose and underexpose the photograph from what the camera is telling you. Generally the camera will overexpose the moon, so you'll get nothing but a white blob in the sky. Use the exposure compensation button (the +/- button below the shutter release) and change the exposure to -0.5, then -1.0, then -1.5 and so on, until you start seeing detail in the moon. You may go as far as -5.0 exposure compensation to get what you need.
7. Take a fair amount of photos and keep refocusing as the night progresses. The photographs may look focused on the camera's display, but you won't really see if they're completely in focus until you upload them onto your computer screen.
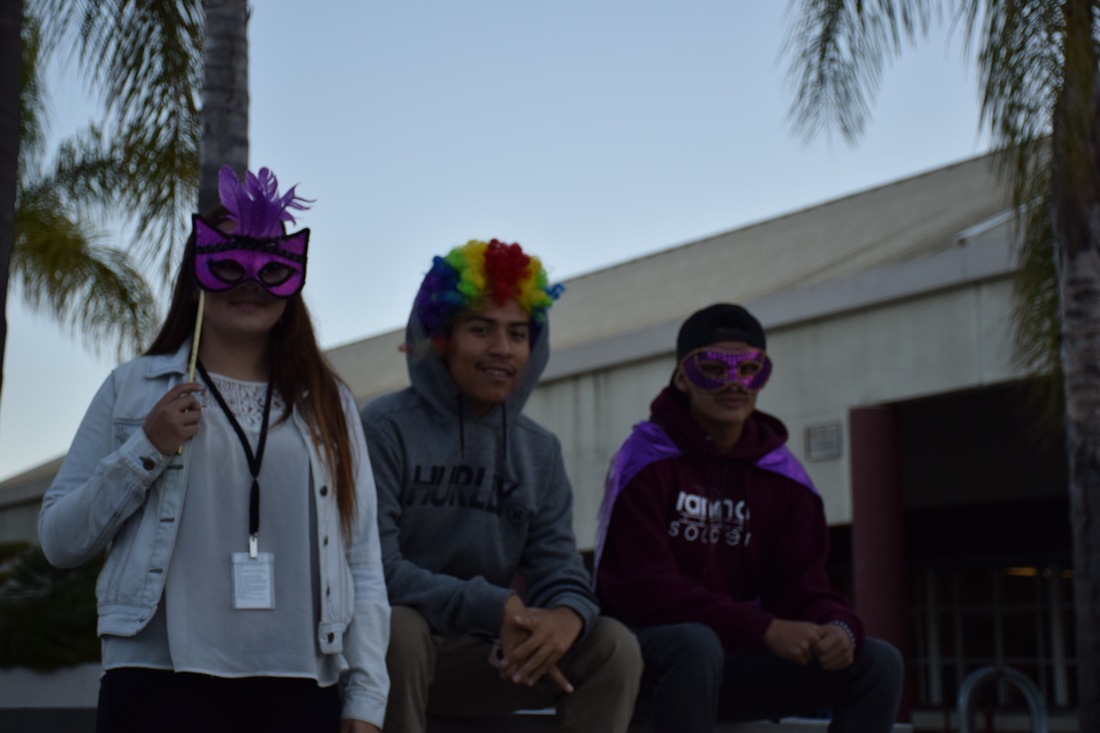
HALLOWEEN

F/3.8 ISO 400 Shutter Speed 1/1,000
F/4.5 ISO 400 Shutter Speed 1,1000
Principles Of Photography Photos
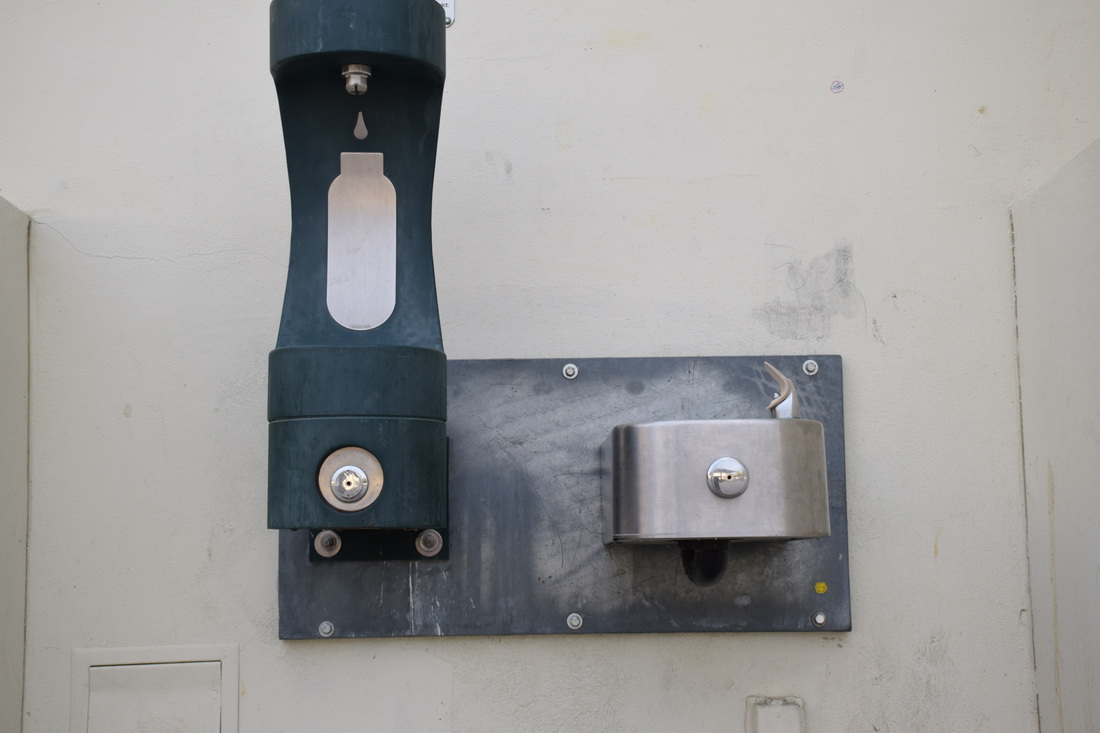
F/8 ISO 400 Shutter Speed 1/250
This photo is of the water bottle fountain and a normal drinking fountain in front of the gym. This photo represents asymmetrical balance because they are both water fountains but just different in figure. I think what makes the photo work is the symmetrical balance of the buttons you have to press to make the water flow.
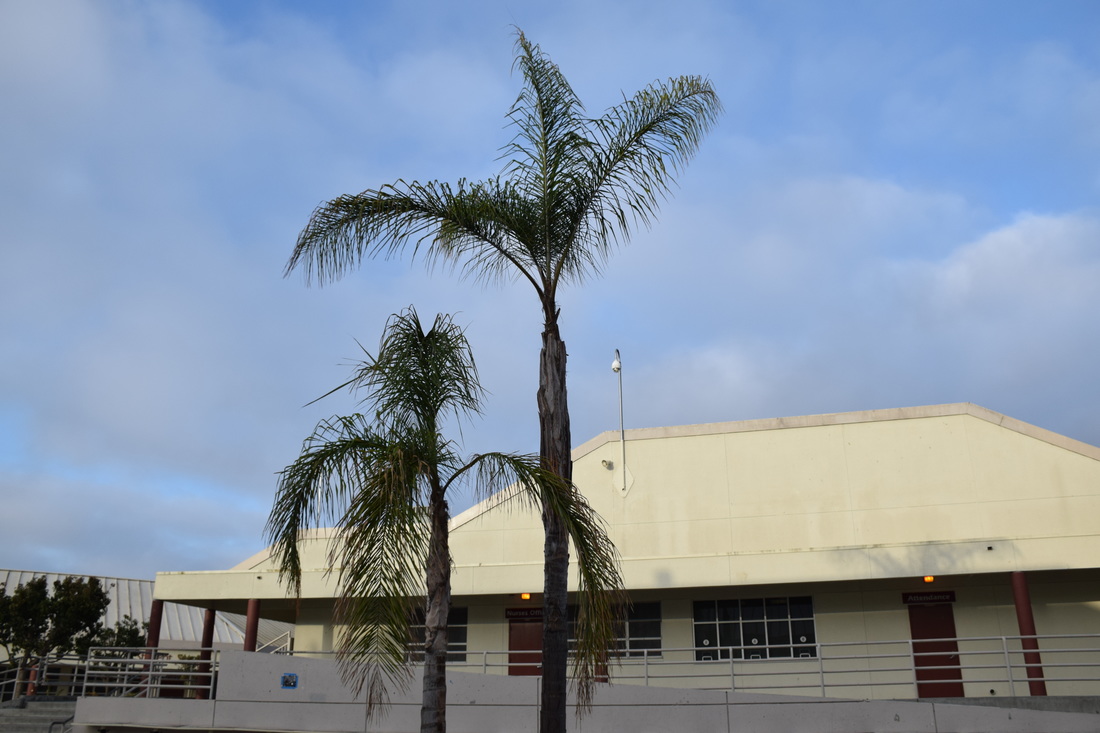
F/8 ISO 400 Shutter Speed 1/750
This photo is of the palm trees in the quad by the cafeteria. This picture shows a good use of proportion because the palm trees are the focus point and the smaller tree is proportionate to the larger one. I think what makes this photo work is that these are the only two palm trees in the image because if this photo was taken at a different angle there would be more palm trees that would take the attention off of these two.
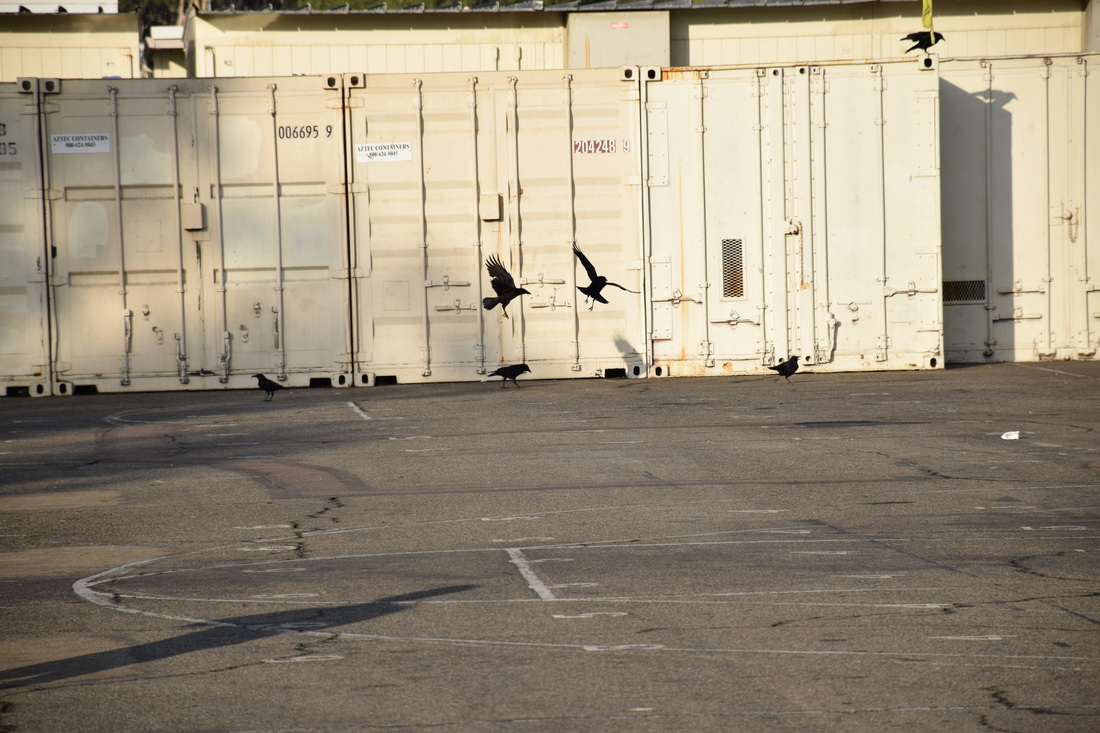
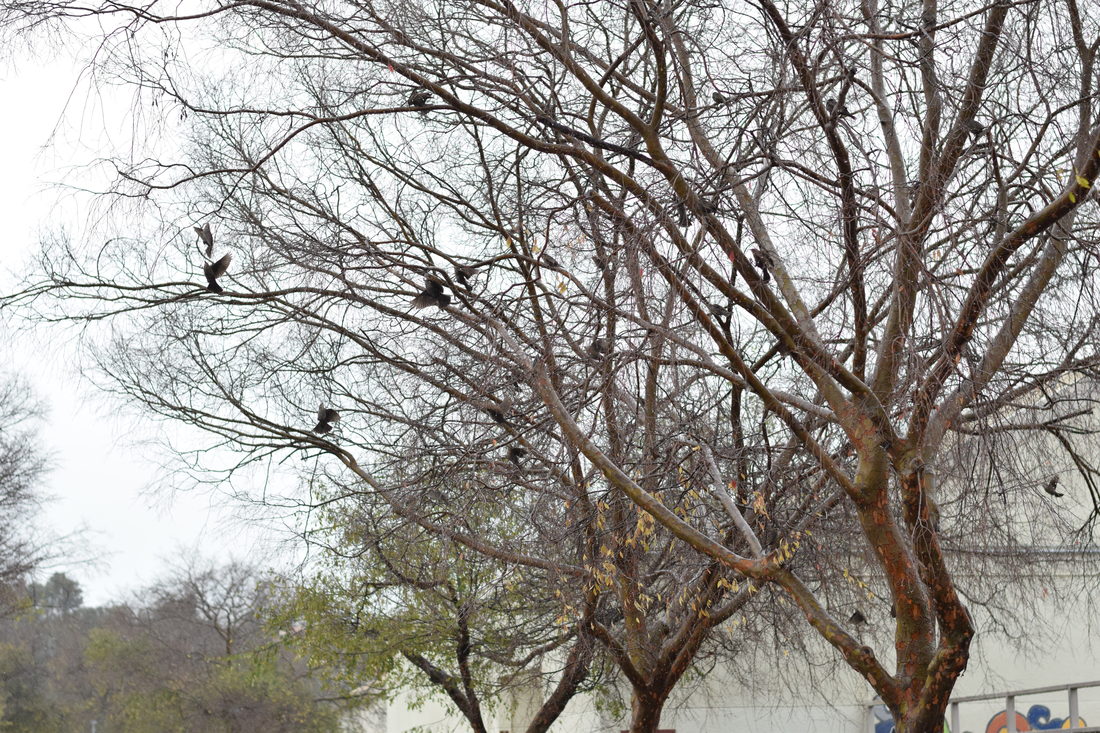
F/8 ISO 400 Shutter Speed 1/1,500
This picture was taken on the blacktop down at the basketball courts of some crows having a business conference. I think the rhythm in this photo is portrayed through the crows that are flying. This picture works because its hard to imagine they are just stuck in mid air like that you have to think of them as moving.
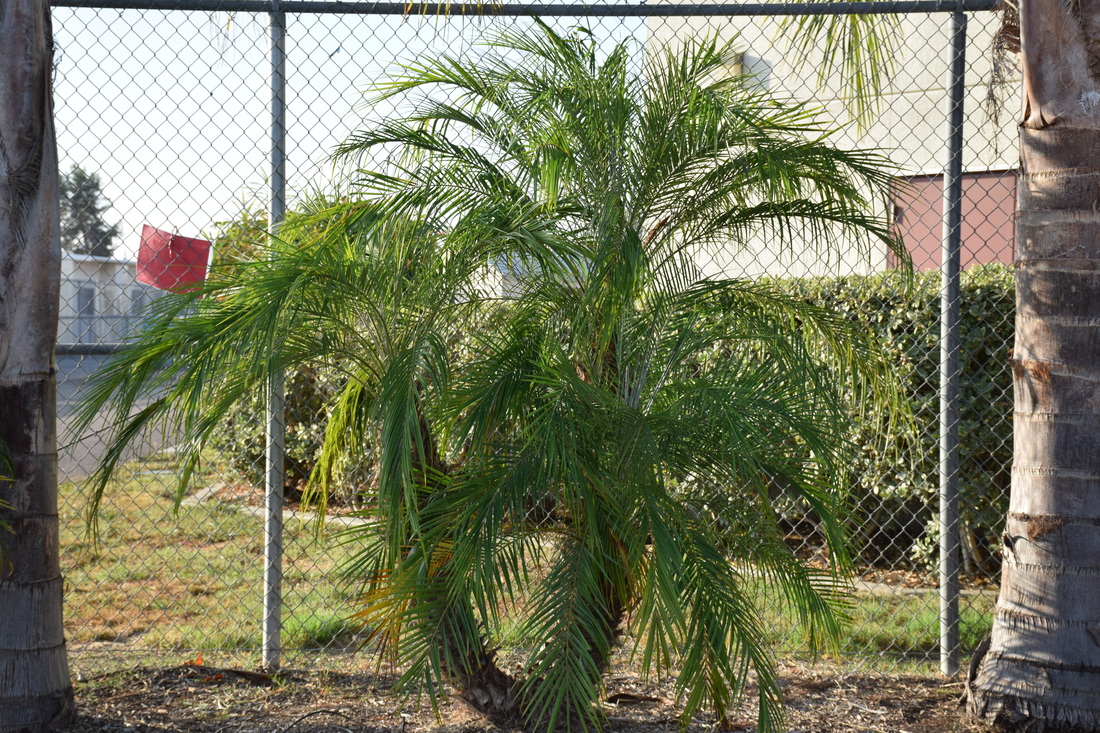
F/8 ISO 400 Shutter Speed 1/500
This picture was taken at the entrance of the football field. This photo is a good representation of emphasis because the little palm tree is the main focus in the image. I think what makes this photo work is the two tree trunks on either side because it gives the allusion that there is more objects outside of the field of vision in this picture
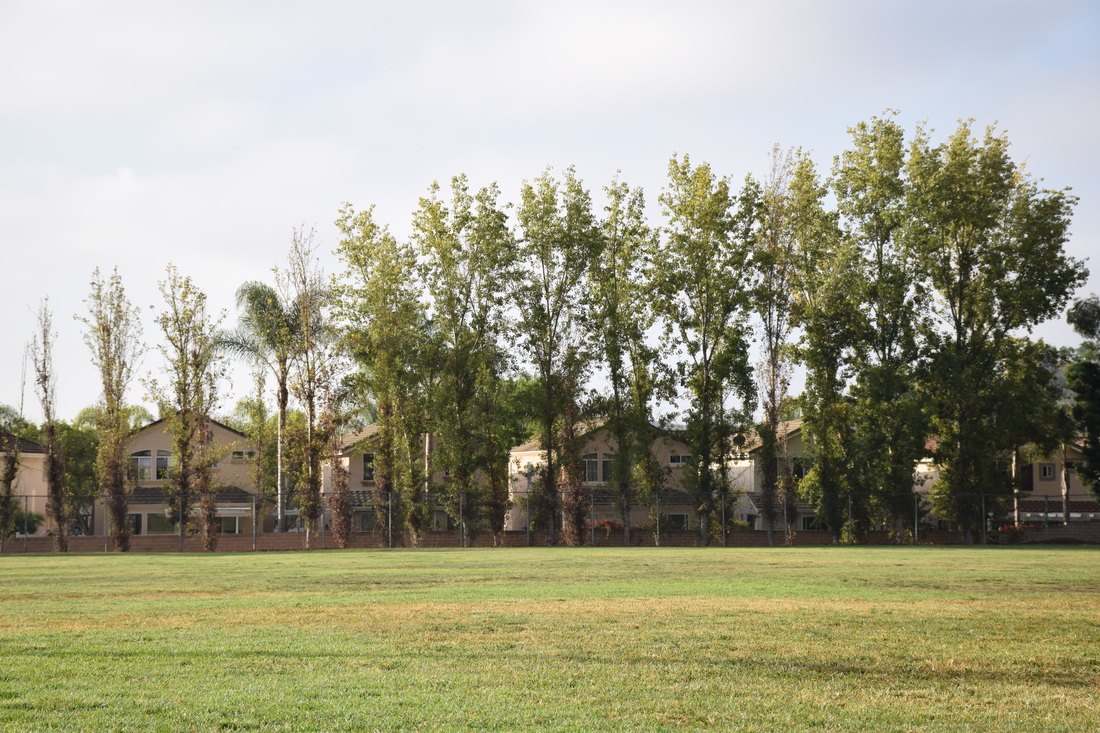
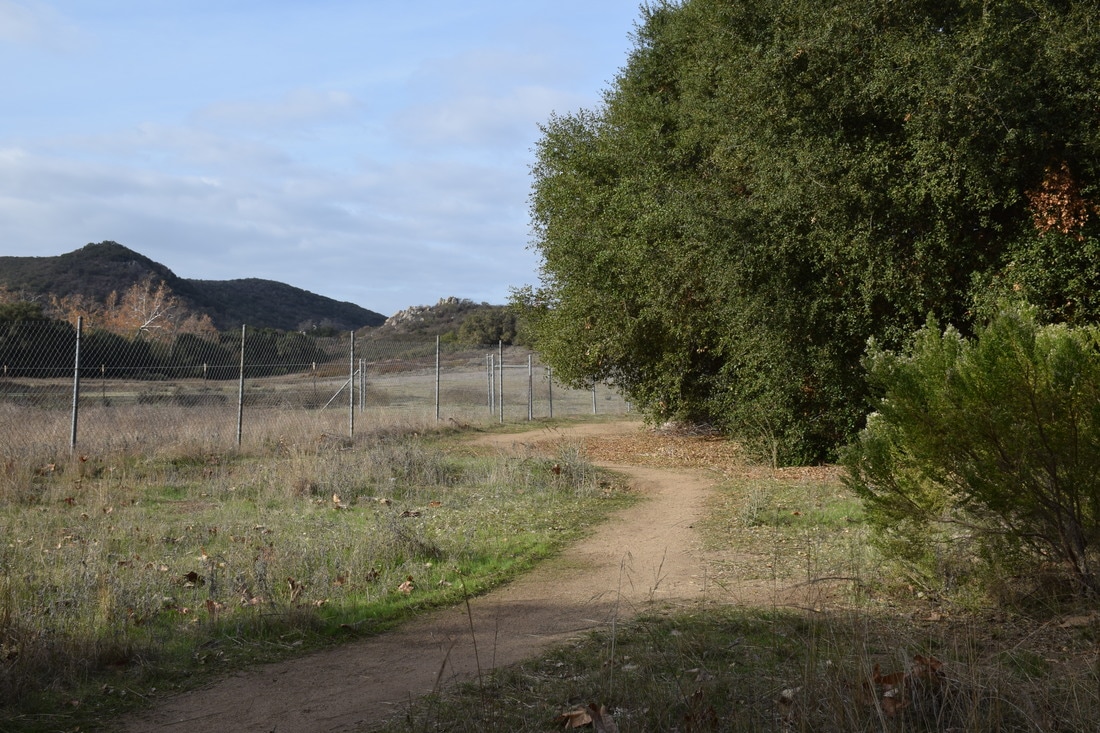
F/8 ISO 400 Shutter Speed 1/1,000
This picture is of some trees at the end of the field in the patch. I think this photo shows harmony because how well the trees and grass go together with the houses in the back. I think what makes this picture work is value of sort of dead, to alive and healthy trees from left to right in the image.
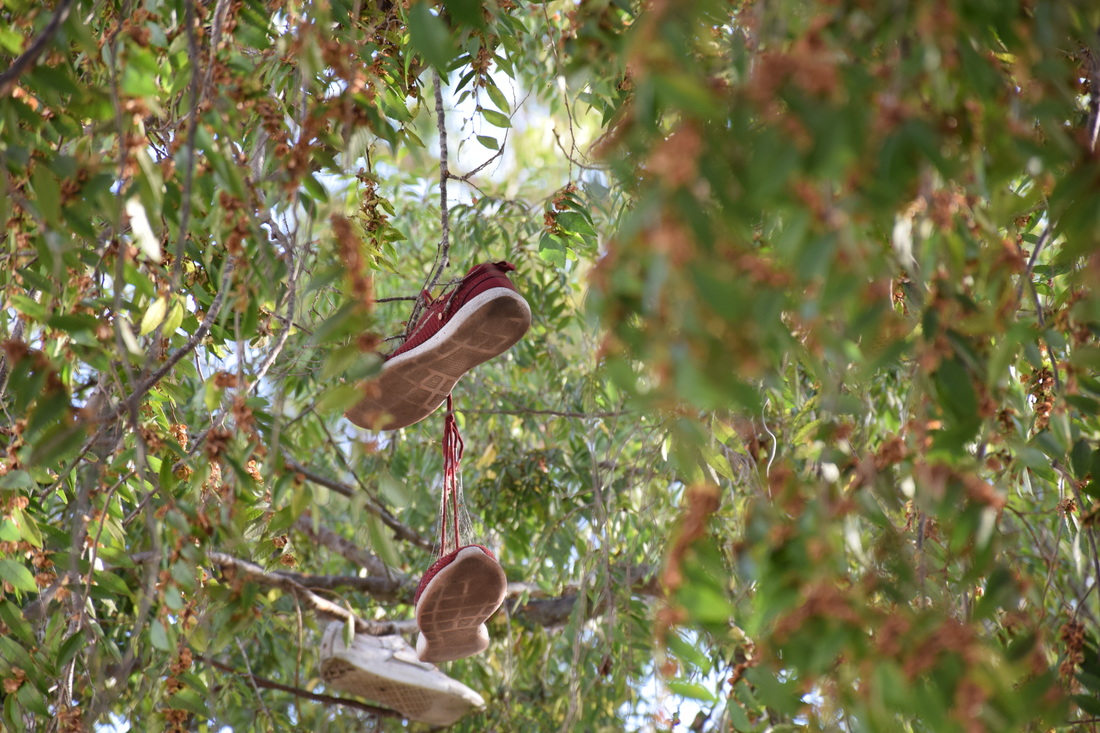
F/8 ISO 400 Shutter Speed 1/125
This photo was taken by the boys locker room behind the gym. This image shows a good use of variety because its not everyday you look into a tree and see a bunch of shoes in it. I think what makes this photo work is how there was a little opening in the leaves and these shoes were right in that clearing.
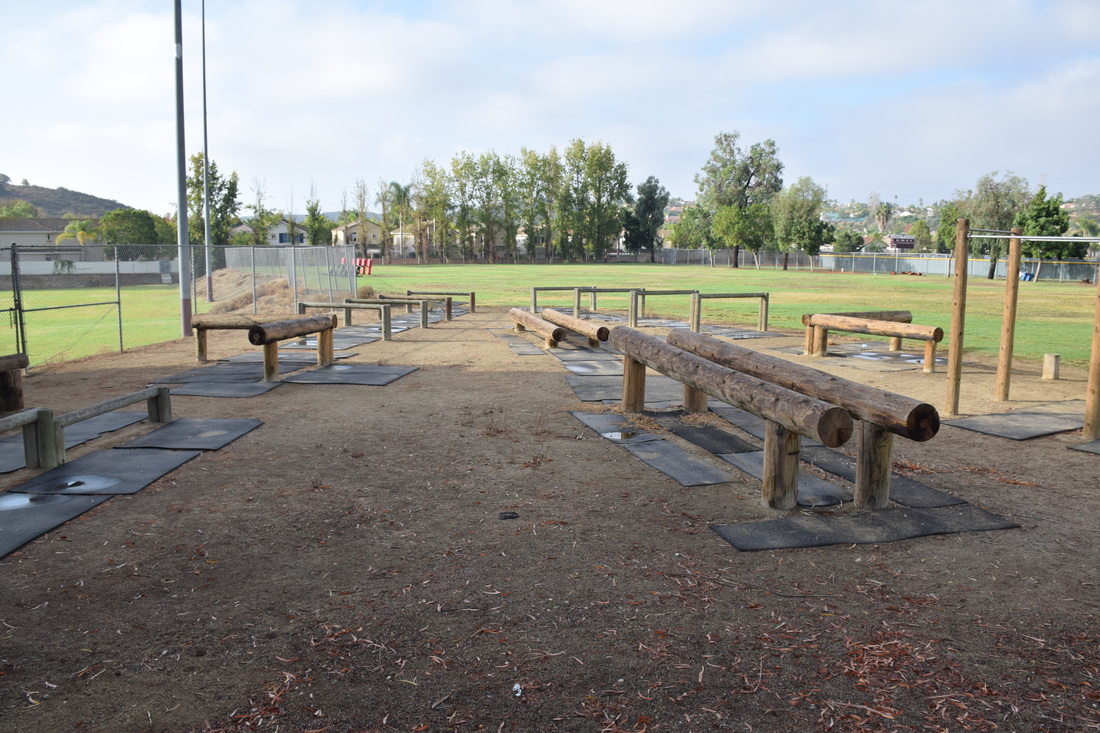
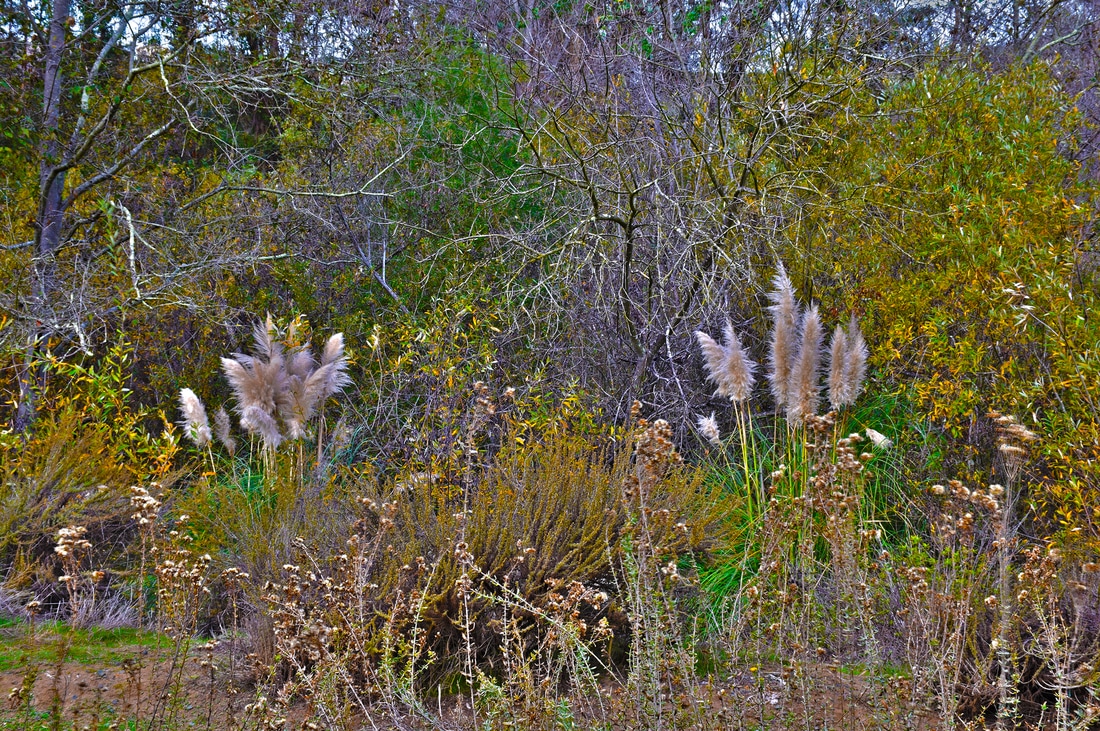
F/8 ISO 400 Shutter Speed 1/750
This photo is of the patch and the log made workout equipment. I think this photo works for Unity because everything in the picture kind of blends together to make you get a sort of outdoor work out vibe. What I think makes this photo work is how everything is in focus, even the red leaves on the ground.
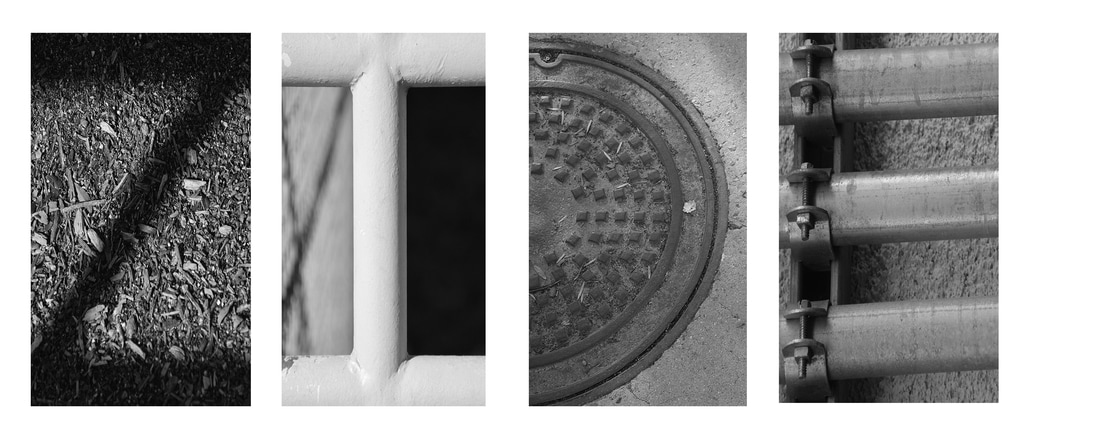
Elements of Photography Photos
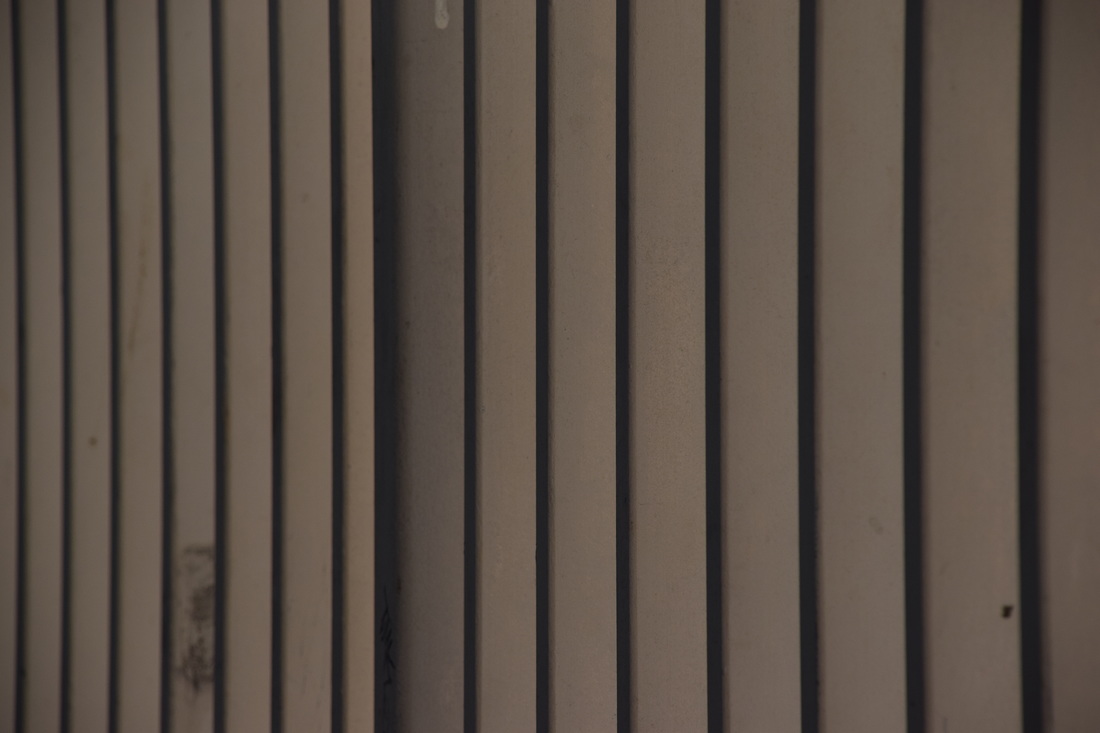
F/8 ISO 400 Shutter Speed 1/1,250
This photo is of the metal bars in the quad that keep students from falling off the stage 10 feet to the blacktop. This picture works with line because it has a lot of lines that are up and down or vertical. I like this photo because the angle that I took it at makes it look like the bars are receding to the shadows.
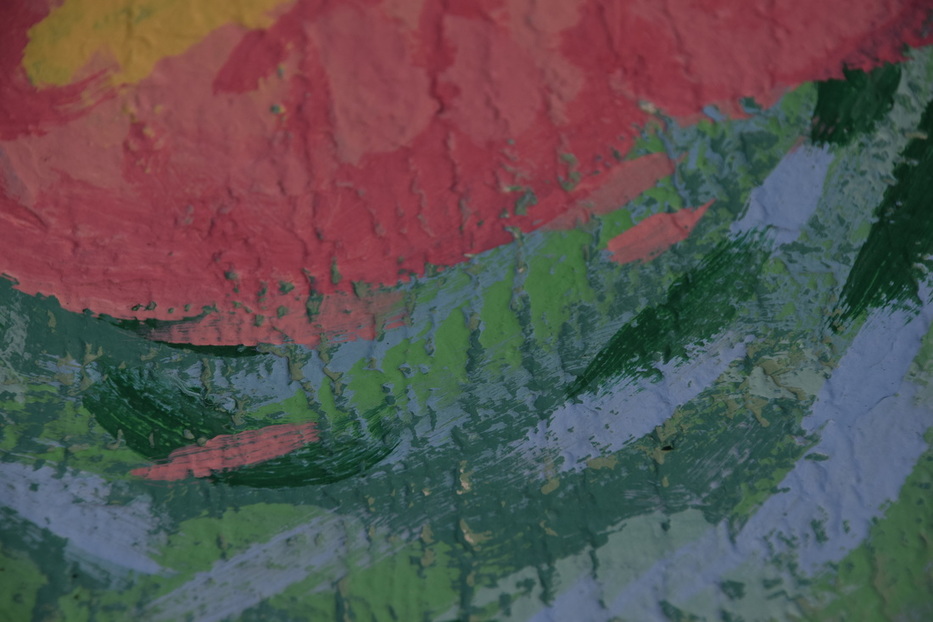
F/8 ISO 400 1/400
I took this photo at all of the wall paintings that we got painted last year on the PAC. This photo works because it shows both hot and cold colors but they blend well with each other. The element of color is the whole photo and I think this picture works well because it isn't the whole painting so its not a lot of different colors and there isn't a subject to focus on so you are sort of forced to look at all the colors and imagine what the whole painting looks like.
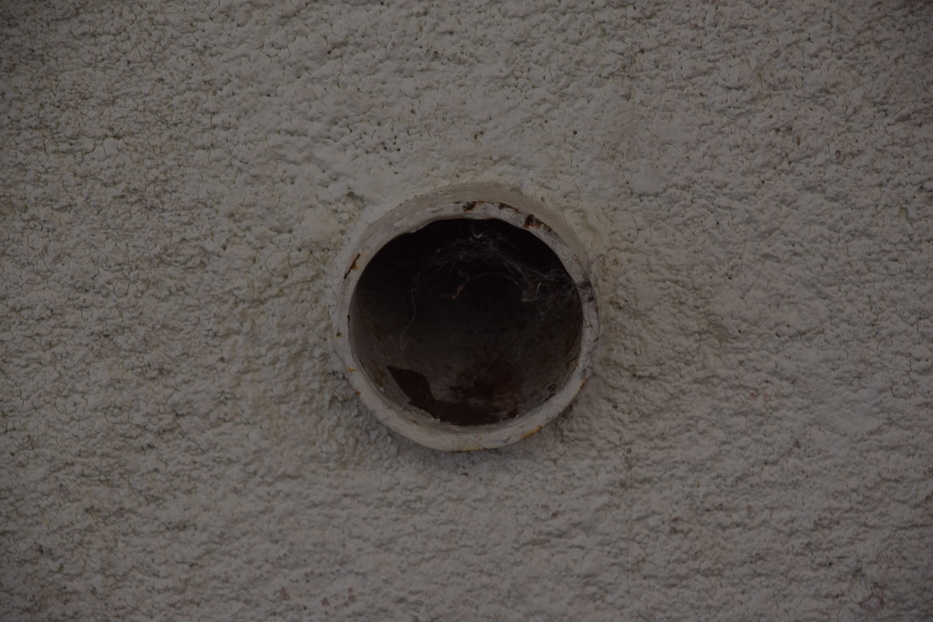
F/8 ISO 400 Shutter Speed 1/160
I took this photo in the hallway between the gym and the band room and it is of the rain drain that runs inside of the wall. The element of shape is the main focal point in this photo and the shape is a circle protruding from the wall. I think what makes this photo work is that its so distinct and its really the only thing you can see, also the angle that I took this photo at does the circle some justice cause it gives it a third dimensional look.
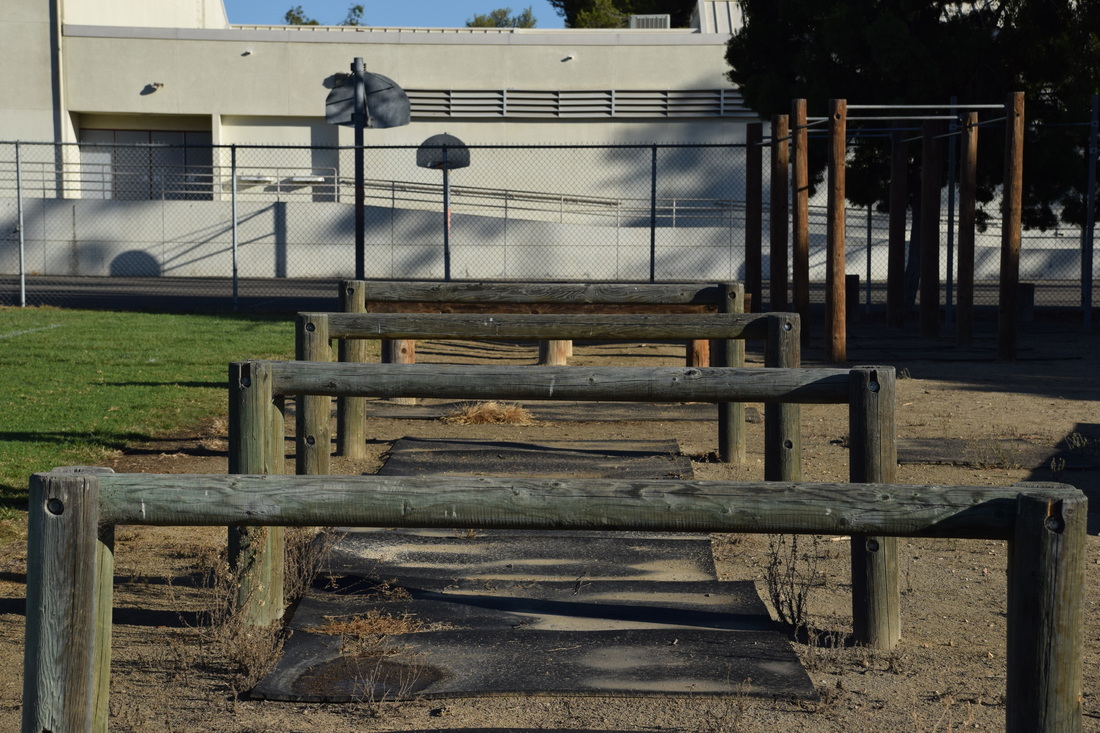
F/8 ISO 400 Shutter Speed 1/1,600
I took this photo at the patch of the wooden hurdles. This photo is of form and it shows that because the hurdles are repetitive, similar and pretty close to each other. I think what works best in this photo is the allusion that each hurdle is receding or even shrinking in length but gaining height compared to each previous one.
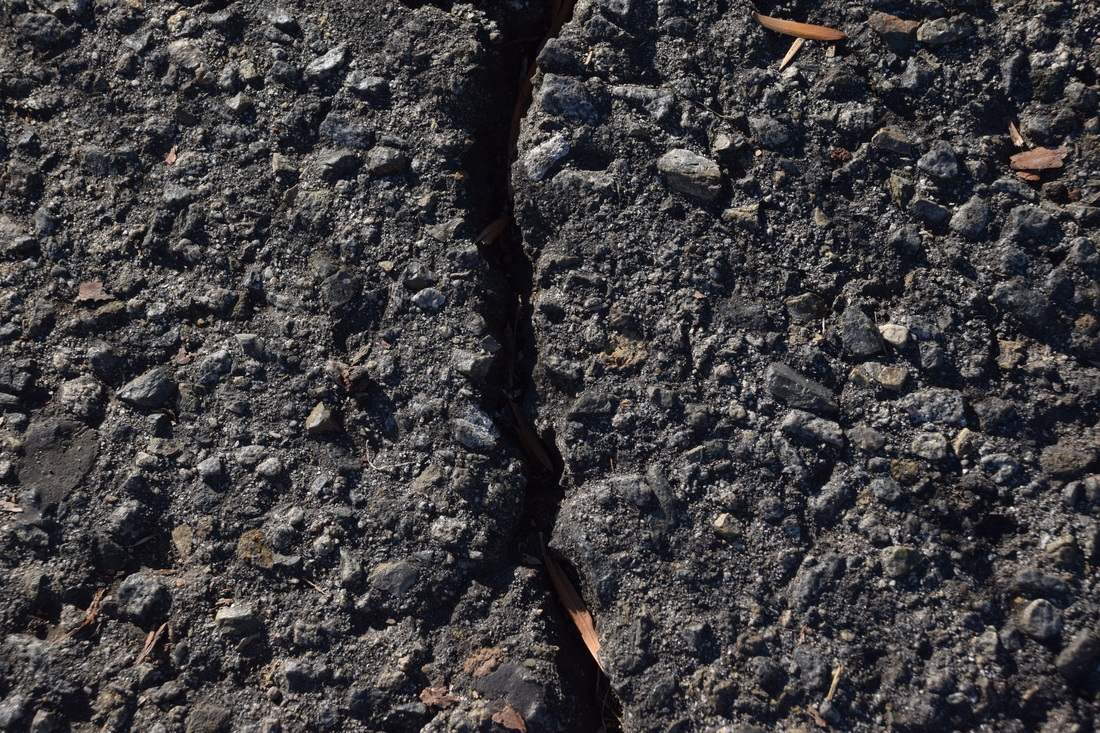
F/8 ISO 400 Shutter Speed 1/640
This photo is of the earthquake-cracked blacktop down at the basketball courts. I think this photo works well as texture because I tried to choose something that people are familiar with so it isn't as hard to imagine what it feels like in real life. I like the crack running through the middle because, since it goes through the entire photo and you can't see where it starts or ends, it gives the allusion that it is infinite. I also like how dark it gets in that crack because it looks like it goes down pretty deep.
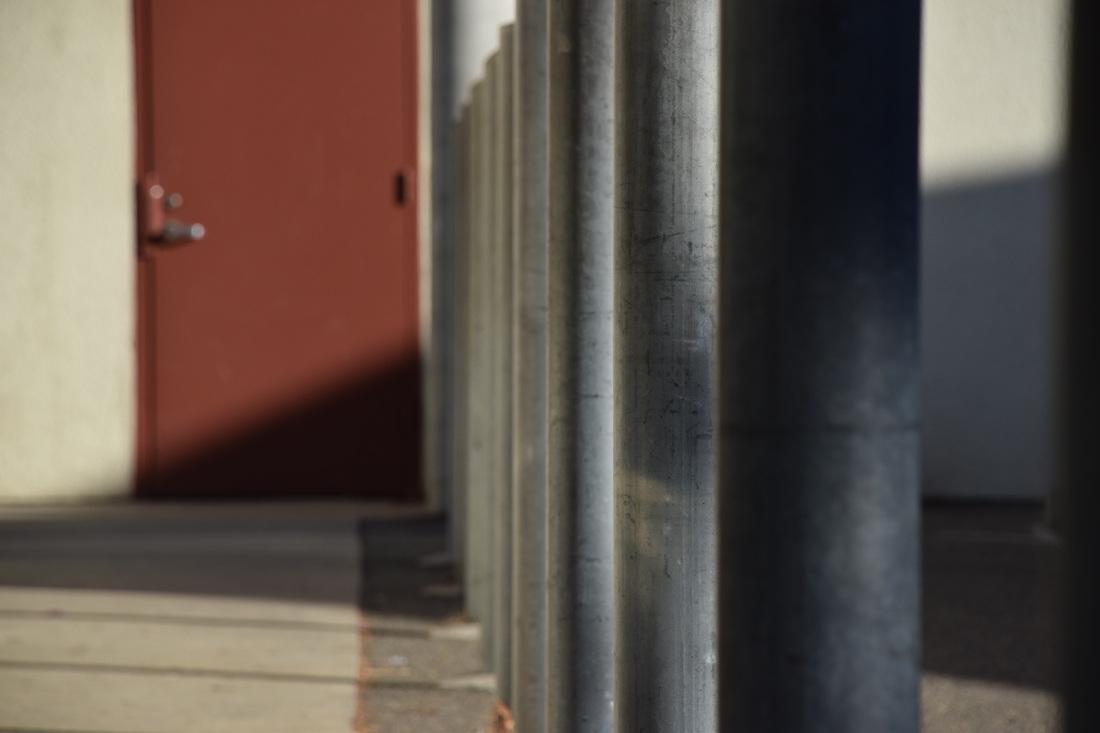
F/8 ISO 400 Shutter Speed 1/1,600
This photo was taken in front of the wrestling room where all of those metal poles are in front of the classrooms. I like this picture because there is a good angle for depth showing all the poles receding. I think what makes this photo work is the door at the back because even though its out of focus it draws in a lot of the attention in the photo.
F/8 ISO 400 Shutter Speed 1/3,200
This photo was taking on the back wall of Mr. Disney's room over by the weight room. this photo shows a good use of value because it has two different colors (black and white) combining. I like that the light traveled through the little openings within the tree and produced some cool looking shadows on the wall. I think what makes this photo work is that you can tell its a shadow from a tree.
Elements & Principles of Photography Write Up
Elements of Art
- The “building block” of art
- All good design will have one or more of these elements, line, shape, form, texture, space, and value.
- This presentation aims to show you some illustrations of these elements through photography. It could also be done through other art methods, such as painting, fashion design, and sculpture, etc.
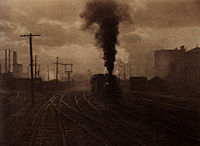 Alfred Steiglitz. The Hand of Man, 1902
Line
- A line is one dimensional and can vary in width,direction, and length. Lines also can define the edges of a form. Lines can be horizontal, vertical, diagonal, straight, or curved, thick and thin. Lines lead your eye around the composition
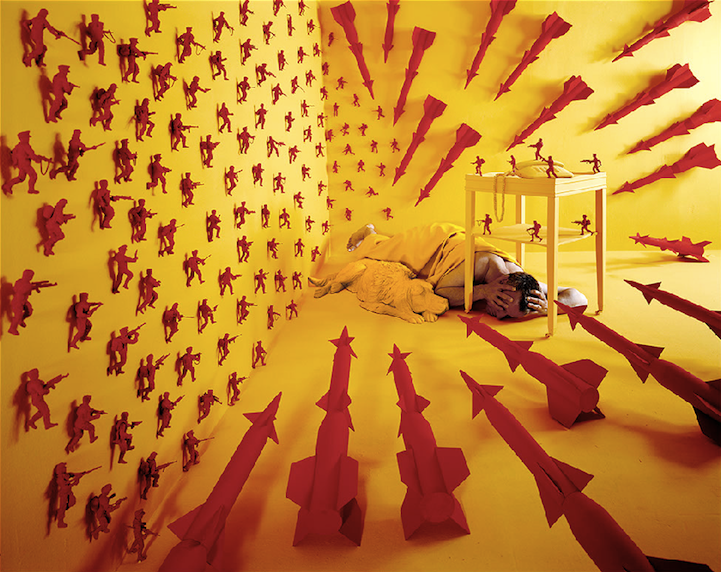 Sandy Skoglund. The Cold War, 1999
Color
- Color has three main characteristics: hue (red, yellow and green) value (how light or dark it is) and Intensity (how bright or dull it is). Colors can also be described as warm (red, yellow) or cool (blue, green).
- Furthermore, Monochromatic- one color plus it's tints (adding white) and shades (adding black)
- Complimentary Colors- colors opposite each other on the color wheel. (ex. Red & Green)
- Analogous Colors- colors next to each other on the color wheel (ex. Red & Orange)
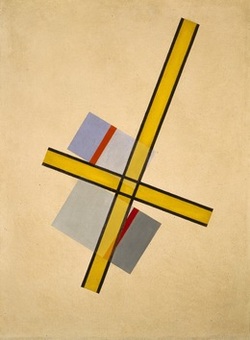 Laszlo Maholy-Nagy. Yellow Cross Q.7, 1922
Shape
- Shape is two dimensional, with a height and width
- Organic Shape: a shape made by nature. Not completely defined
- Inorganic Shape: manmade- such as triangles and rectangles.
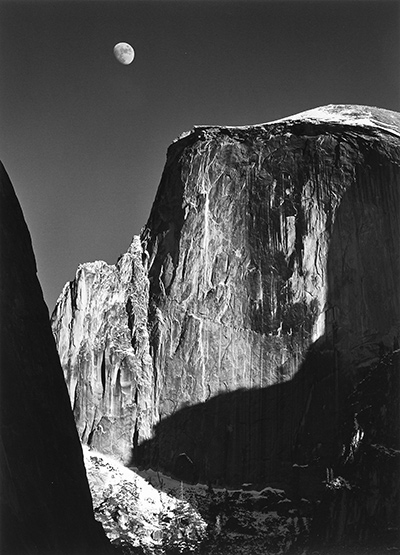 Ansel Adams. Moon Over Half Dome, 1960
Form
- Form is three dimensional, had height and width and depth.
- Photographers emphasize form by the use of highlights and shadows.
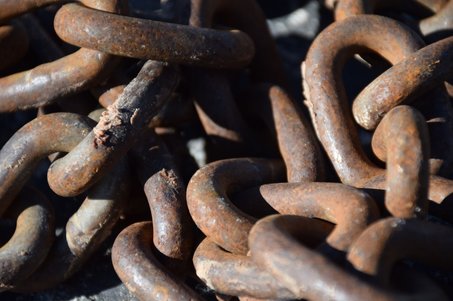
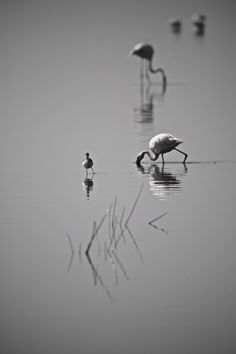 Kelly Moncure. Pecking
Texture
- The surface quality of an object that we sense through touch. All objects have a physical texture (think horsehair, dolphin smooth)
- In a two dimensional work, texture gives a visual sense of how an object depicted would feel in real life if touched.
 Josef Koudelka. Romania Gypsies, 1968
Space
- Real space is three dimensional. Space in a work of art refers to a feeling of depth or three dimensions. It can also refer to an artist’s use of the area around the picture plane.
- Positive Space: The space occupied by the primary object
- Negative Space: The space around the primary object
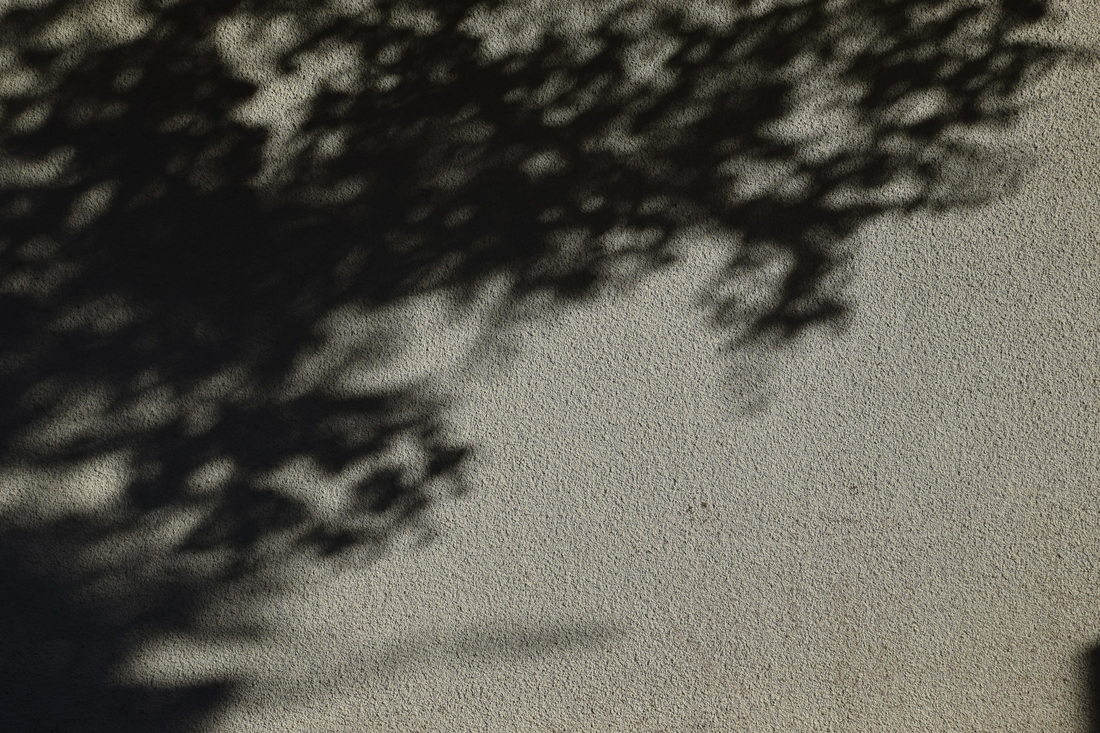
Value
- Value is the lightness or darkness of a surface. It is frequently used when talking about shading, but is also important in the study of color.
Principles of Art
- The principles of art are the rules or guidelines of art.
- Used to organize or arrange the structural elements of design
- Principles are balance, proportion, rhythm, emphasis, harmony, variety, and unity.
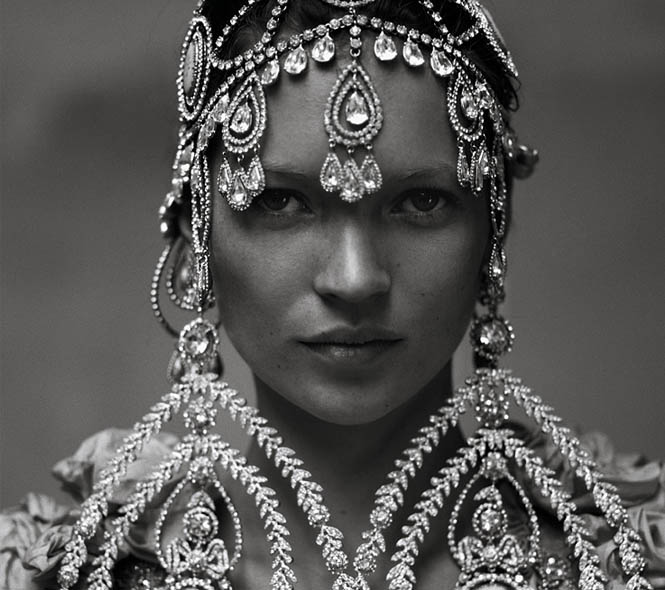 Annie Leibovitz. House of Lavande, 1999
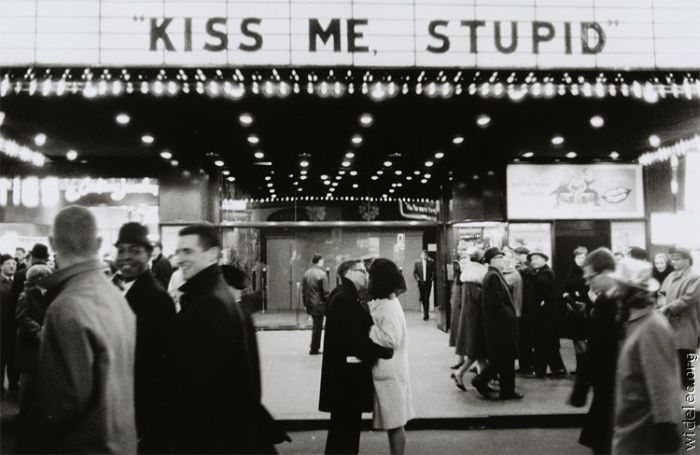
Balance
- Balance is similar to our physical sense of balance. It is how the artist uses opposing forces in a composition that results in visual stability
- Most successful compositions achieve balance in one of two ways: symmetrically (the same on both sides, like a butterfly wing) or asymmetrically.
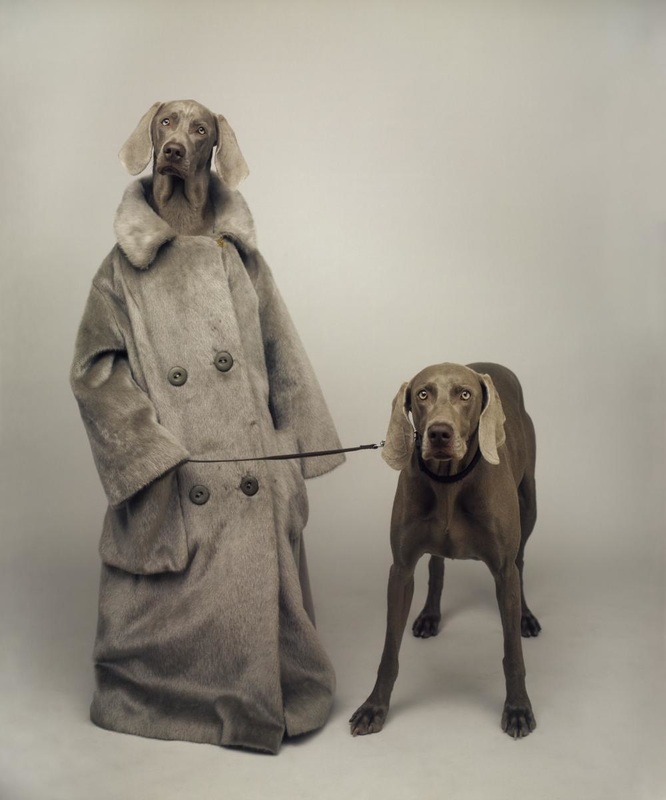
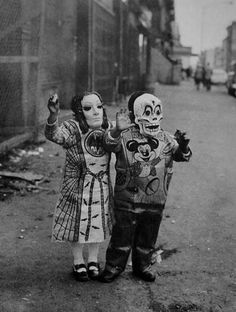 Diane Arbus. Step into my Attic
Proportion
- Proportion relates to the relative size and scale the various elements in a design. Specifically, the relationship between the objects.
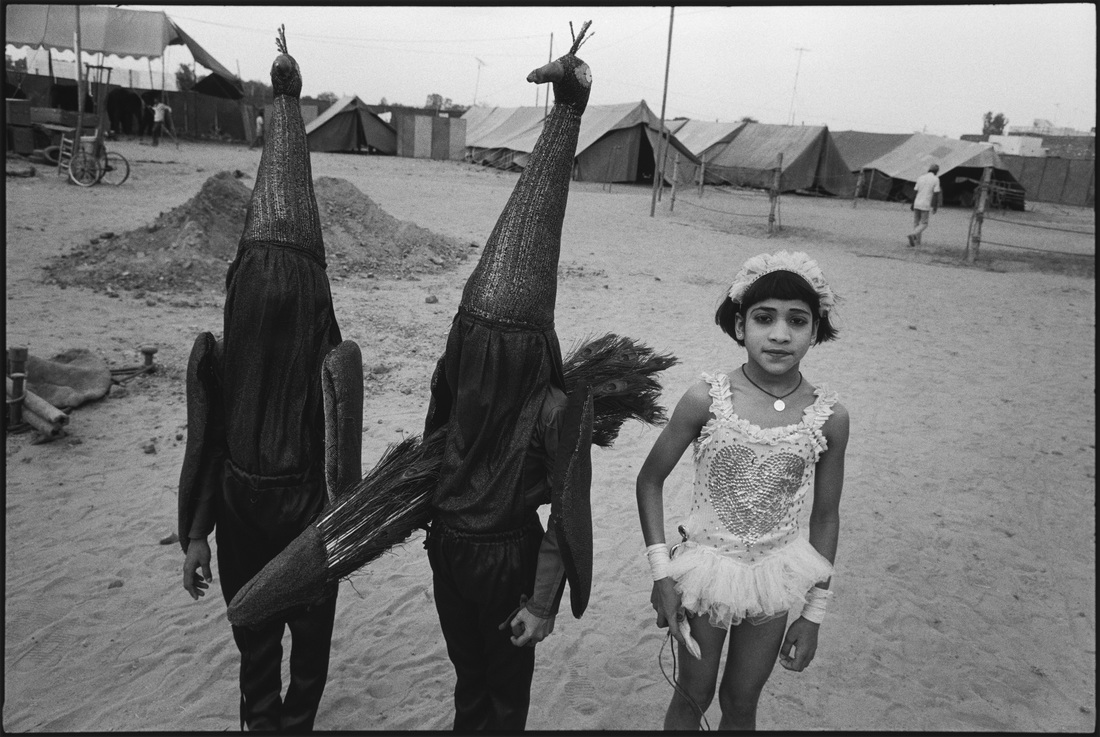
 Robert Capa
Rhythm
- Rhythm in an artwork indicates movement by the repetition of elements. Rhythm can make an artwork seem active.
 Steve McCurry. Buddhism
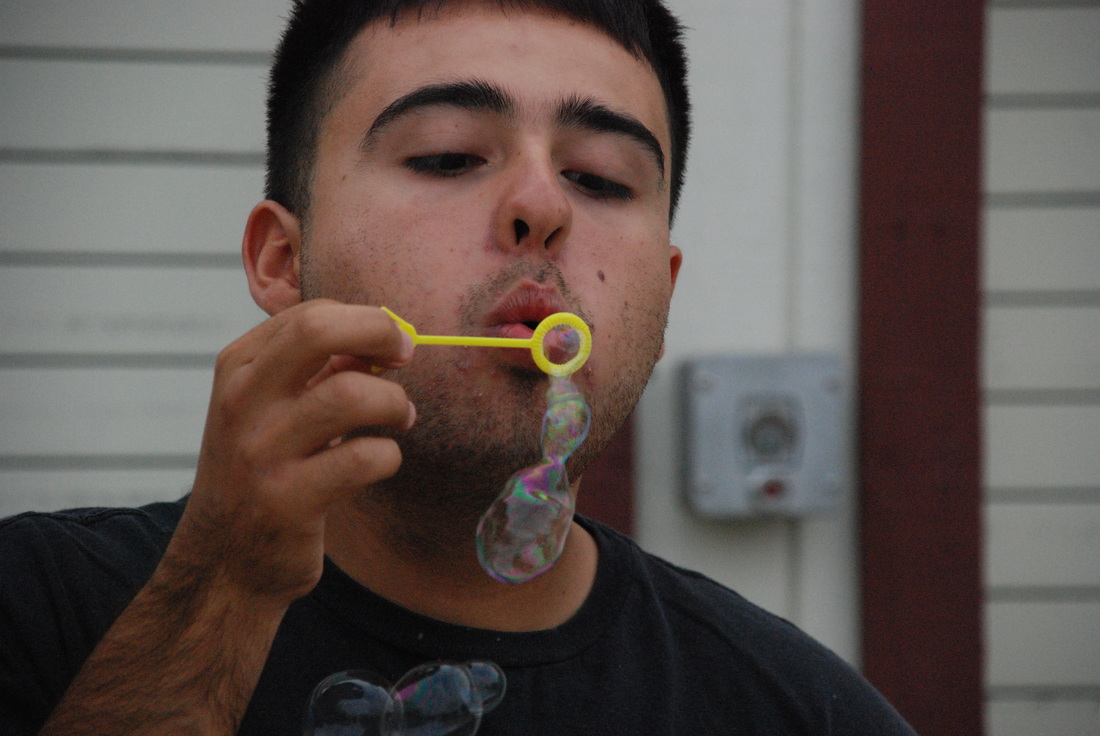
Emphasis
- Emphasis is to make one part of an artwork dominant over the other parts. It attracts the viewer’s eyes to a place of special in importance in artwork.
Harmony
- Harmony is the pleasing quality achieved by different elements of a composition interacting to form a whole. Harmony is often accomplished through repetition of the same or similar characteristics.
Variety
- Differences achieved by opposing, contrasting, changing, elaborating, or diversifying elements in a composition to add individualism and interest.
Unity
- Unity is the result of bringing the elements of art into the appropriate ratio between harmony and variety to achieve a sense of oneness. It is the sense that everything works together and looks like it fits
Shutter Speed Photos
F/5.6 ISO 1600 Shutter Speed 1/1,000
F/5.6 ISO 1600 Shutter Speed 1/1,000
F/5.6 ISO 1600 Shutter Speed 1/1,000
F/5.6 ISO 1600 Shutter Speed 1/1,000
|

F/5.6 ISO 1600 Shutter Speed 1/1,000
F/5.6 ISO 1600 Shutter Speed 1/1,000
F/5.6 ISO 1600 Shutter Speed 1/1,000
F/5.6 ISO 1600 Shutter Speed 1/1,000
|
RESPECT

My entry for the respect photo contest is a picture of Marcos lifting weights. The reason I chose this is because it shows how people can be occupied by stuff other than drugs. When people do drugs they can become addicted really fast but this shows that you shouldn’t waste your time doing stupid things like drugs but instead put time and effort into other things like getting #swole. The reason I chose to color the wall red instead of anything else was mainly because I was having trouble turning the dumbells red which would’ve been ideal for the image I had in my head. I chose to do the wall behind him instead because he is not looking towards it so it sort of shows that he isn’t looking at drugs but looking at a cleaner, healthier version of life, working out.
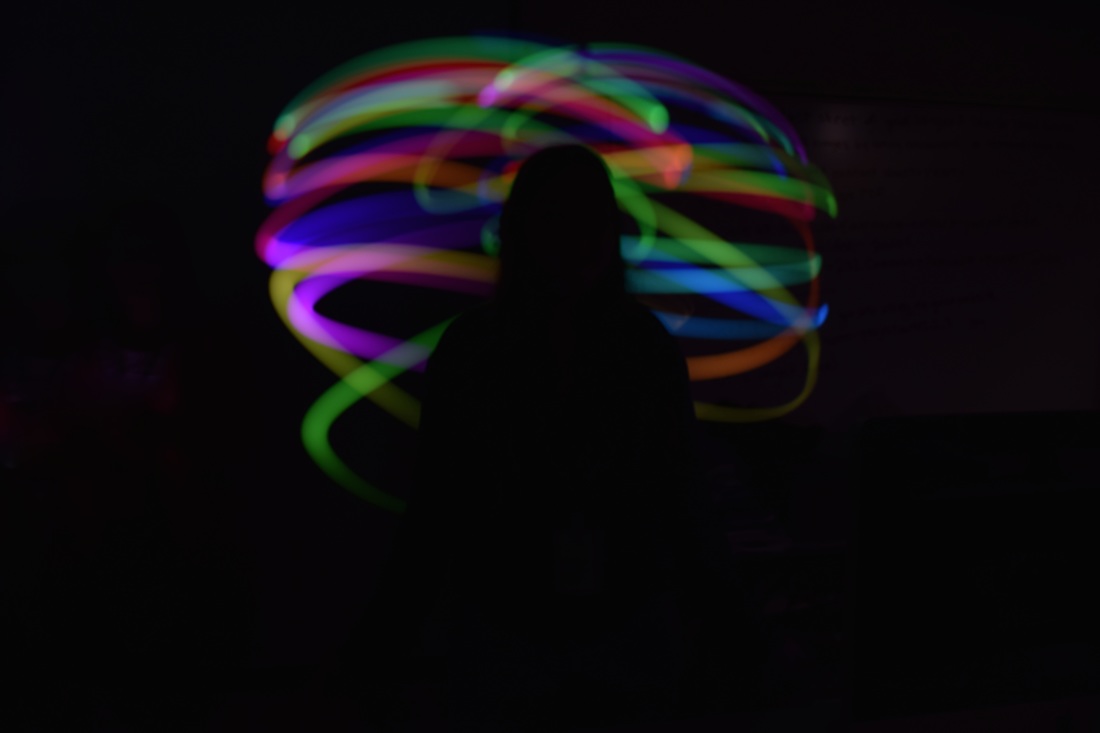
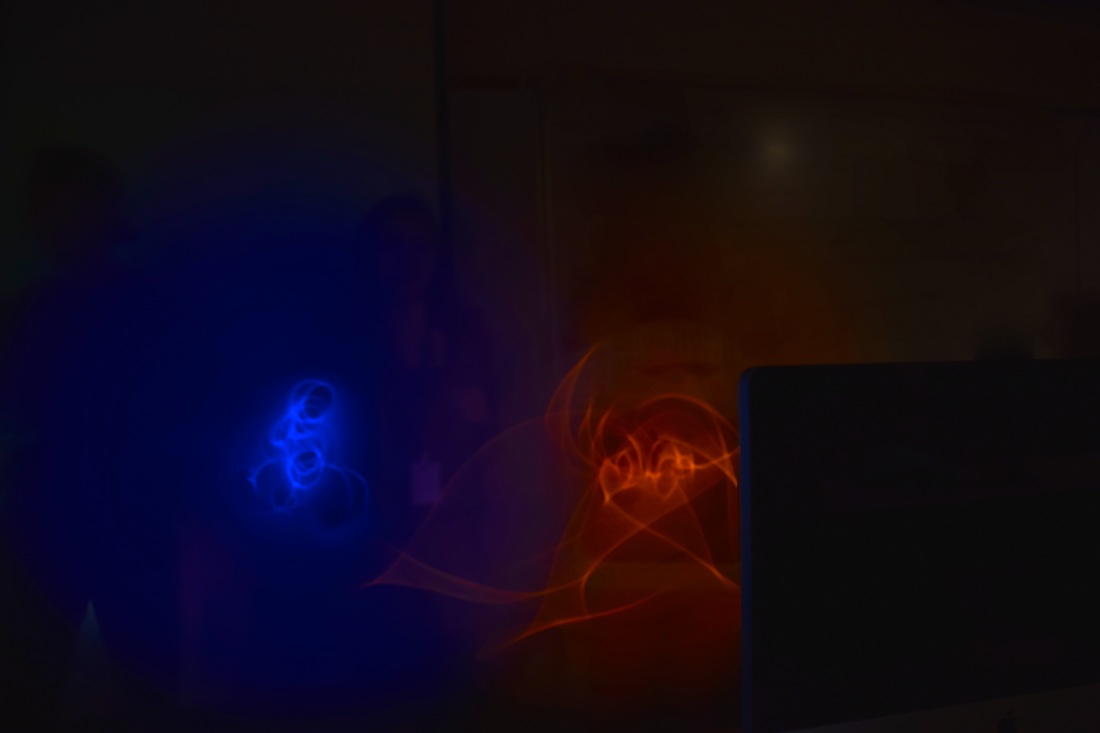
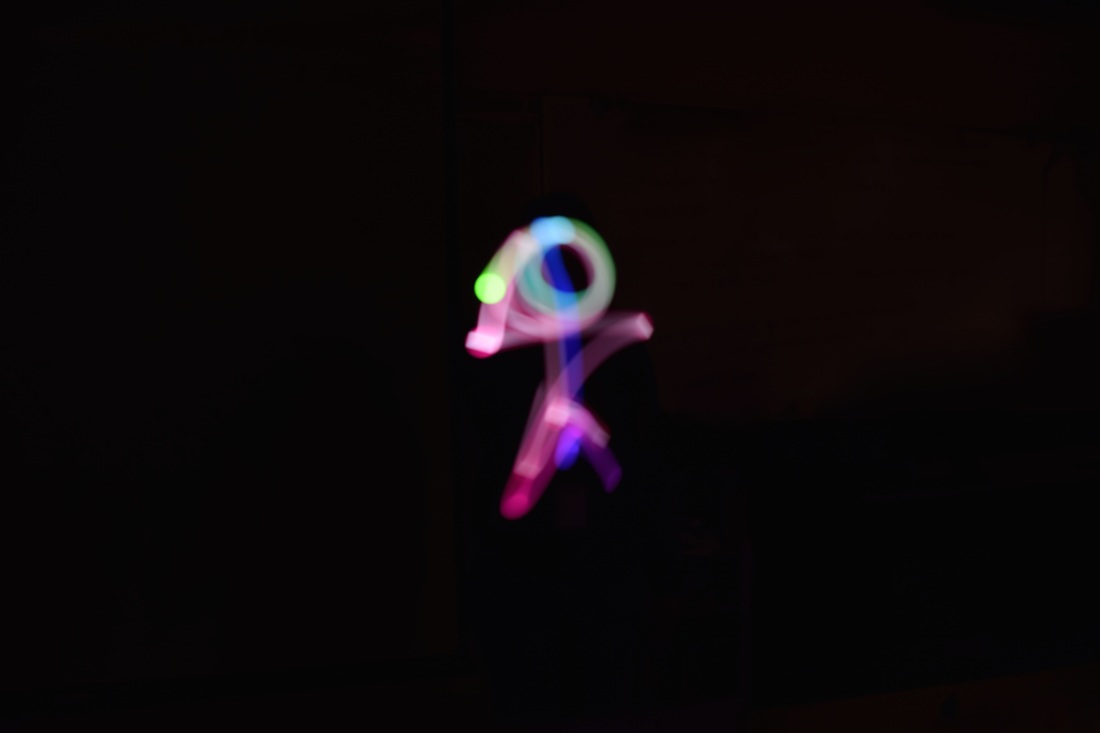
Light Painting
F/5.6 ISO 100 Shutter Speed 6.0
F/5.6 ISO 100 Shutter Speed 6.0
F/5.6 ISO 100 Shutter Speed 6.0
|
F/5.6 ISO 100 Shutter Speed 6.0

F/5.6 ISO 100 Shutter Speed 6.0

F/5.6 ISO 100 Shutter Speed 6.0
|
Shutter Speed Photo Project
F/16 ISO 100 Shutter Speed 1.0
F/9.5 ISO 100 Shutter Speed 1/30
F/6.7 ISO 100 Shutter Speed 1/60
F/3.3 ISO 100 Shutter Speed 1/250
F/1.8 ISO 100 Shutter Speed 1/1,000
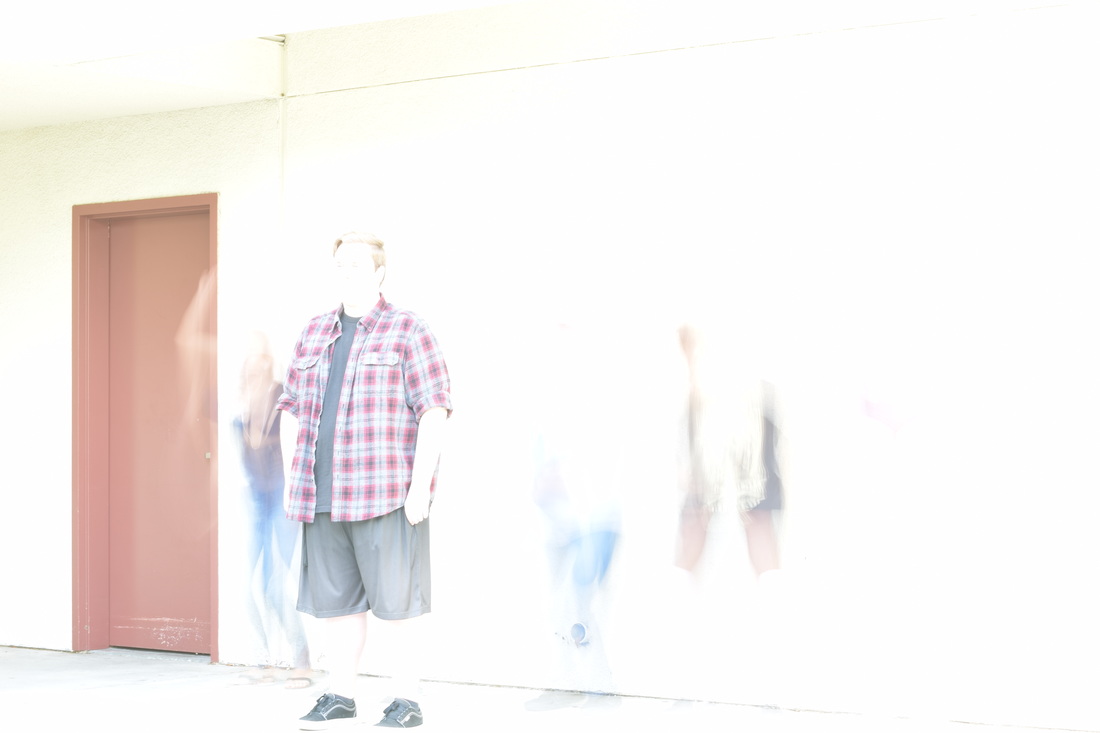
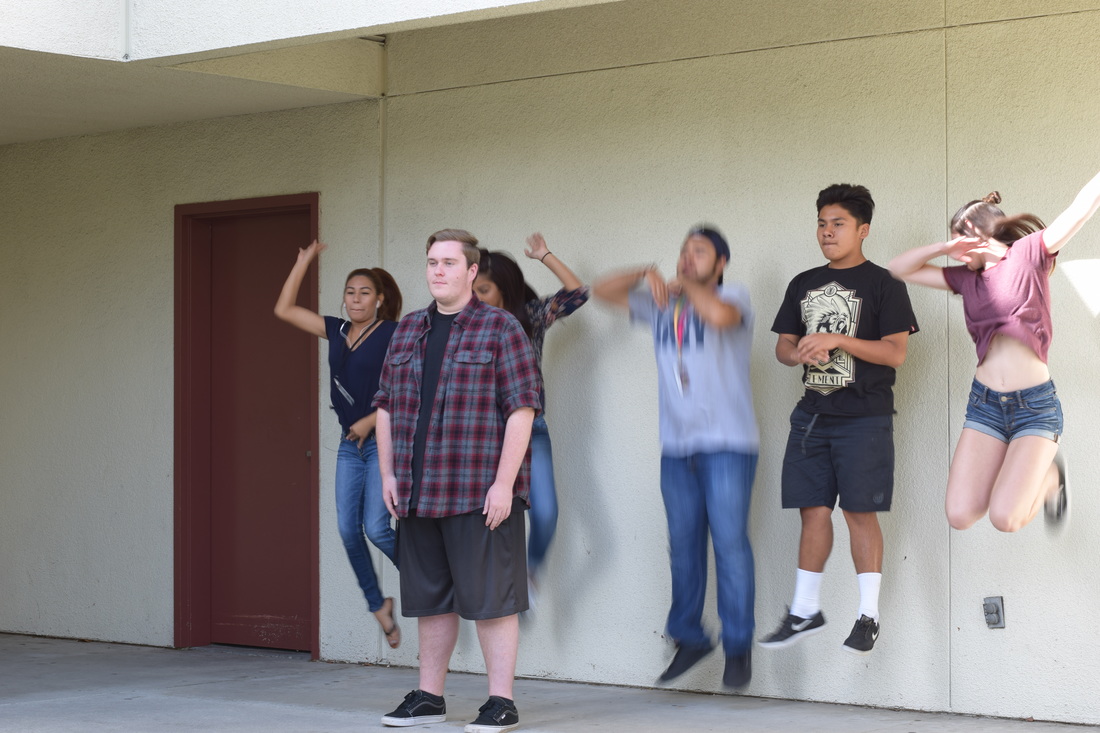
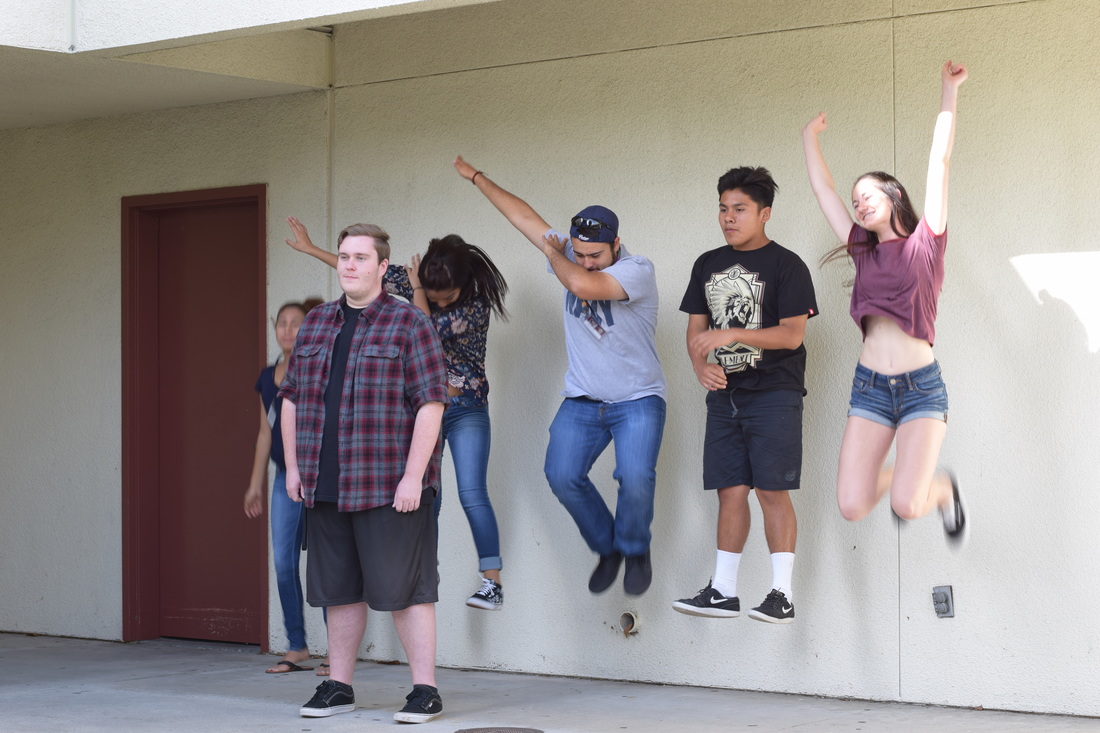
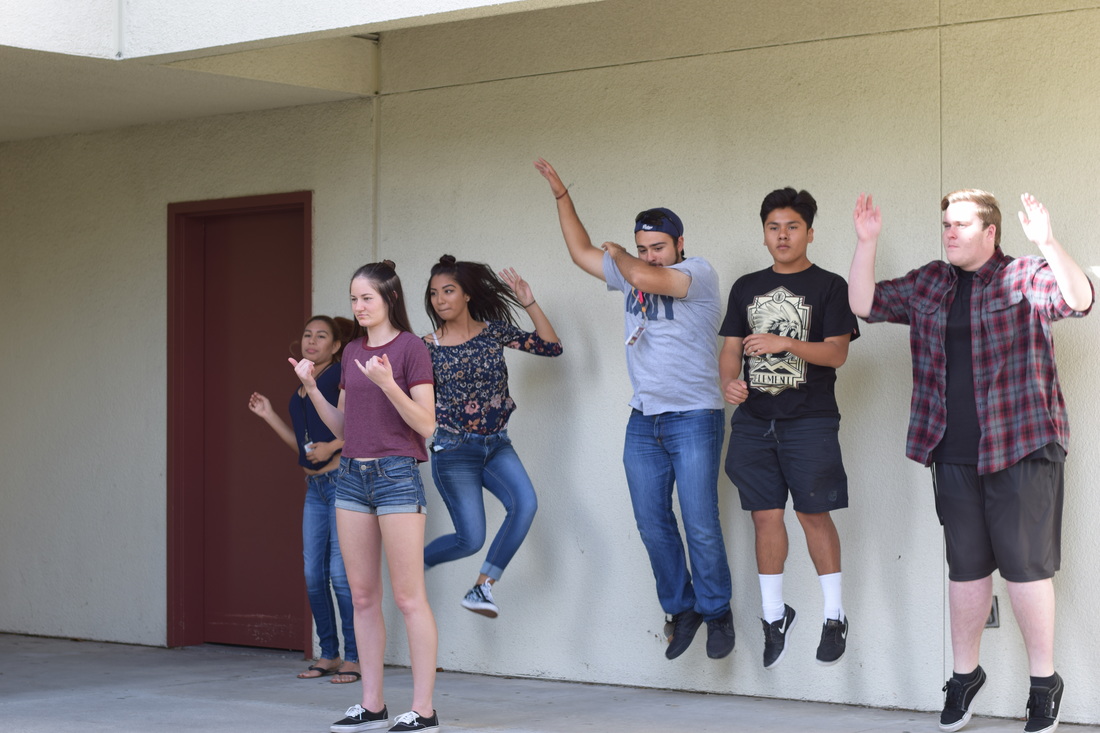
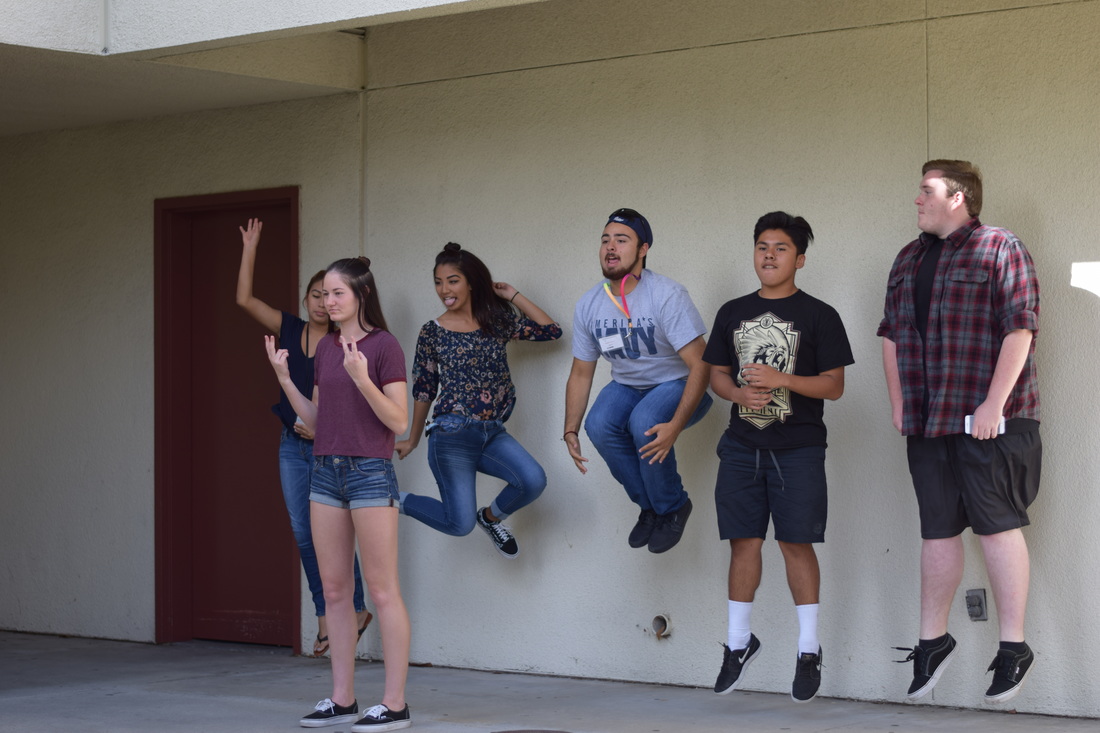
1)Before coming outside with the cameras we first had to change the camera to shutter priority. To do this you need to go to the top knob on the camera with all the different settings, we usually have it set at "A" but you just need to rotate it until its on the "S" setting which stands for shutter priority.
2)Now that you are in Shutter priority you can change the shutter speed from faster to slower as you please. When the shutter speed is slow for example at 1 second, the picture is usually gonna come out blurry because it will capture all the movement that happens in the frame or if your holding the camera and wobble it will pick up that movement and mess the photo up so we used tripods to help us out. As you make the shutter speed faster and faster the pictures start to get more clear and not as blurry, basically the camera is snapping the picture so fast it sort of freezes time and gets the exact moment that you press down on the capture button.
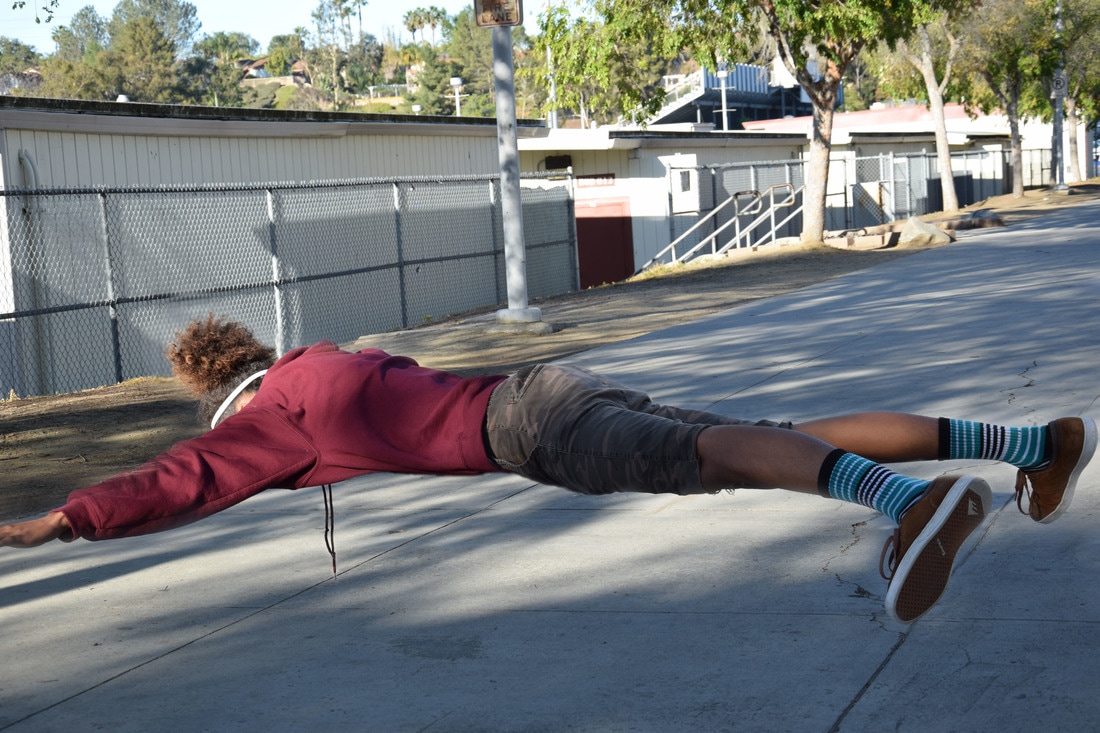
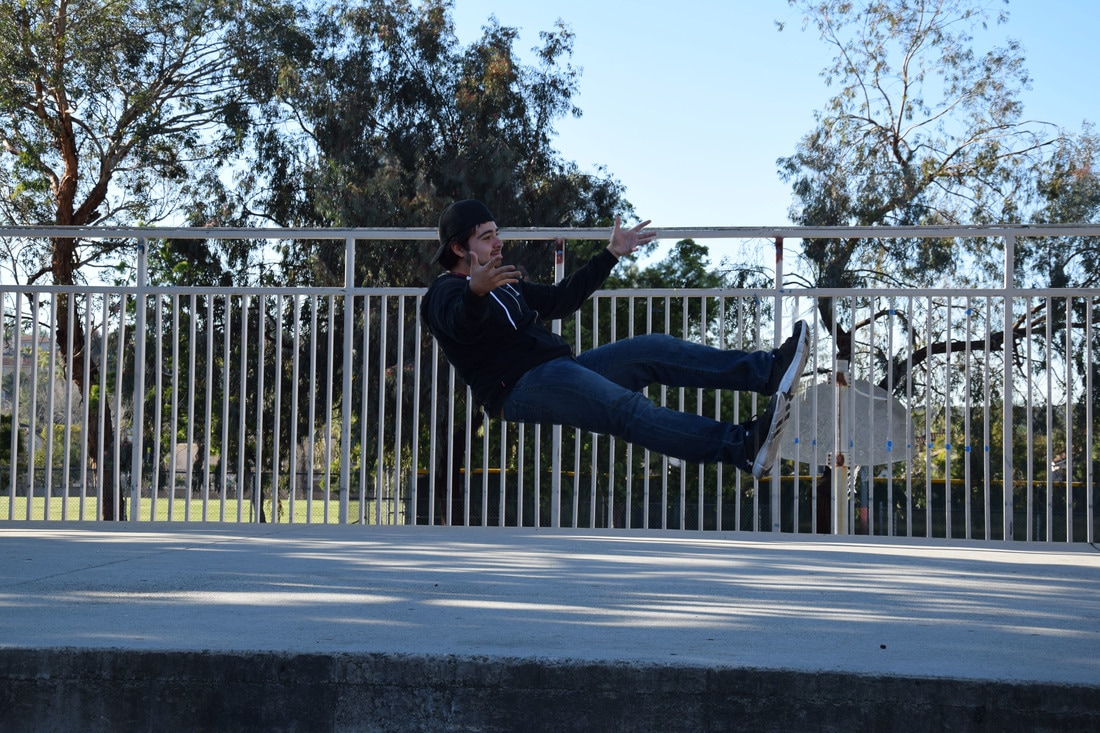
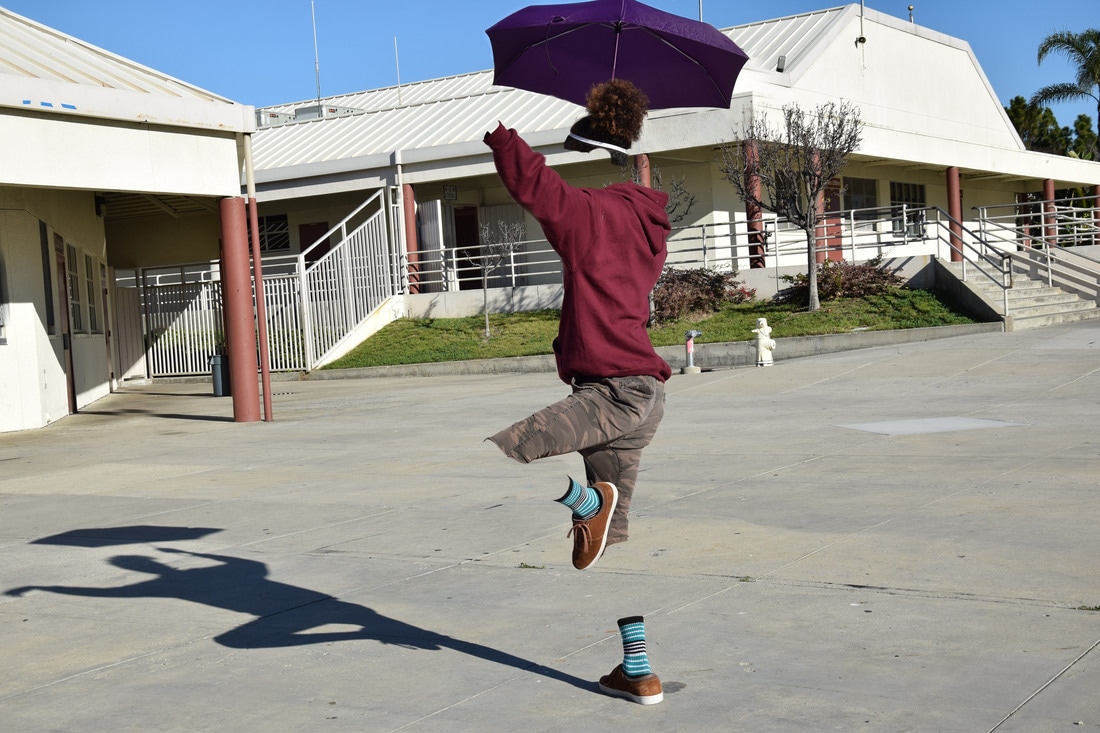
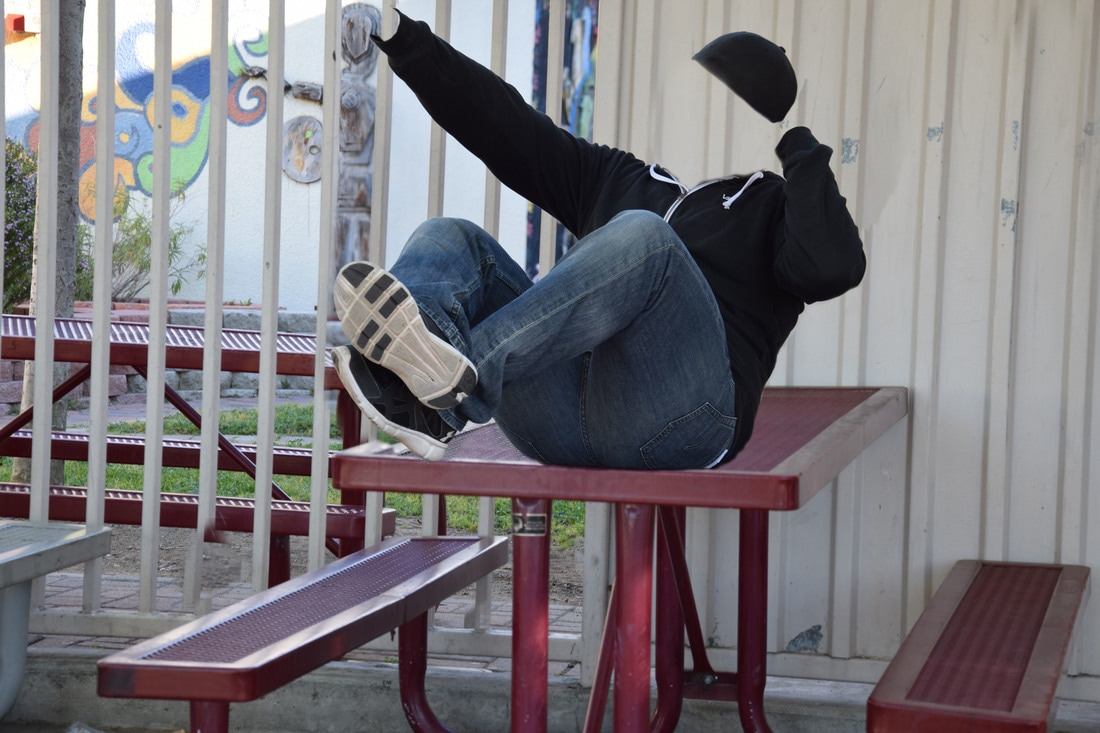
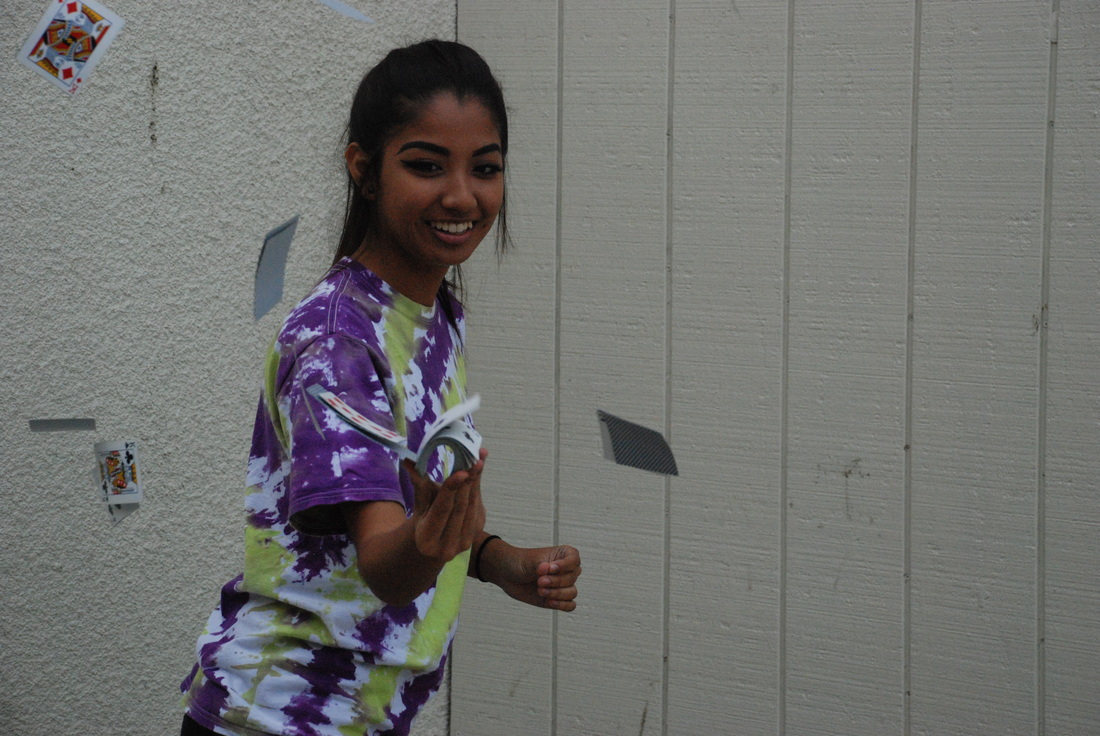
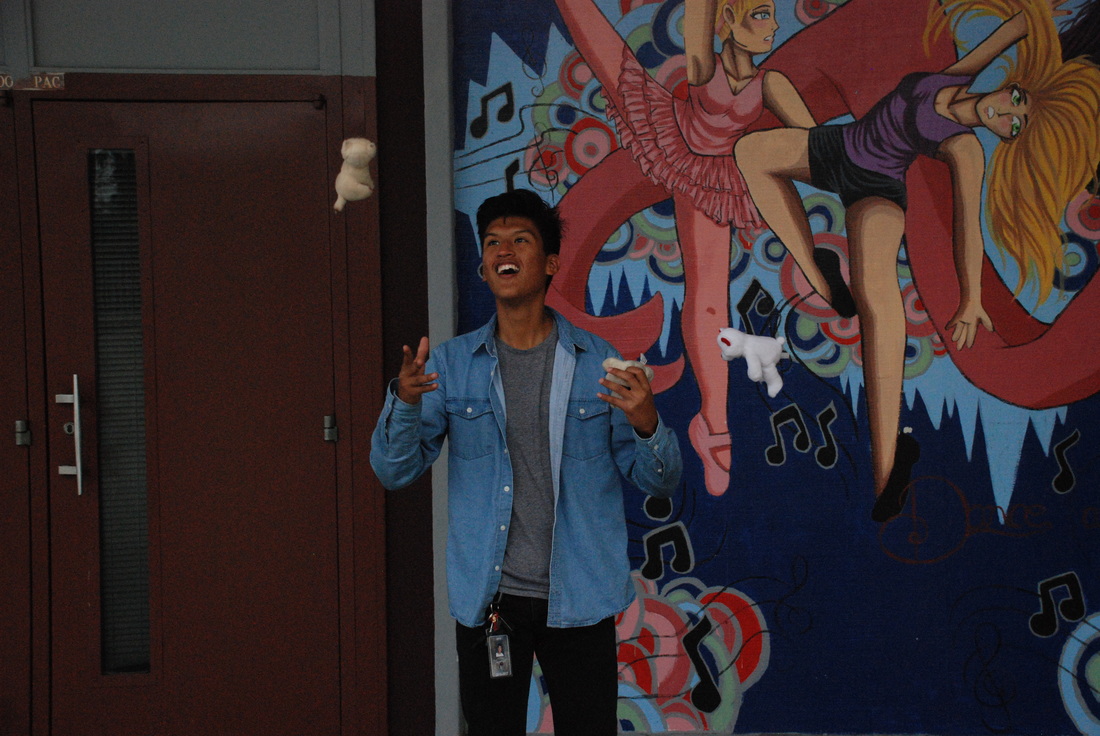
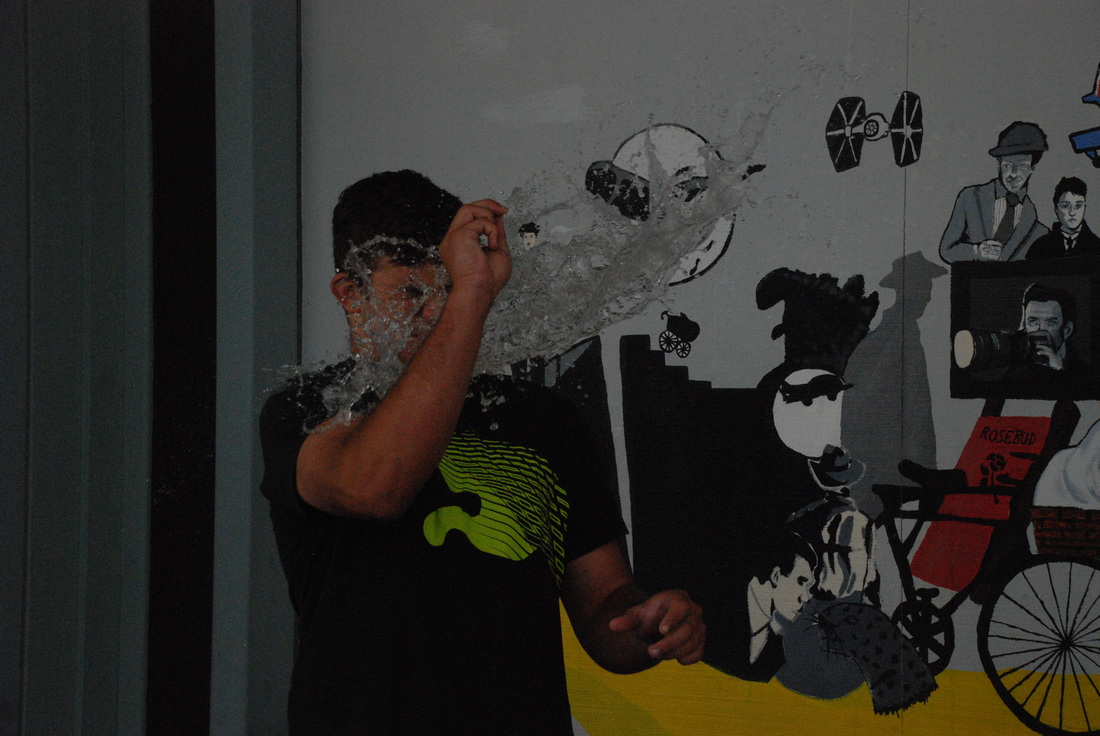
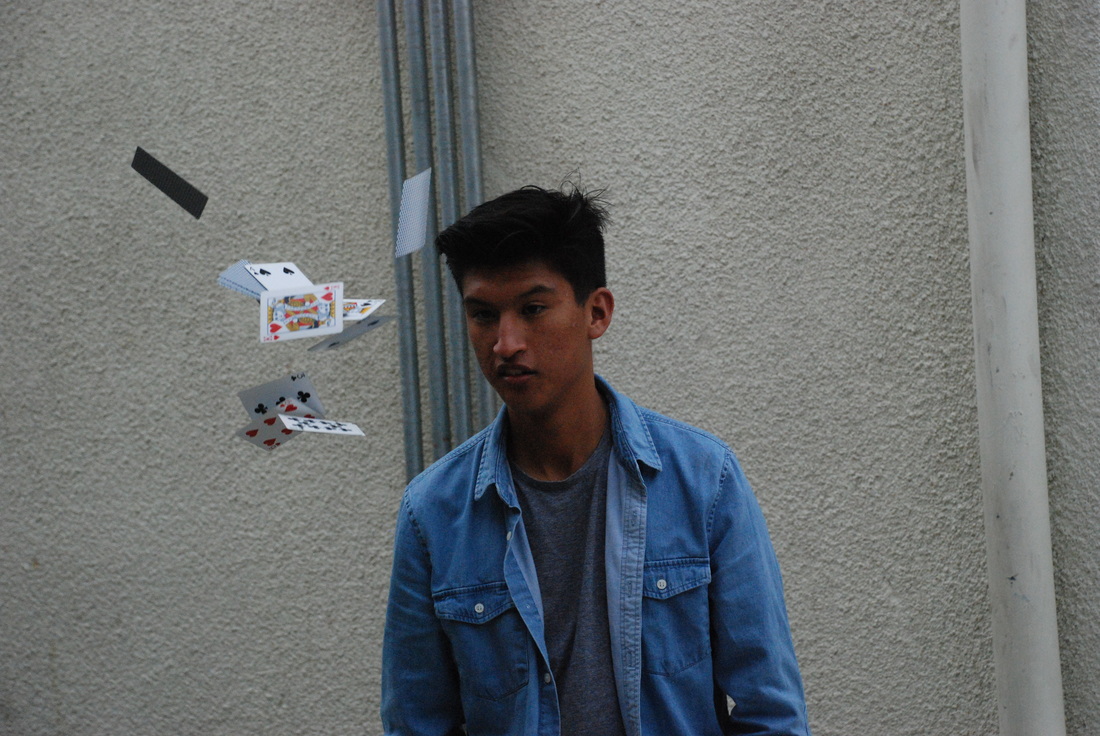
3) Some good situations or times that you should use shutter speed would be of course in a time where people are jumping and you want to get them in midair, other reasons to use faster shutter speeds is if you are trying to take pictures of fast moving objects like cars at a race or maybe a bird flying by. You could also use it to give the allusion that something is floating in the air if you or a friend throws something in the air and you snap a picture of it really quick suspended in air.
4)Shutter Speed
2)Now that you are in Shutter priority you can change the shutter speed from faster to slower as you please. When the shutter speed is slow for example at 1 second, the picture is usually gonna come out blurry because it will capture all the movement that happens in the frame or if your holding the camera and wobble it will pick up that movement and mess the photo up so we used tripods to help us out. As you make the shutter speed faster and faster the pictures start to get more clear and not as blurry, basically the camera is snapping the picture so fast it sort of freezes time and gets the exact moment that you press down on the capture button.
3) Some good situations or times that you should use shutter speed would be of course in a time where people are jumping and you want to get them in midair, other reasons to use faster shutter speeds is if you are trying to take pictures of fast moving objects like cars at a race or maybe a bird flying by. You could also use it to give the allusion that something is floating in the air if you or a friend throws something in the air and you snap a picture of it really quick suspended in air.
4)Shutter Speed
- Shutter speed are both a technical and aesthetic choice a photographer needs to make before they press the shutter
- The shutter inside your camera controls the duration of time the sensor is exposed to light
- Capturing blur or motion in your photo can emphasize movement or add drama
- A fast shutter speed is often utilized to freeze the movement of a subject
- A slow shutter speed can be used to show motion and visualize movement
- Shutter Speeds are expressed as seconds or fractions of seconds
- As a general rule to prevent unintentional camera shake you should avoid handholding your digital cameras at shutter speeds slower than 1/2x Focal length
- Using a tripod can help eliminate camera shake when using slower shutter speeds
- The visual blur and suggestion of movement occurs because the subject is moving against a static background
- Layering motion of different subjects moving different directions at different speeds can set up interesting dynamics within a photograph
- Fast shutter speeds can make normal subjects appear to freeze in the air
- When photographing people running relatively close to the camera a shutter speed of 1/1000 second or faster should freeze most motion
- The distance the subject is from the camera, the speed of the subject, and the focal length of the lens will affect whether the subject is sharp or blurred
- For capturing subject movement the focal length of the lens the distance, the direction it's moving , and the speed your subject is moving all affect how the motion is captured
- Slower shutter speeds can help convey the idea of motion and movement
- Slow shutter speeds combined with panning can help isolate the subject from a busy and distracting background
- A tripod combined with a long exposure can capture the firework trails (2 seconds @ F/6.3 is good for fireworks)
- Water movement can be emphasized with long exposures
- Camera shutter - controls duration of time sensor is exposed
Daguerreotype and Cyanotype
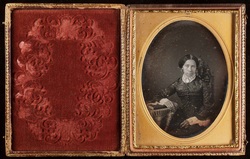
The inventor of the Daguerreotype image was Louis Daguerre and he introduced it worldwide in 1839.
To make a daguerreotype you first need to polish a piece of copper coated with silver until its super reflective like a mirror, after this you put that piece of silver coated copper into a camera obscura to capture the image. When you take the silver coated copper out it will still be blank so you then need to put the piece of copper into another box with a little box of mercury, you then heat the mercury and the fumes that come off stick to the polished silver coated copper and create the daguerreotype image.
To make a daguerreotype you first need to polish a piece of copper coated with silver until its super reflective like a mirror, after this you put that piece of silver coated copper into a camera obscura to capture the image. When you take the silver coated copper out it will still be blank so you then need to put the piece of copper into another box with a little box of mercury, you then heat the mercury and the fumes that come off stick to the polished silver coated copper and create the daguerreotype image.
John Herschel invented the cyanotype in 1839 while trying to help Talbic fix some of his images
This was the first photographic image capturing process that didn't use silver.
Herschel made a process that creates a permanent blue and white image based on the salts of iron.
It reacts to light but really comes to life after you dip it in water
The chemicals needed are potassium ferricyanide and ferric ammonium citrate.
To create these cyanotypes we first had to brush a mixture of potassium ferricyanide and ferric ammonium citrate onto a pice of paper. Once the paper was completely covered we had to dry the papers so we used hairdryers to speed the process up. Once the paper is dry we then get the image that we want to put on the paper, lay it on the paper and take it outside to lay in the sun for about 6 minutes. After your time is up you get your paper and bring it inside to rinse it off with water and a little bit of hydrogen peroxide. After a couple good rinses the mixture that you brushed on the paper early should turn a deep dark blue color and if you're satisfied with how it came out then you dry it and are done.
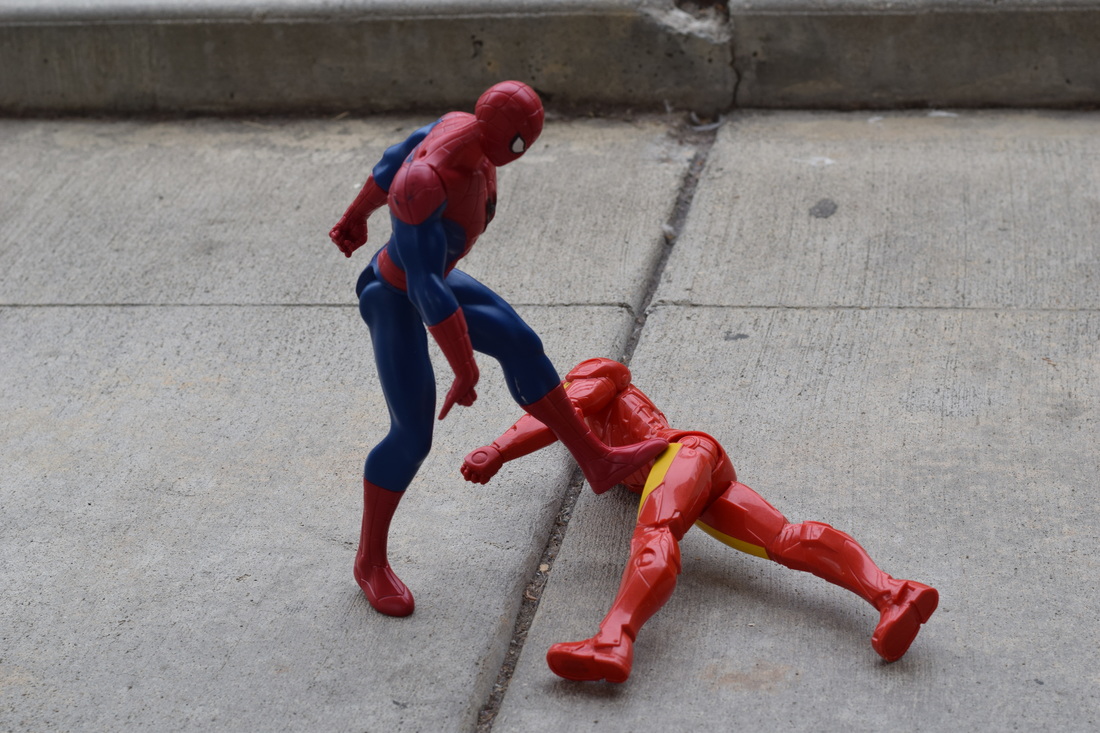
THE IRON SPIDER SKATE CONTEST/BRAWL OF DEATH 3000
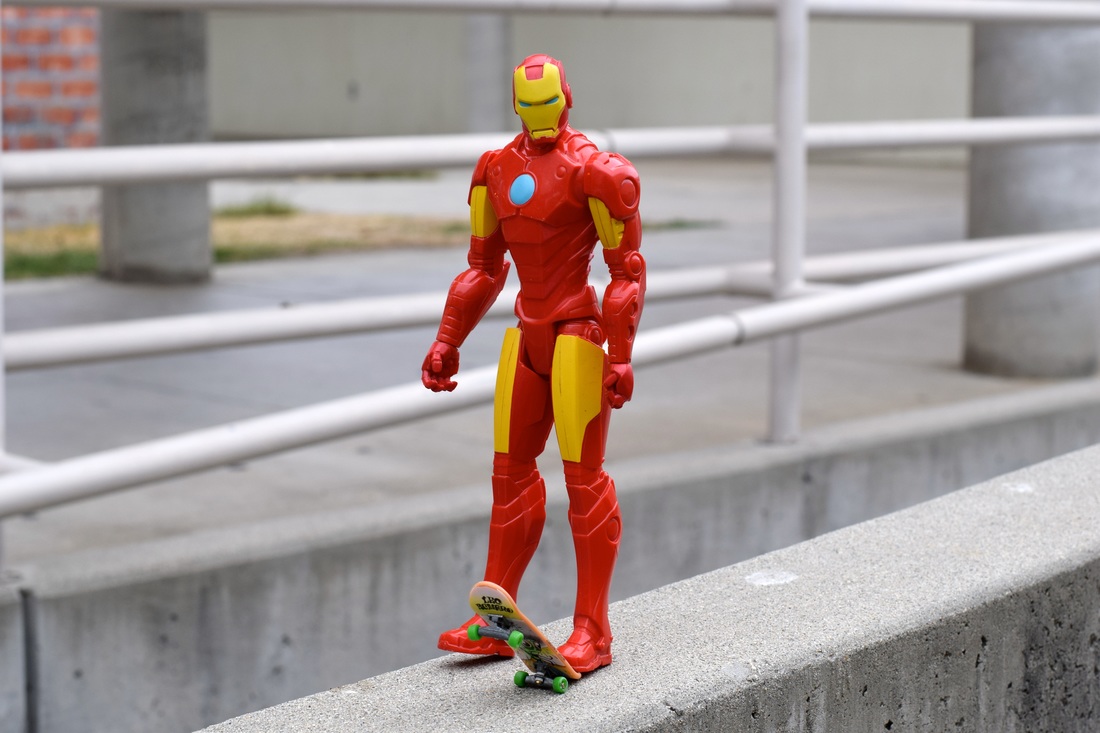
F/8 ISO 400 Shutter Speed 1/125
It was a sunny summer afternoon and Iron Man was all ready to go for his run in the marvel super skate competition. The crowd is going wild as Iron Man stands at the top of the ramp looking down at the hundreds of screaming fans and takes a deep breath. After his long night of crime fighting his suit is feeling a little weak but he starts his turn anyways, cause he's a crowd pleaser.
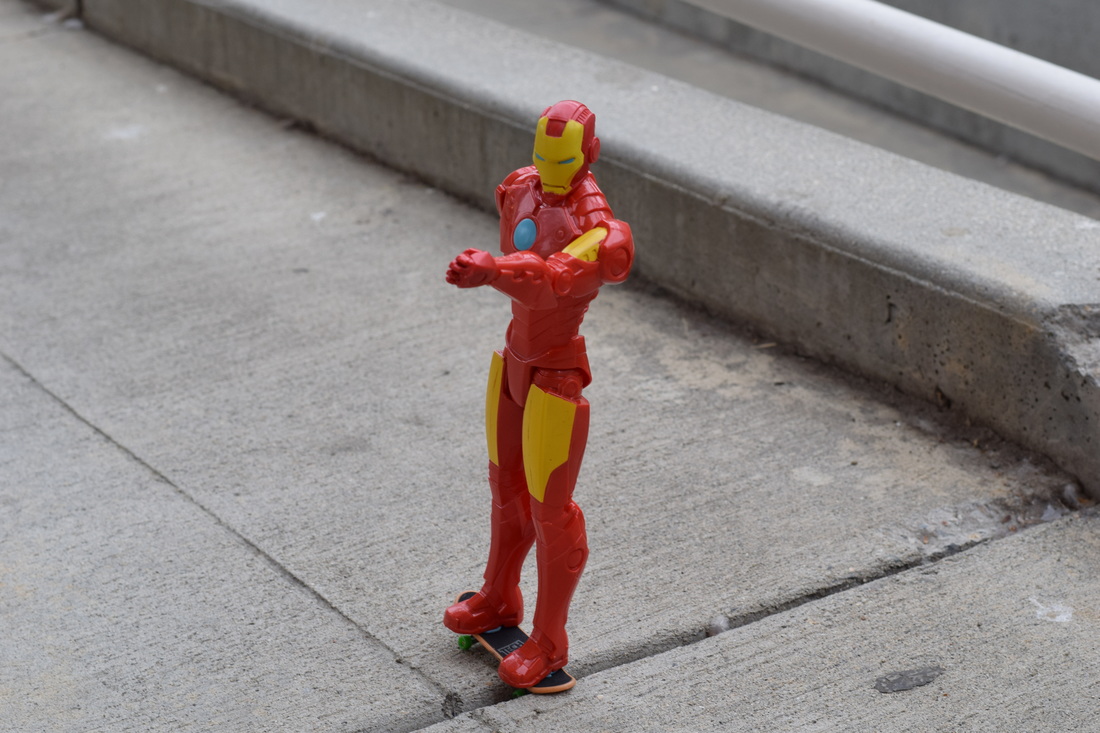
F/8 ISO 400 Shutter Speed 1/100
Iron Man starts to go down the ramp rapidly gaining more speed. As he starts to get closer to the top of the jump he uses his rocket boosters in his hands to achieve ludacris speed. He's gonna do it! Iron Man is gonna attempt the quadruple backflip and take the competition in one single run.
F/4
ISO 800
Shutter Speed 1/1,000
He hits the end of the ramp and launches straight into the sky. While in midair he hears the crowd all gasp in unison but he doesn't know why. Iron Man begins to start his quadruple backflip and gains the crowds attention again, he can hear them counting how many flips he's done...1.....2.....3.... as Iron Man is just about to finish the fourth rotation he notices a blue and red costumed man sitting on a rail next to the ramp, as soon as he realizes that the man in costume is spiderman he feels his leg snatched by something stringy.
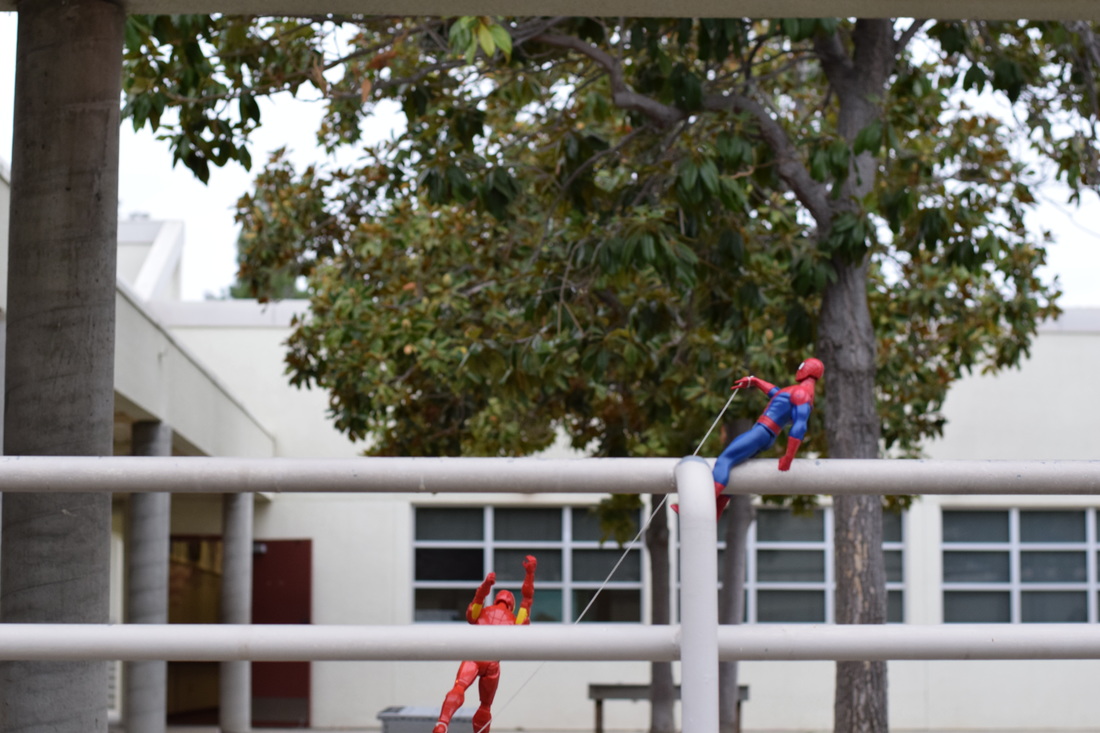
F/8 ISO 400 Shutter Speed 1/125
Spiderman webbed Iron Man's leg and sent him free falling through the sky. Just as Iron Man expected, his suit was running low on jet fuel and used the last of it to help him with his trick. Iron Man flails through the air until a loud metallic thump is heard. While Iron Man is laying on the floor, Spiderman takes a couple free kicks at him.
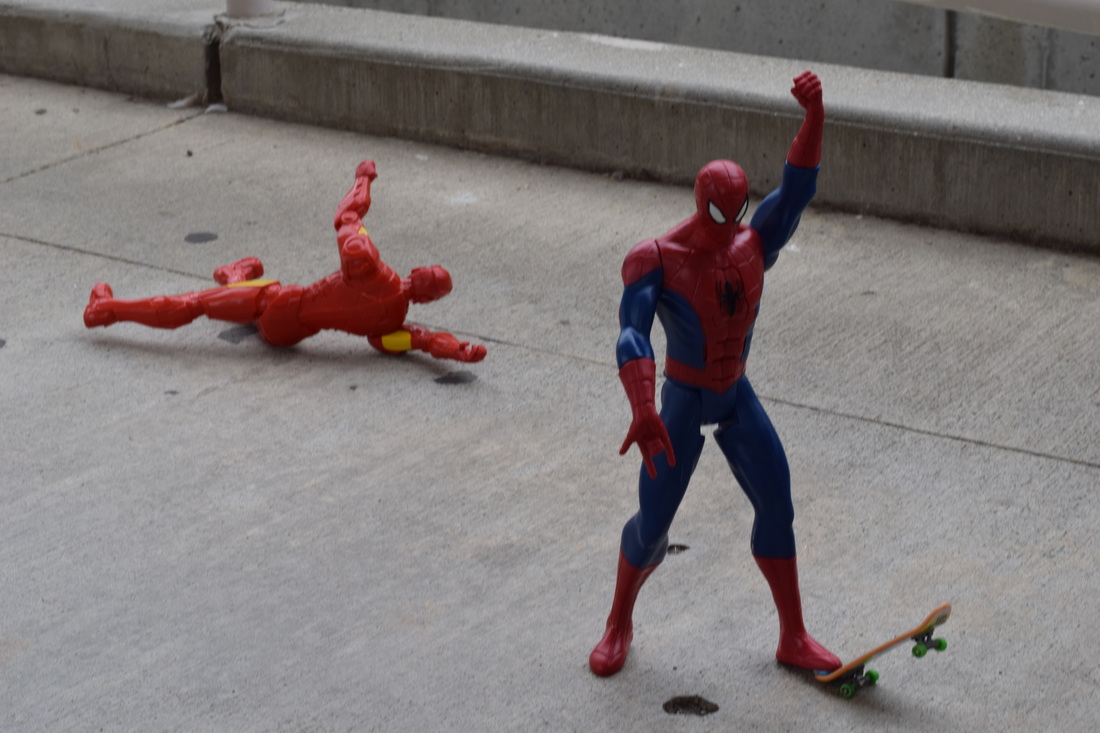
F/16 ISO 400 Shutter Speed 1/30
Spiderman quickly runs over to the skateboard Iron Man was on and puts a foot on it. The crowd doesn't know whats going on anymore and are worried about Iron Man so they boo Spidey. Spiderman tries to signal the crowd to quiet down and begins to speak. "Why wasn't I invited to this skate competition? Are you guys scared you would loose to a young, awesome, real cool super hero like me!"
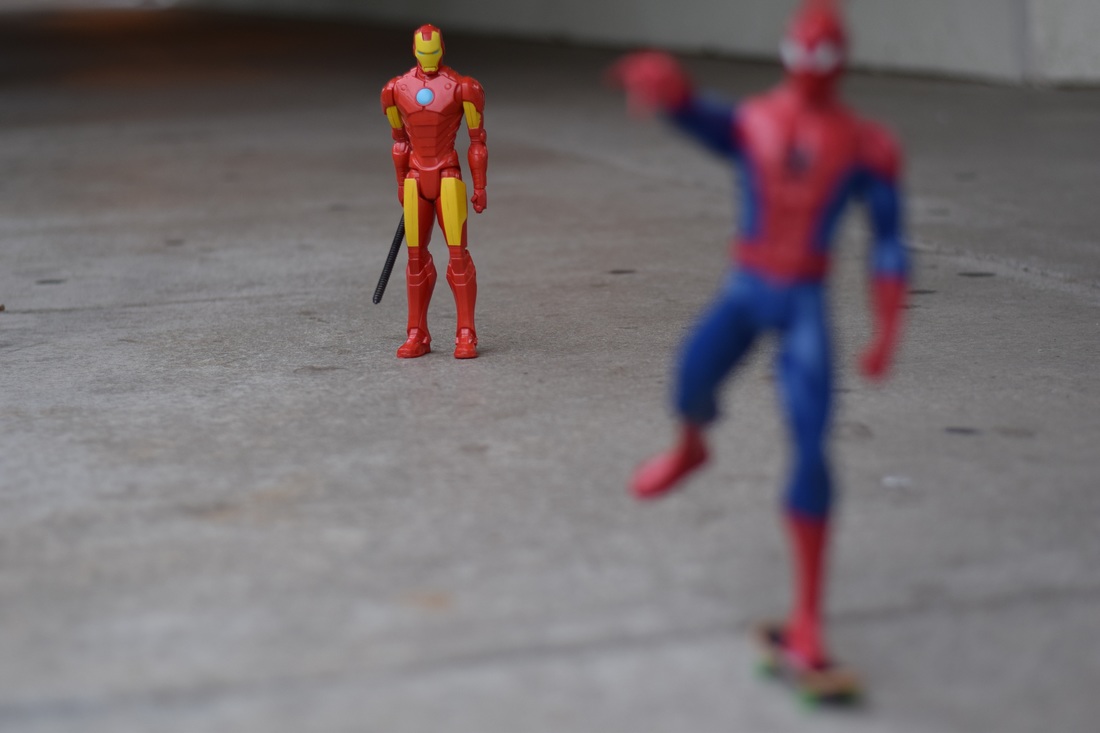
F/2 ISO 400 Shutter Speed 1/1,600
"HA, awesome...supercool, youre not gonna look so cool with this sword through you" Iron Man says. The crowd starts to cheer Iron Man on as they see he has recovered. Spiderman quickly tries to skate away while he still can. Iron Man starts to run towards spiderman but he is skating away too fast and can't catch up. As Iron man clunks over towards the long gone spiderman he hears a familiar voice in his helmet. "systems rebooted, rockets at 100% power".
F/1.8 ISO 400 Shutter Speed 1/2,500
"ITS ON." Iron Man says as he starts into a run. Spiderman, oblivious to Iron Mans regained power, starts to skate around the skatepark. Iron Man finally reached a fast enough speed to use his rockets and takes off after spiderman. Spiderman sees Iron Man but its too late and Iron Man was already right behind him. *slice* Iron Man caught up to spiderman and stabbed him right through his shoulder and pinned him to the floor.
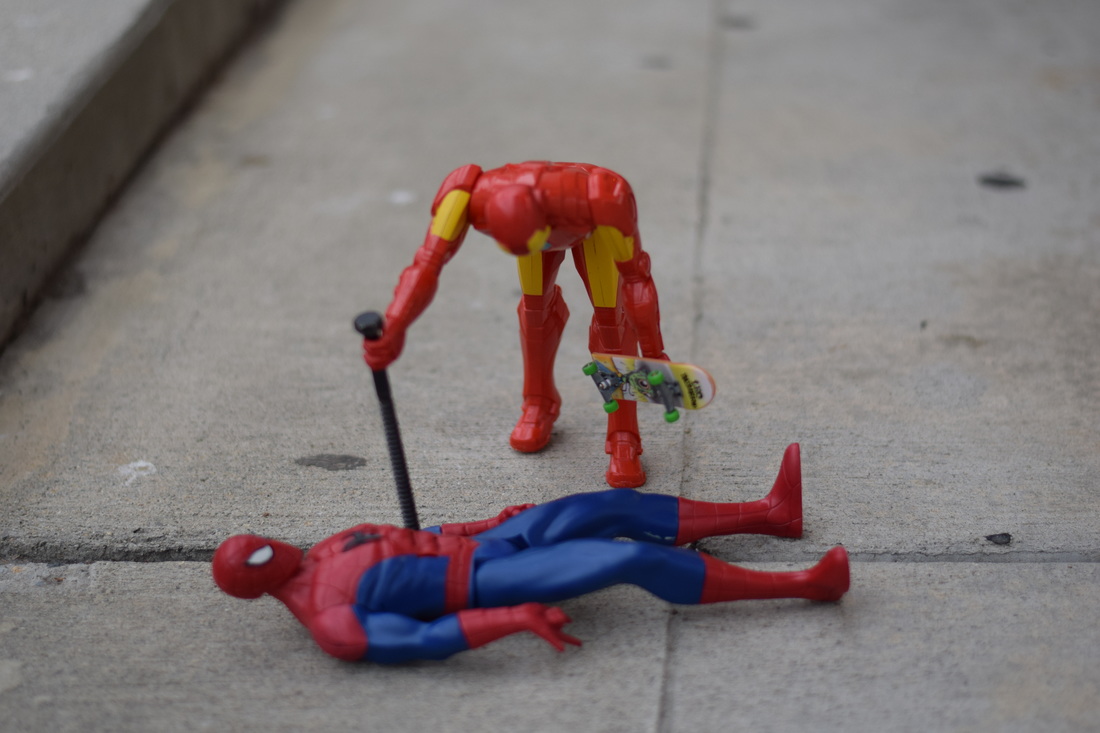
F/1.8 ISO 400 Shutter Speed 1/2,500
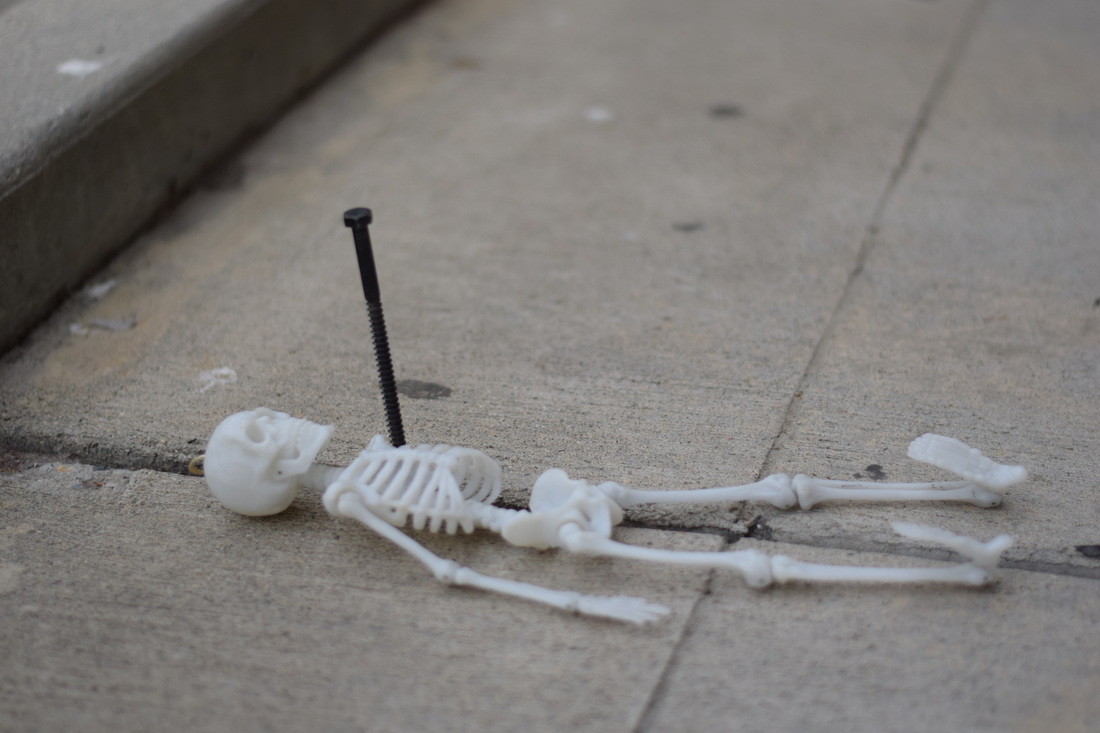
The crowd went wild at the sight of Spiderman being finished off right in front of them. Spiderman stayed pinned to the floor even after the skate competition nobody went to help him. Legend has it his skeleton is still there with the same sword piercing through him in the middle of the marvel skate park. The End.
Aperture Box Photos
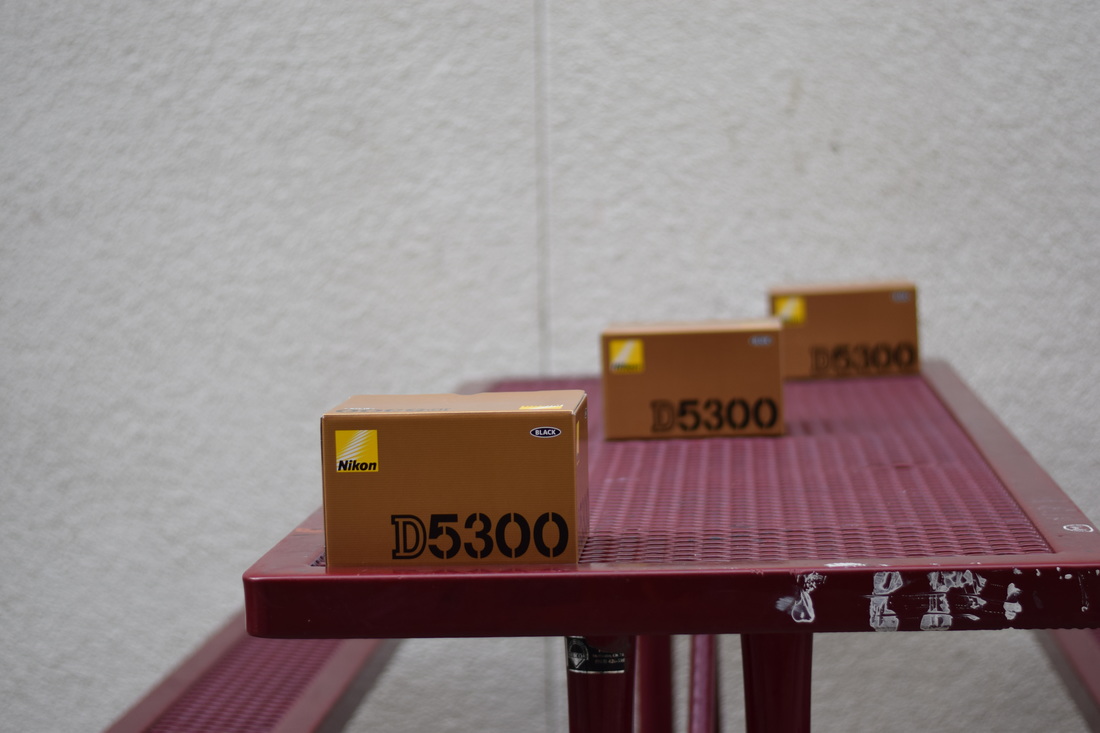
Aperture F/1.8 - ISO 200 & Shutter Speed 1/2,000
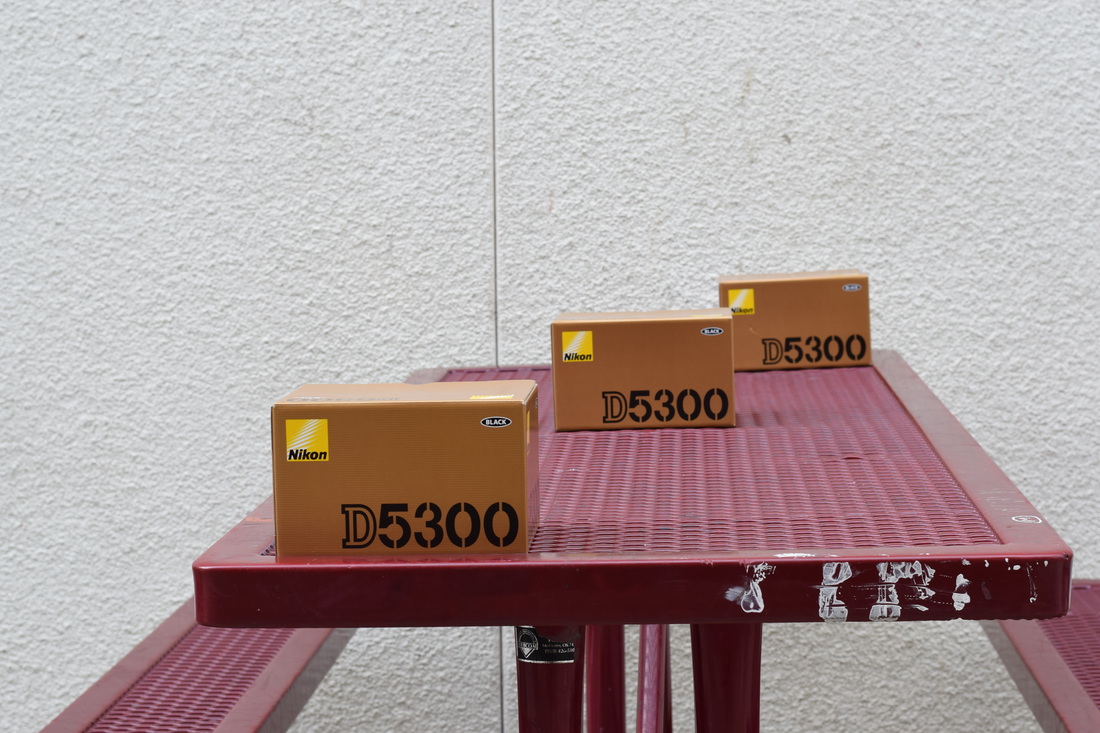
Aperture F/8 - ISO 200 & Shutter Speed 1/100
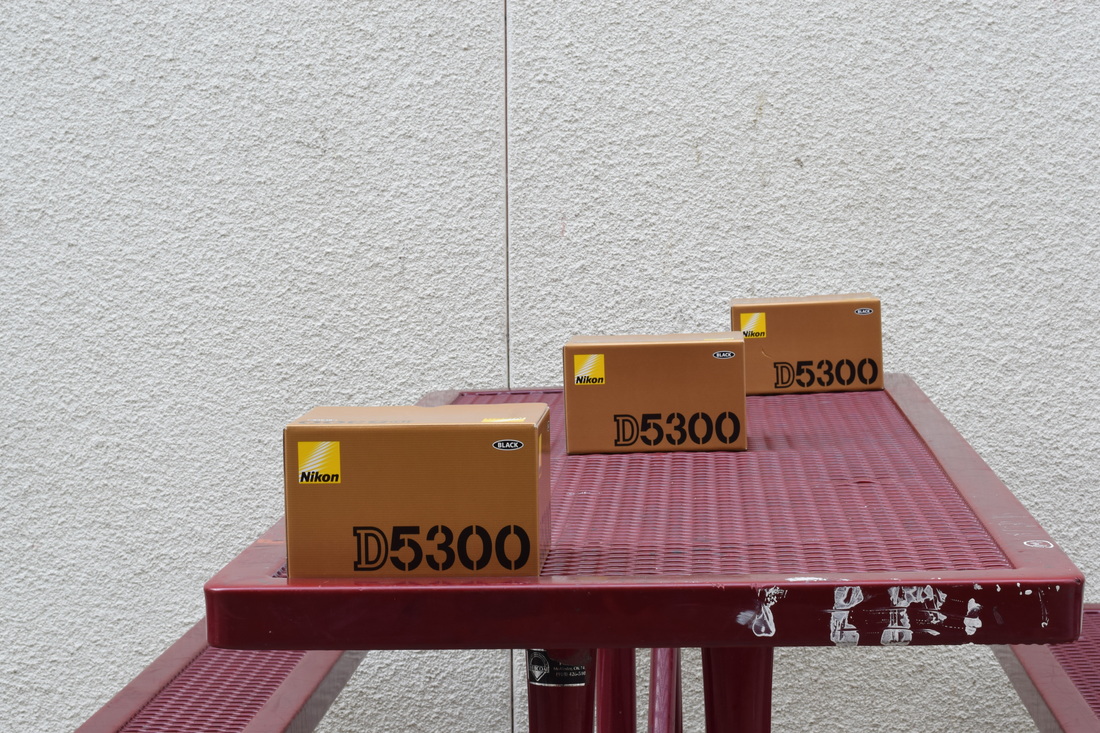
Aperture F/16 - ISO 200 & Shutter Speed 1/25
While taking the Aperture photos I noticed that the lower the F- Stop the less focus field there is. For example, in the first photo you can see that the first box is focus while the one in the middle is a little hazy and the last box is pretty blurry. In the second picture when I used the aperture F/8, the focus was a little better. The front two boxes were in focus and the last box was just a bit hazy. Finally in the last picture using the aperture set at F/16 all three boxes came out in pretty good focus with close to no blurriness. After uploading these photos to the computer and looking at which ones came out the best I noticed that the back wall really helps you see how focused the camera is. I say this because if you look at the white wall you can see that it goes from blurry to very sharp and much more detailed by the last photo taken in aperture F/16.
- Most important is that others need to be able to read your photograph
- The bigger the number the smaller the lens hole
- Wide apertures have a shallow depth of field and vice versa
- You can use shutter speed and aperture to change brightness
- Aperture is the key to controlling the depth of field
Digital Camera Notes
- DSLR stands for Digital Single Lens Reflex
- A DSLR uses mirrors to direct light from the lens to the viewfinder, which is a hole on the back of the camera that you look through to see what you are taking a picture of
Exposure
- Exposure is the amount of light collected by the sensor in your camera during a single picture.
- If the shot is exposed
- to long the photograph will be washed out.
- If the shot is exposed to short the photograph will appear too dark.
- Almost all cameras today have light meters which measure the light in the given shot and set an ideal exposure
- The three primary controls your camera uses for exposure are aperture, shutter speed and ISO
Before taking a photo consider:
- Aperture
- Shutter
- ISO
Aperture in a camera
- Simply Put, aperture is a whole within a lens through which light travels into the camera body
- Think of aperture like human eyes, every camera we know of today is designed like human eyes
- Aperture is expressed in f-numbers (i.e: f/5.6) These numbers are known as f-stops and are a way of describing the size of the aperture, or how open/closed the aperture is
- A smaller f-stop means a larger aperture, while a larger f-stop means a smaller aperture
- Small apertures increase the depth of the field, bringing both the main subject and the background into focus
- Depth of Field (DOF) is the distance to which object behind and in front of the focal point appear to be in focus
- Also known as “exposure time” stands for the length of time a camera shutter is open to expose the light into the camera sensor
- If the shutter speed is fast, it can help to freeze action completely.
- If the shutter speed is slow, it can create an effect called “motion blur”, where moving objects appear to blur along the direction of the motion
- Shutter speeds are typically measured in fraction of a second, when they are under a second. For example ¼ means a quarter of a second etc.
- The slowest shutter speed for handheld photography is 1/60. Anything lower than that should either be on a tripod or on a straight, solid surface
- Any slower handheld shutter speed begins to get motion blur and your photo may be out of focus.
ISO
- ISO is the level of sensitivity of your camera to available light
- The lower the ISO number, the less sensitive it is to the light, while a higher ISO number increases the sensitivity of your camera.
- The component within your camera that can change sensitivity is called “image sensor” or simply “sensor”
- With increased sensitivity, your camera sensor can capture images in low-light environments without having to use flash, but affd grain or “noise” to the pictures
- Bright and Sunny - 100 ISO
- Cloudy - 250 ISO
- Indoors - 500 ISO
- Nighttime w/ out flash - 1600 ISO
DSLR Modes
- M- Manual Control over aperture and shutter
- A - Aperture Priority
- S - Shutter Priority
- P - Camera sets shutter speed and aperture
How to hold a DSLR
- Have the camera strap around your neck at all times
- Hold the camera by the lens and hand grip if possible treat with care
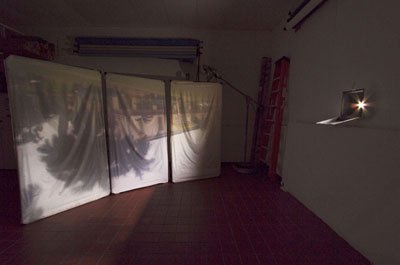
Camera Obscura
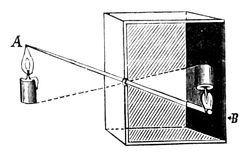
Camera Obscura is the phenomenon that occurs if you have a completely dark room and a small hole in one of the walls of that room. If you have these conditions, light will shine through the hole in the wall and project on the opposite wall whatever is outside. As you can see by the picture to the left, when the image is projected on the wall opposite of the light, the image gets flipped upside down and backwards. The coolest part, in my opinion, about Camera Obscura is that its not just the image that gets projected across the room but the colors from outside are shown with the projected image as well.
|
|
Surrealistic Selfie
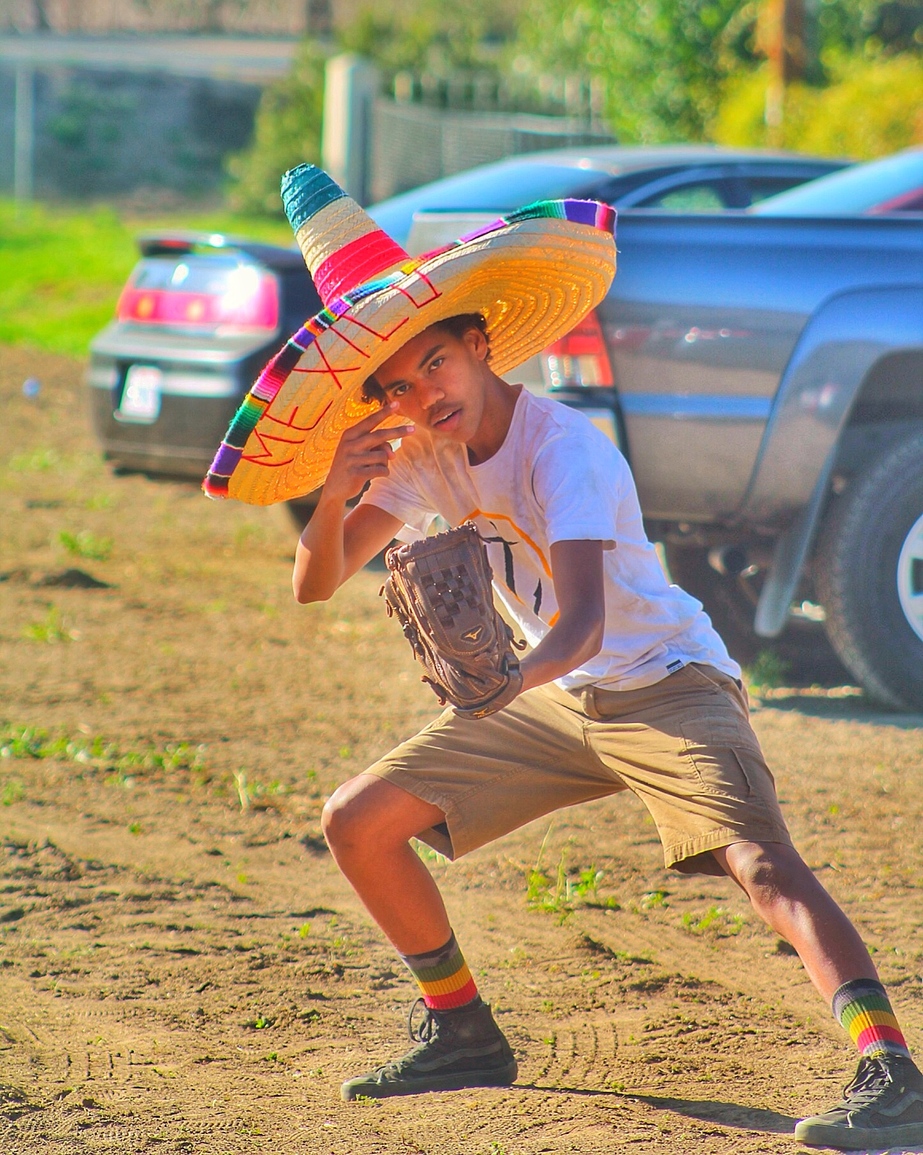
I think this photo does say a lot about me even though it looks just like a normal sort of
picture (besides the pose). This picture was took at my uncle’s property out in fallbrook, we had gone there for a party because he had just bought the lot and he is planning on building a house on it eventually but when we went it was just a dirt field.
I like this photo because it tells a lot about me like for example the giant sombrero on my head which, in my opinion, says two things about me. The first thing about my life that the sombrero hints at is that I am half mexican. In addition to this I like that it is so oversized and looks a little ridiculous but that is another thing about me I’m a goofy person so it doesn’t embarrass me I think it's funny. Another thing it says about me is that I played baseball because of the glove on my hand. I played baseball all through middle school and my freshman and sophomore year of highschool so it was a big part of my life.
What I did to manipulate this photo was use the app you introduced to the class called snapseed. Once I uploaded the picture to the app I began to try out the different effects and filters to see which ones looked better and eventually got to Tune Image that I set to +35 Brightness. After this I went to the details setting and set the structure to -16, finally I selected the HDR option and set the filter strength to +30 and my photo editing process was done.
